Java Message Service (JMS) is a Java API for sending and receiving messages between distributed systems. It provides reliable, asynchronous communication using message-oriented middleware (MOM) to facilitate decoupled, scalable, and flexible messaging solutions.
Integrating JMS enables reliable, asynchronous communication between applications, ensuring decoupling and scalability.
Authentication
Before integrating JMS, ensure you have the following information:
Connection Name: Choose a descriptive name for your JMS connection to help you identify it within your application or integration settings. A meaningful name, like "MyAppJMSIntegration," helps maintain organization, especially when managing multiple integrations.Service name: The name of the service you are connecting to.Amazon SQS
IBM MQ
Active MQ
Rabbit MQ
Amazon SQS Based
Login into Amazon AWS Console and search for “
Users” in the search bar present at the top of the console’s home page.Click on “
Create user” at the top right corner.Sign in to the AWS Management Console by going to the AWS Management Console (https://console.aws.amazon.com/).
Navigate to the IAM (Identity and Access Management) dashboard by searching in the "
IAM" search bar.Provide the username and select permissions(AmazonS3fullaccess) policies by selecting “
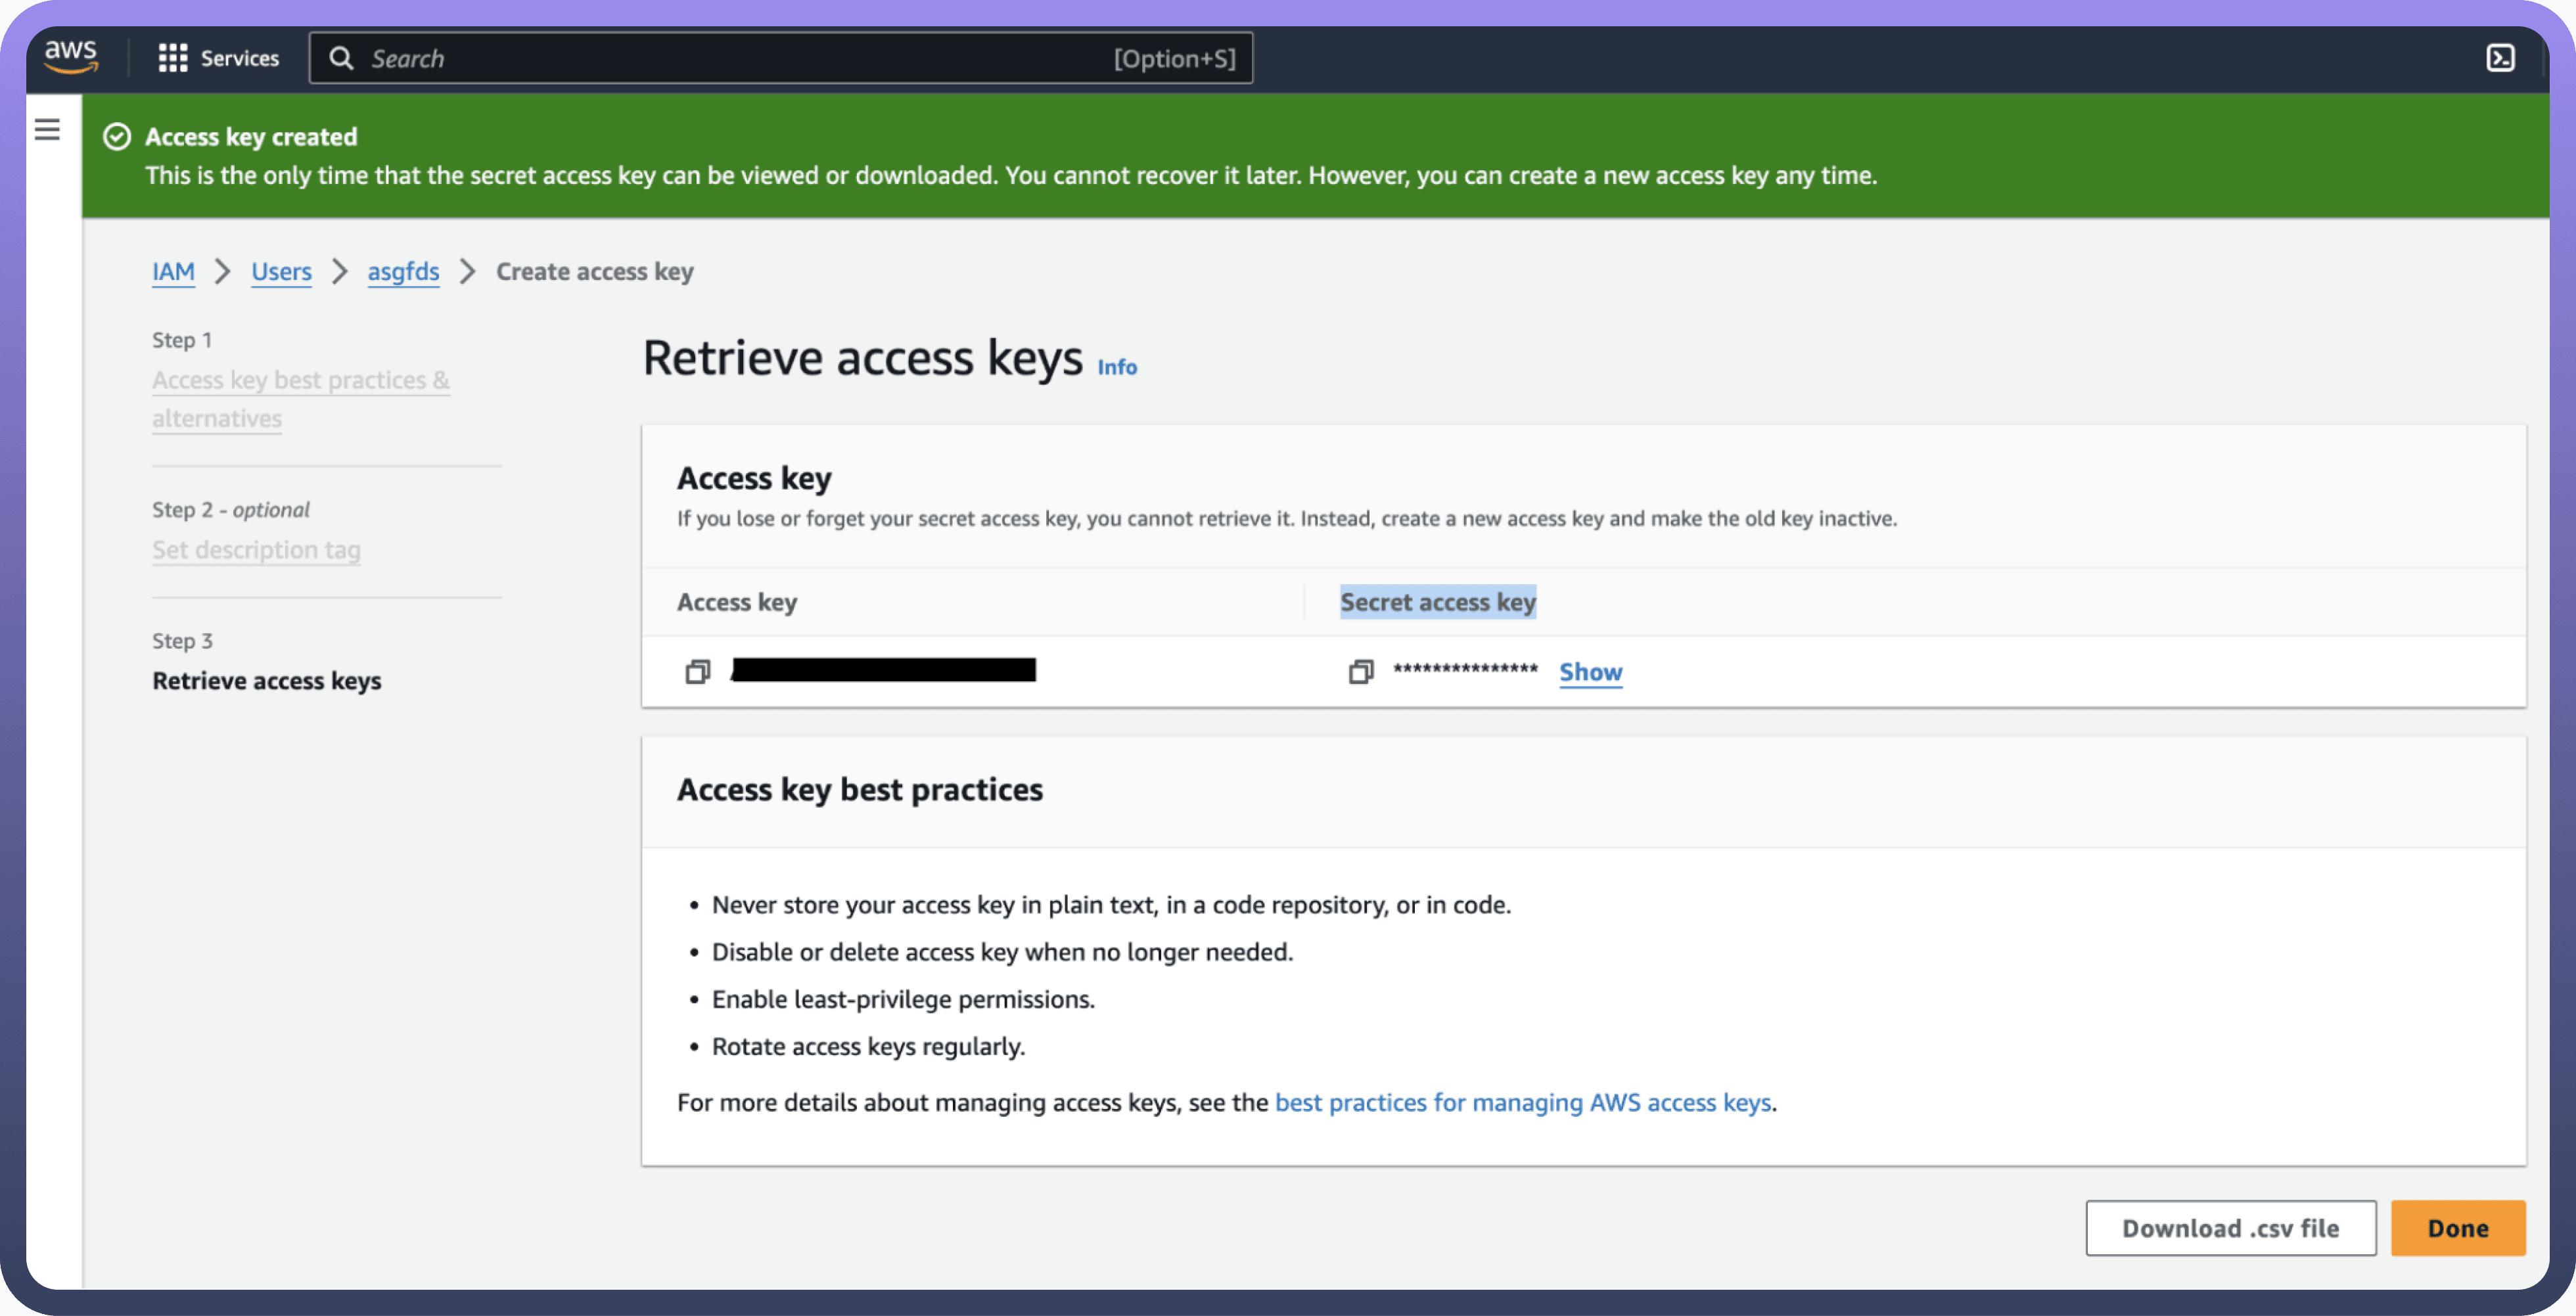
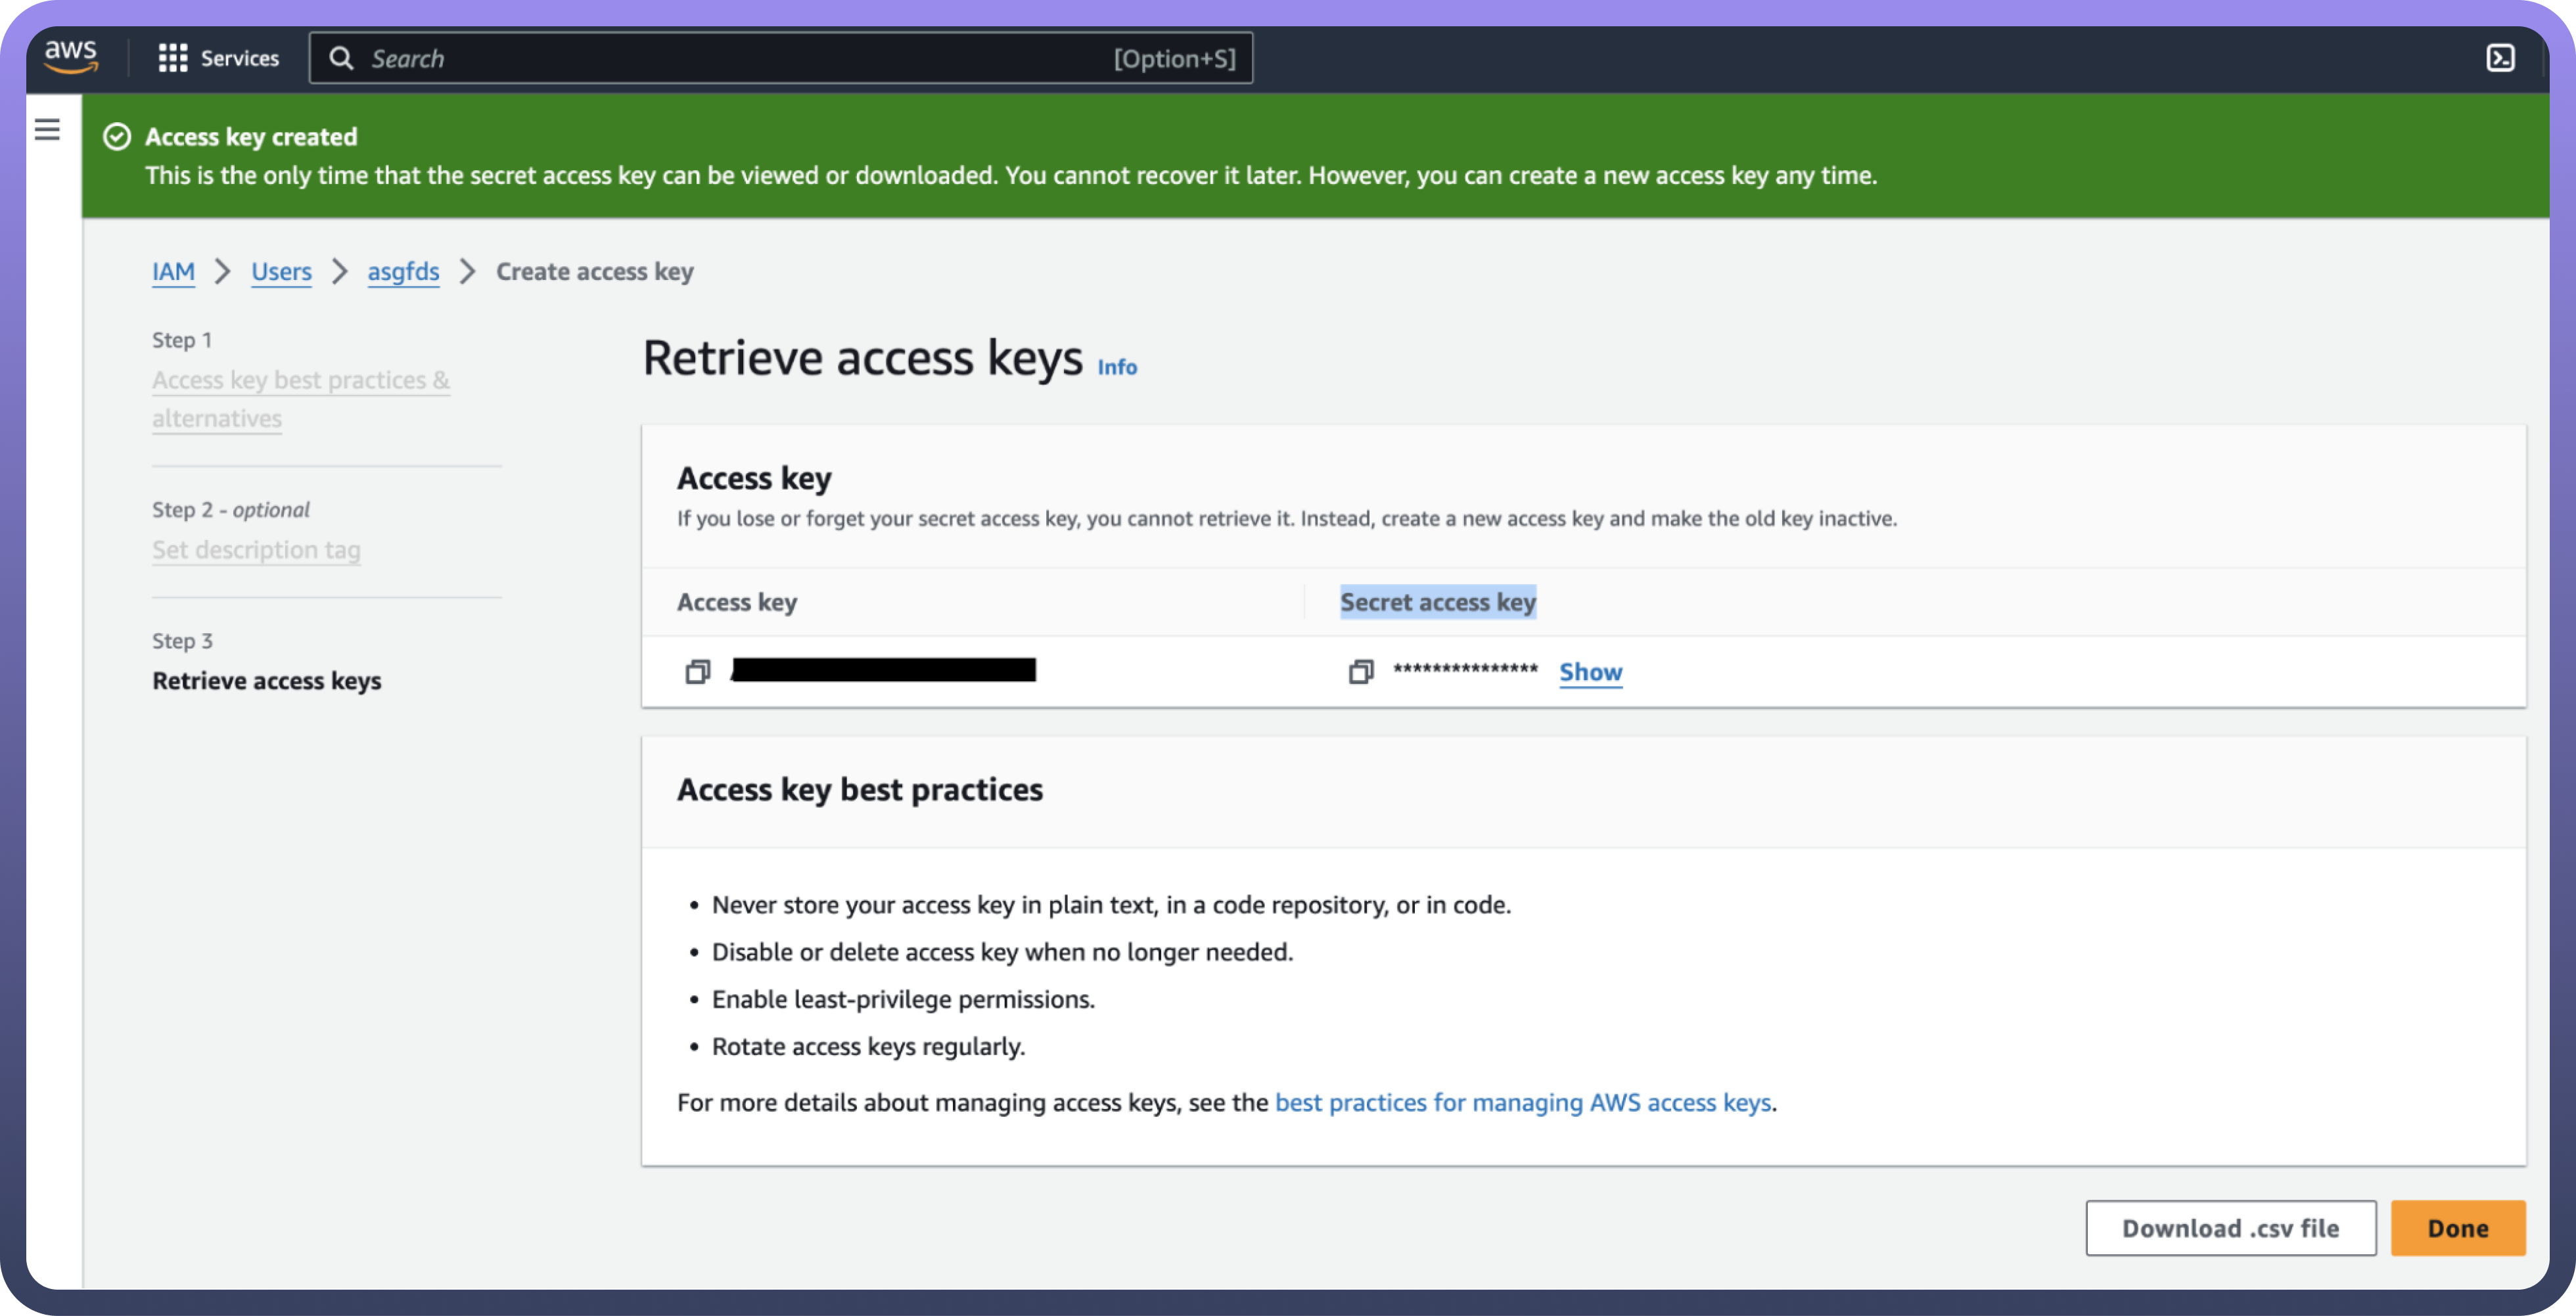
Attach policies directly” and click on create user button.Once the user is created, click on the username of the user created and under the summary section click on create access key.
Select “
Command Line Interface” as the use case and provide the description tag to the key and click on “create access key”.Treat the access key and secret access key with high confidentiality, as it allows access to your Amazon S3 account.


IBM MQ Based
Log in to IBM MQ console and navigate to the queue manager settings to find host, port, channel, and queue manager details.
Host: Specifies the hostname or IP address of the server where your IBM MQ instance is hosted. Example:
mq.example.comor192.168.1.10Port: Defines the port number on which IBM MQ is listening for connections. 1414 (default port for IBM MQ).
Username: The username used to authenticate with the IBM MQ service.
Password: The password corresponding to the username for authentication.
Channel: Defines the channel name used for communication between the client and IBM MQ server.
Queue Manager: Identifies the queue manager that handles messaging for your IBM MQ instance.
Active MQ Based
Log in to the ActiveMQ web console and navigate to the connection or broker settings to find the host, port, and transport connector details.
Broker Url: The
brokerUrlparameter specifies the address of the ActiveMQ broker to which the agent will connect. Ensure the broker is running as an external service and configured correctly.
Example values includetcp://broker.example.com:61616orssl://broker.example.com:61617.Maximum Redeliveries: The maximum number of times a message will be redelivered before it is returned to the broker, allowing it to be routed to a Dead Letter Queue (DLQ). Default values vary depending on system configuration but should align with retry policies and application requirements.
Initial Redelivery Delay: Specifies the delay (in seconds) before the first redelivery attempt after a message delivery failure.
Example:Set initialRedeliveryDelay = 5for a 5-second delay.Redelivery Delay: Defines the maximum delay (in seconds) between consecutive redelivery attempts if a back-off multiplier is greater than
1.0.
Example: SetredeliveryDelay = 300to cap the delay at 5 minutes.BackOff Multiplier: The multiplier used to calculate the redelivery delay between retries. Values greater than
1.0enable exponential back-off, where each retry interval increases proportionally.
Example:backOffMultiplier = 2.0doubles the delay after each attempt.
Rabbit MQ Based
Log in to the RabbitMQ management console and navigate to the connection or broker settings to find the host, port, virtual host, and user credentials details.
Username RMQ: Enter your RabbitMQ username. This is the username used to authenticate with the RabbitMQ broker. Ensure the username has sufficient permissions to access the required queues and exchanges.
Password RMQ: Enter your RabbitMQ password. The password corresponding to the provided username. Use a secure password and avoid hardcoding sensitive credentials in configuration files.
Virtual Host RMQ: Enter your RabbitMQ virtual host. Virtual hosts provide a way to segregate messaging environments within a single RabbitMQ instance.
Example:/, test-vhost.Hostname RMQ: Enter your RabbitMQ host name. The hostname or IP address where your RabbitMQ broker is running.
Example:rabbitmq.example.comor192.168.1.20.Port RMQ: Enter your RabbitMQ port. The port number on which RabbitMQ is listening for connections. The default port for AMQP is
5672. For SSL/TLS connections, it is typically5671.
Actions
Actions | Description |
| Publish a message to a JMS queue |