Integrating your application with Snowflake transforms your data warehousing and analytics capabilities, offering a cloud-native platform for scalable, flexible, and high-performance data processing.
Connecting your application to a Snowflake account allows you to interact with Snowflake's data warehousing capabilities directly from your application.
Authentication
Before you begin, make sure you have the following information:
Connection Name: Select a descriptive name for your Snowflake connection. This identifier will help you recognize the connection within your application or integration settings. For example, you might choose something like "MyAppSnowflakeDataWarehouse"
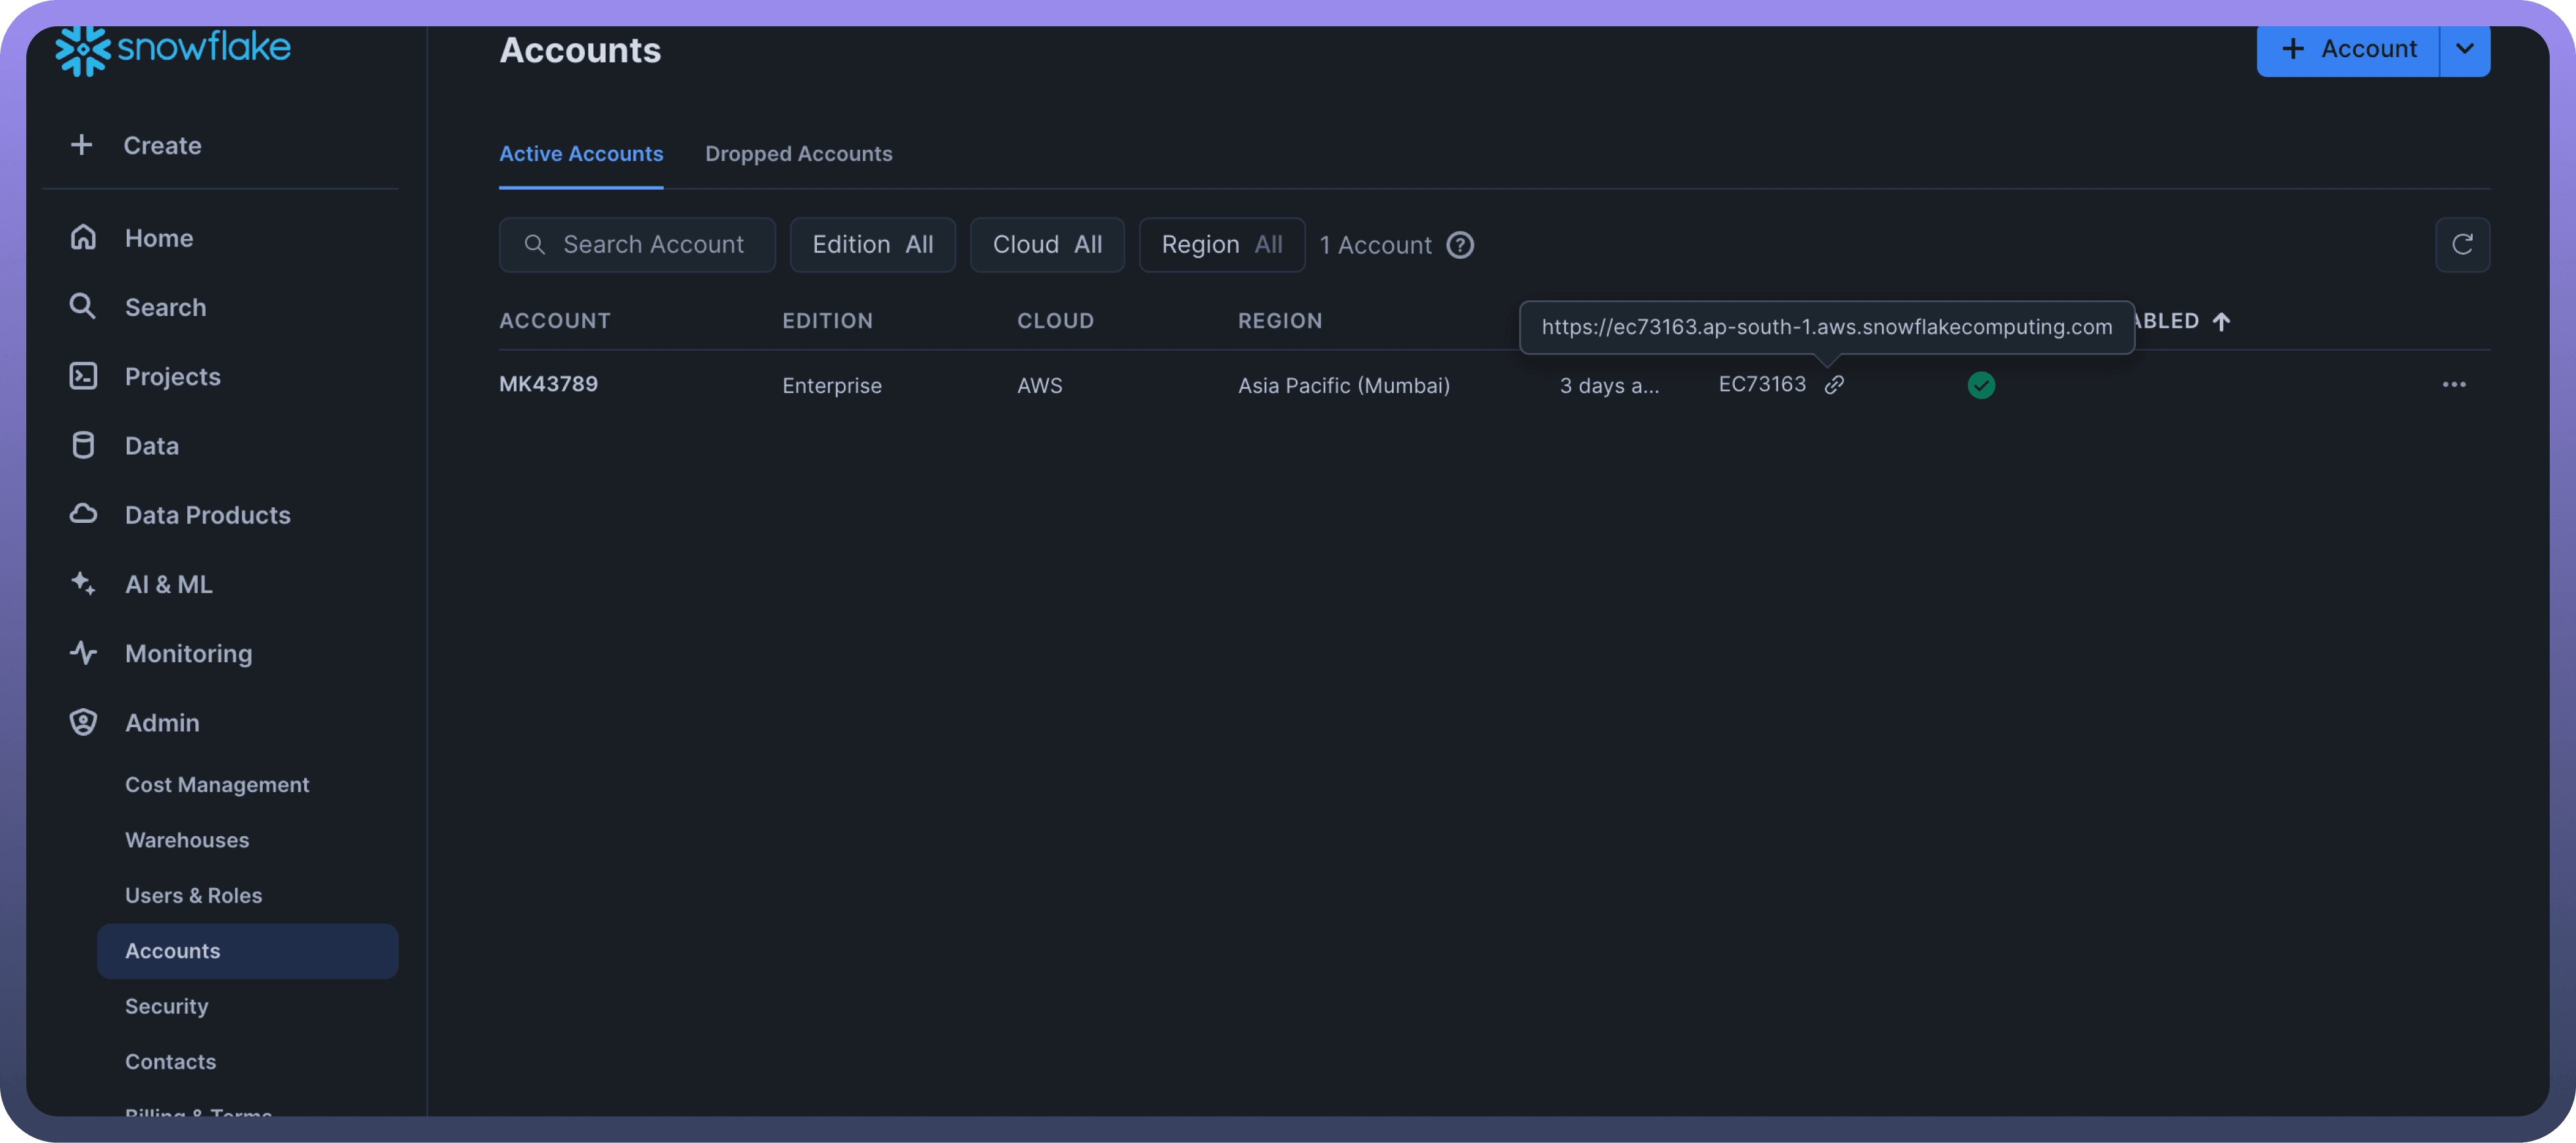
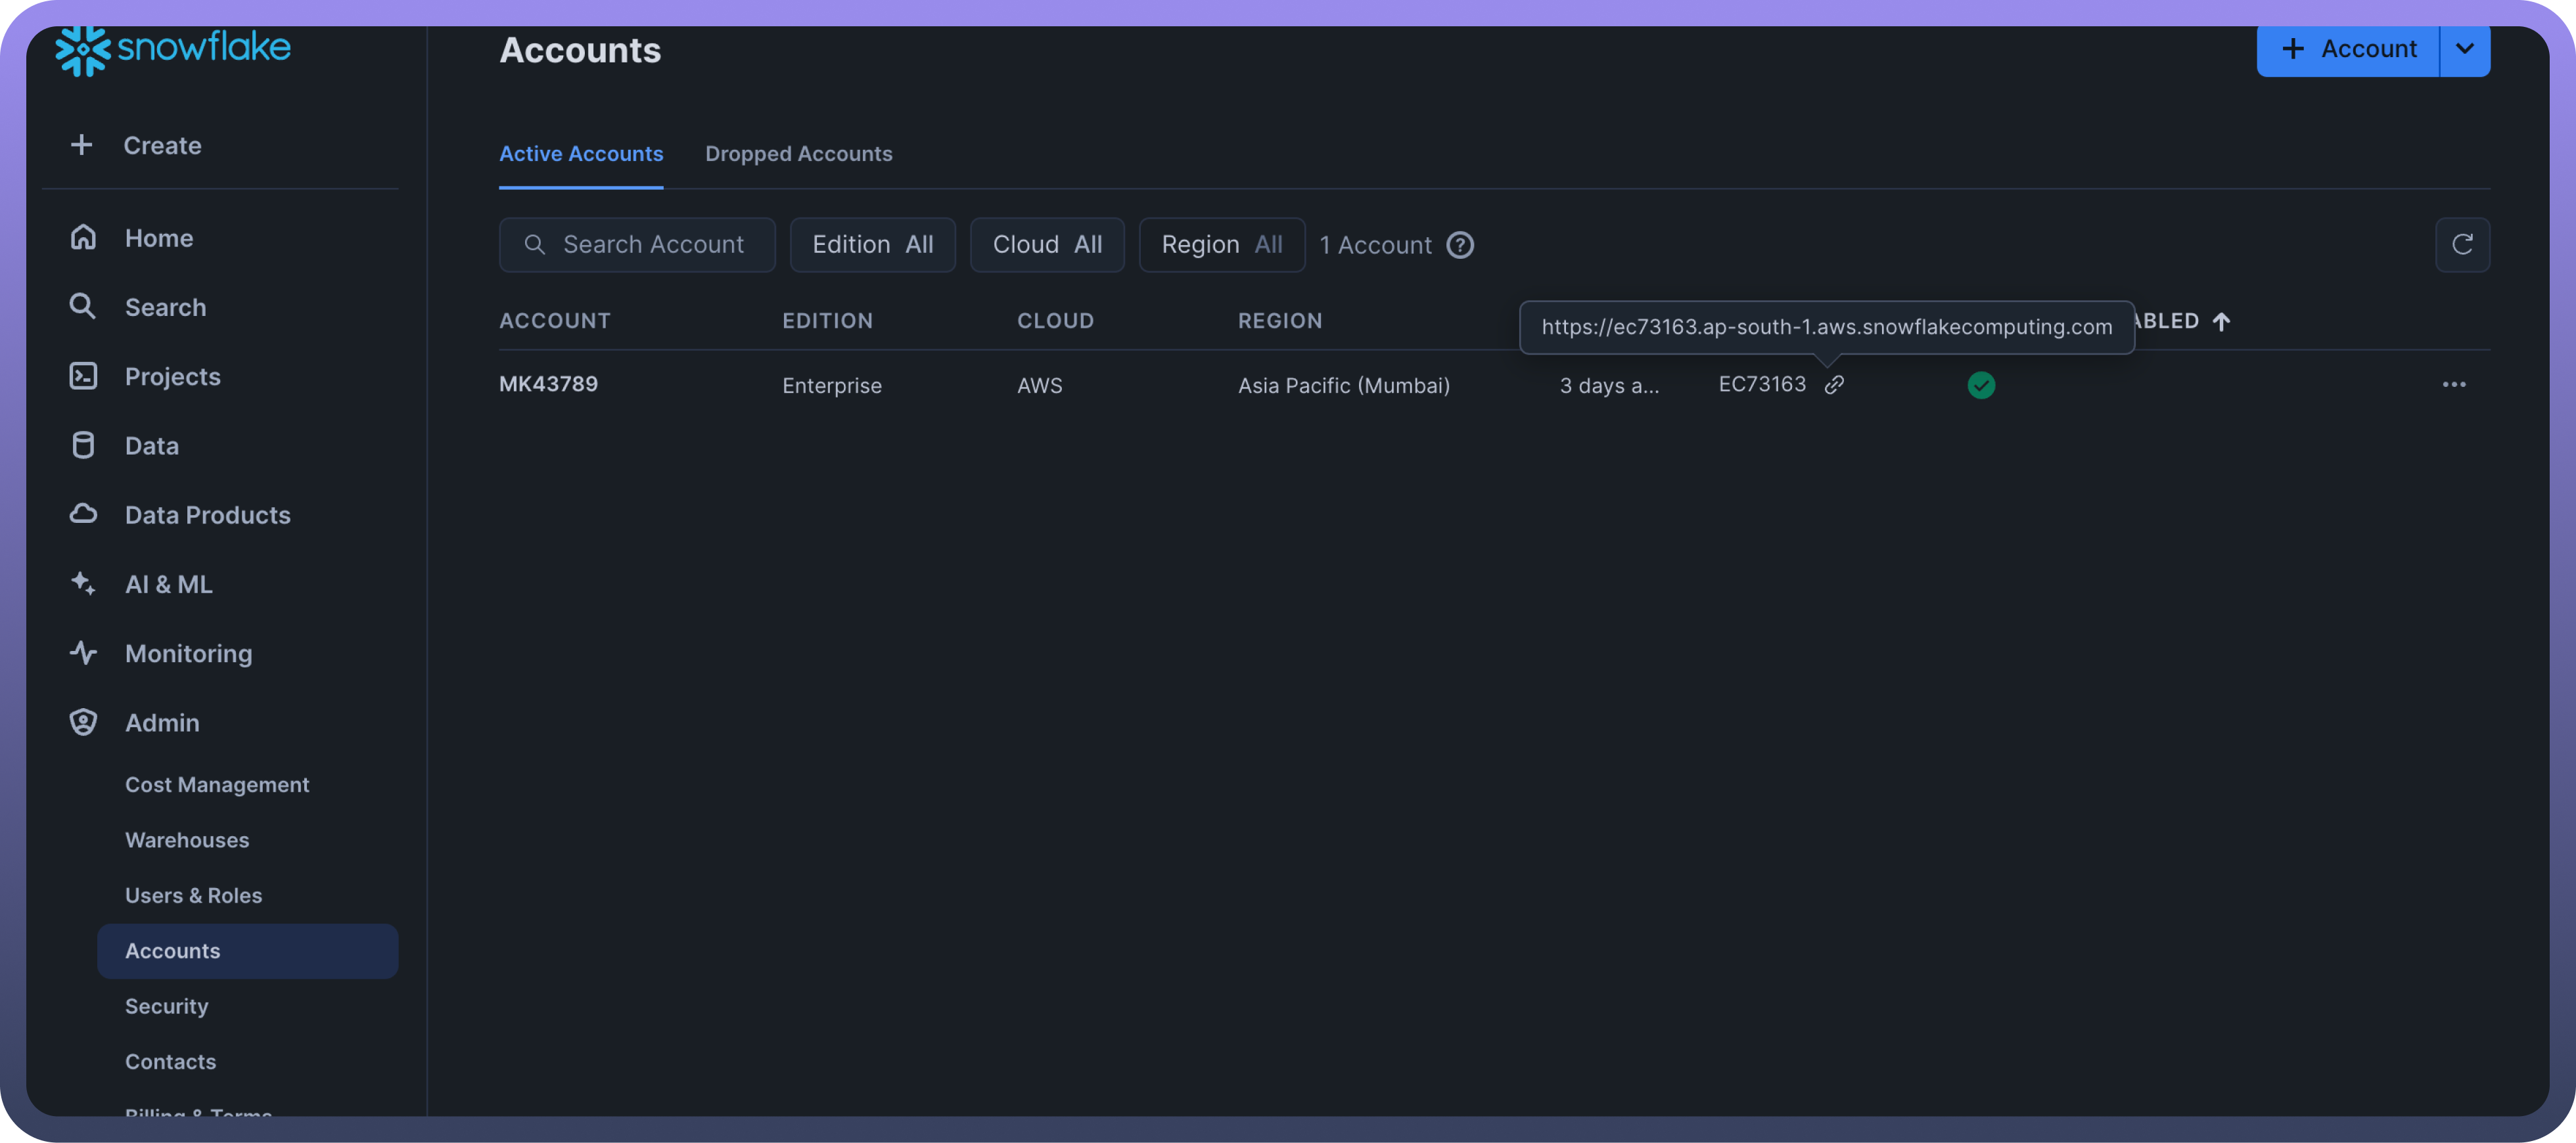
Account Identifier: This is your unique Snowflake account locator. To find this, click on "admin" in the Snowflake interface, then click on "your accounts." Hover over the "locator" field, and you'll see the Account Identifier displayed as something like abc12345.region.snowflakecomputing.com.
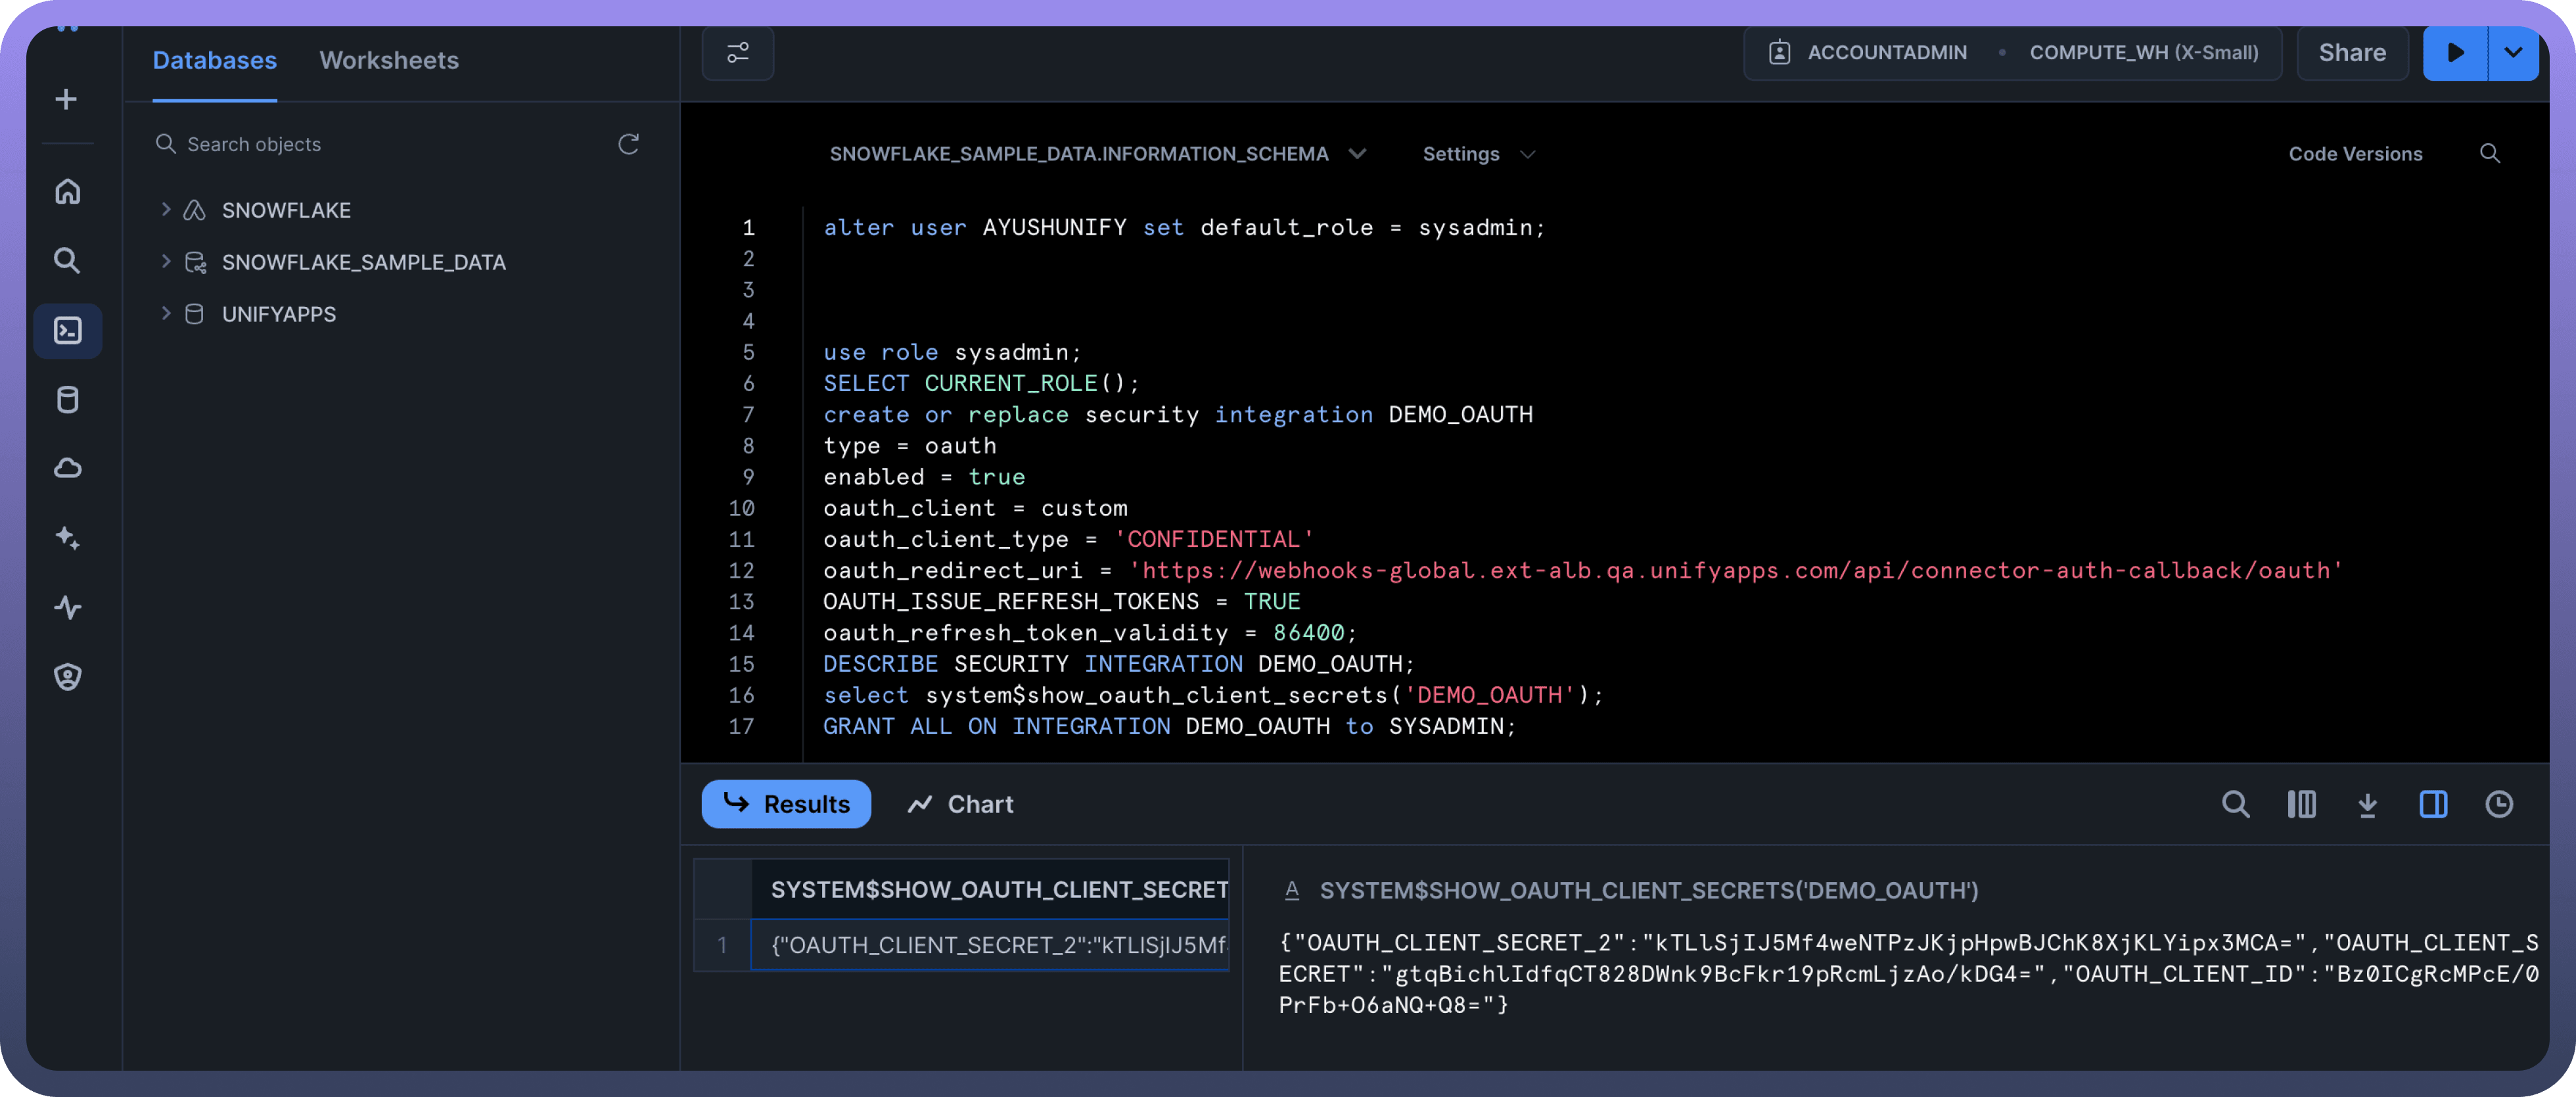
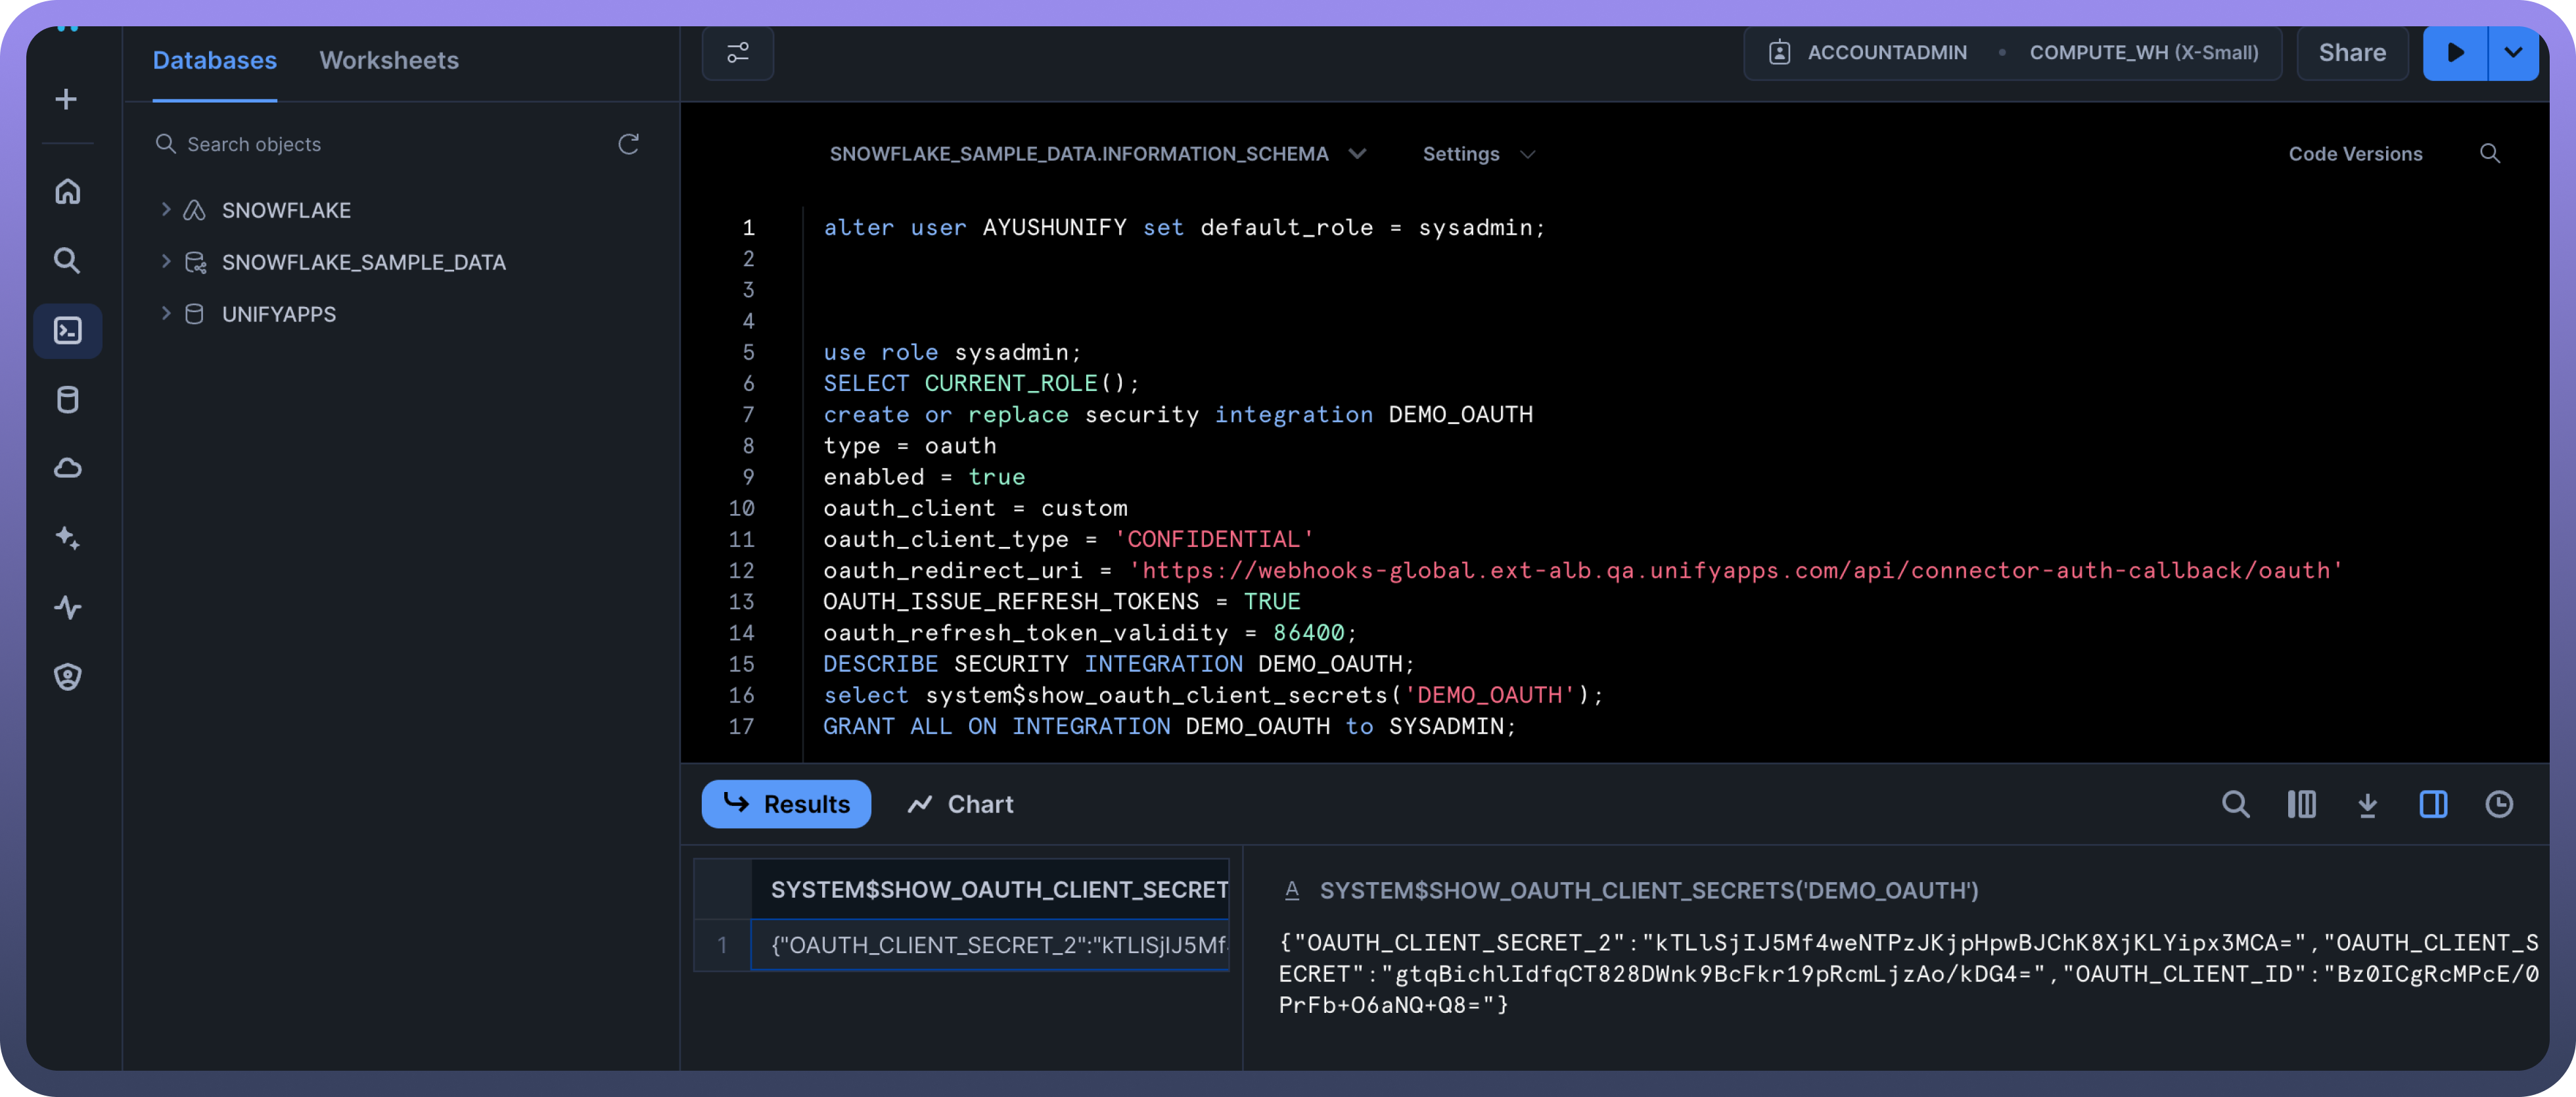
Client ID and Secret: Fetch the Client ID and Secret for your Snowflake account basis this documentation.
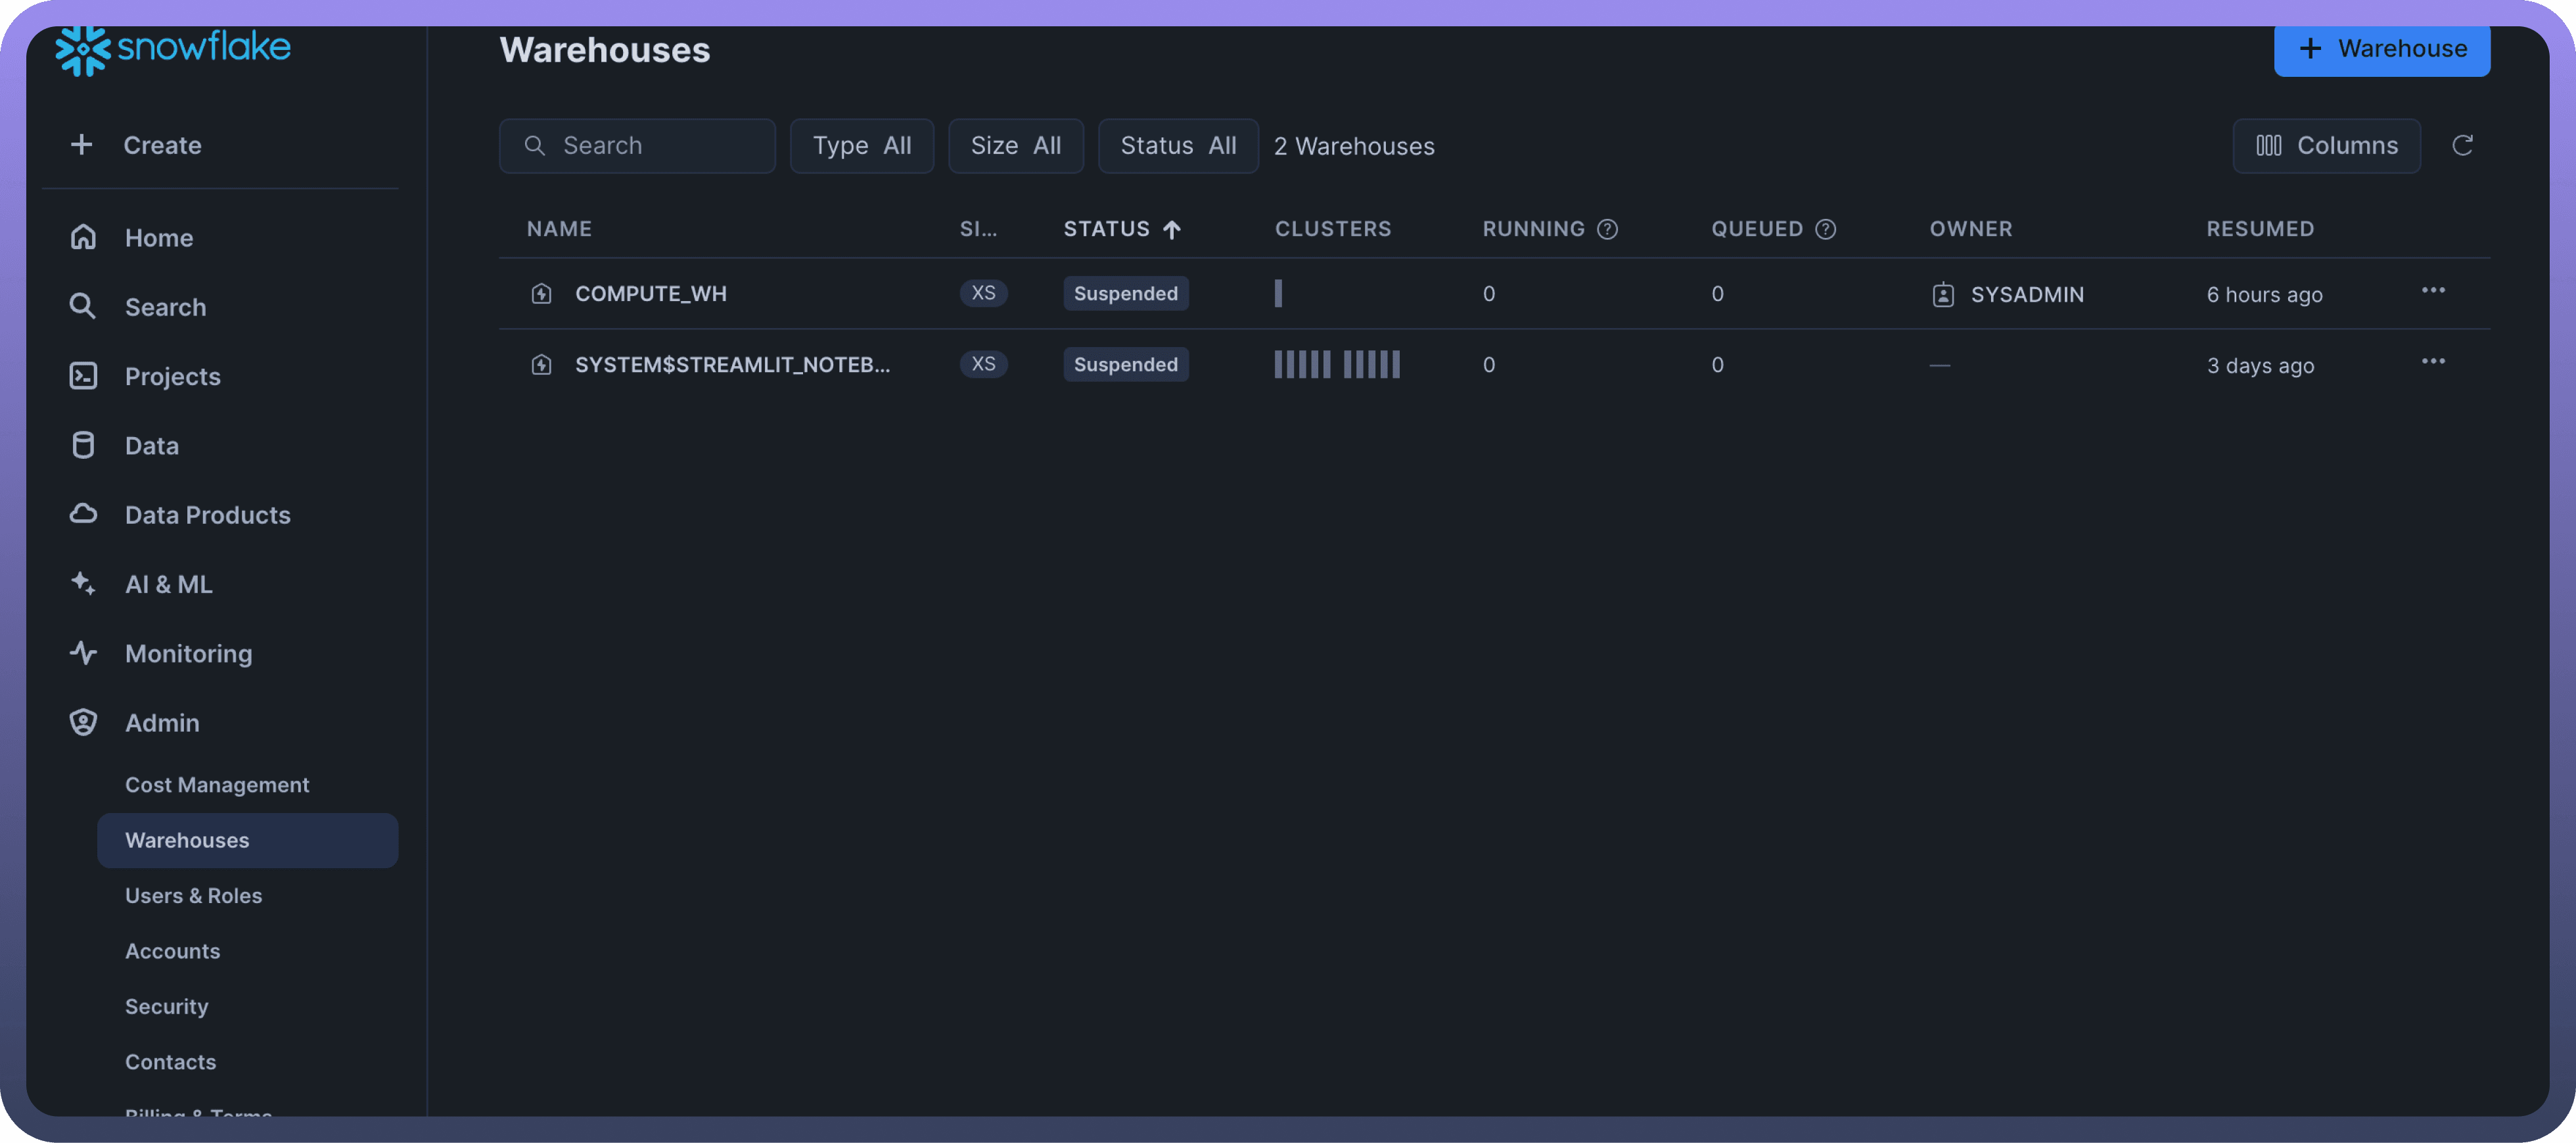
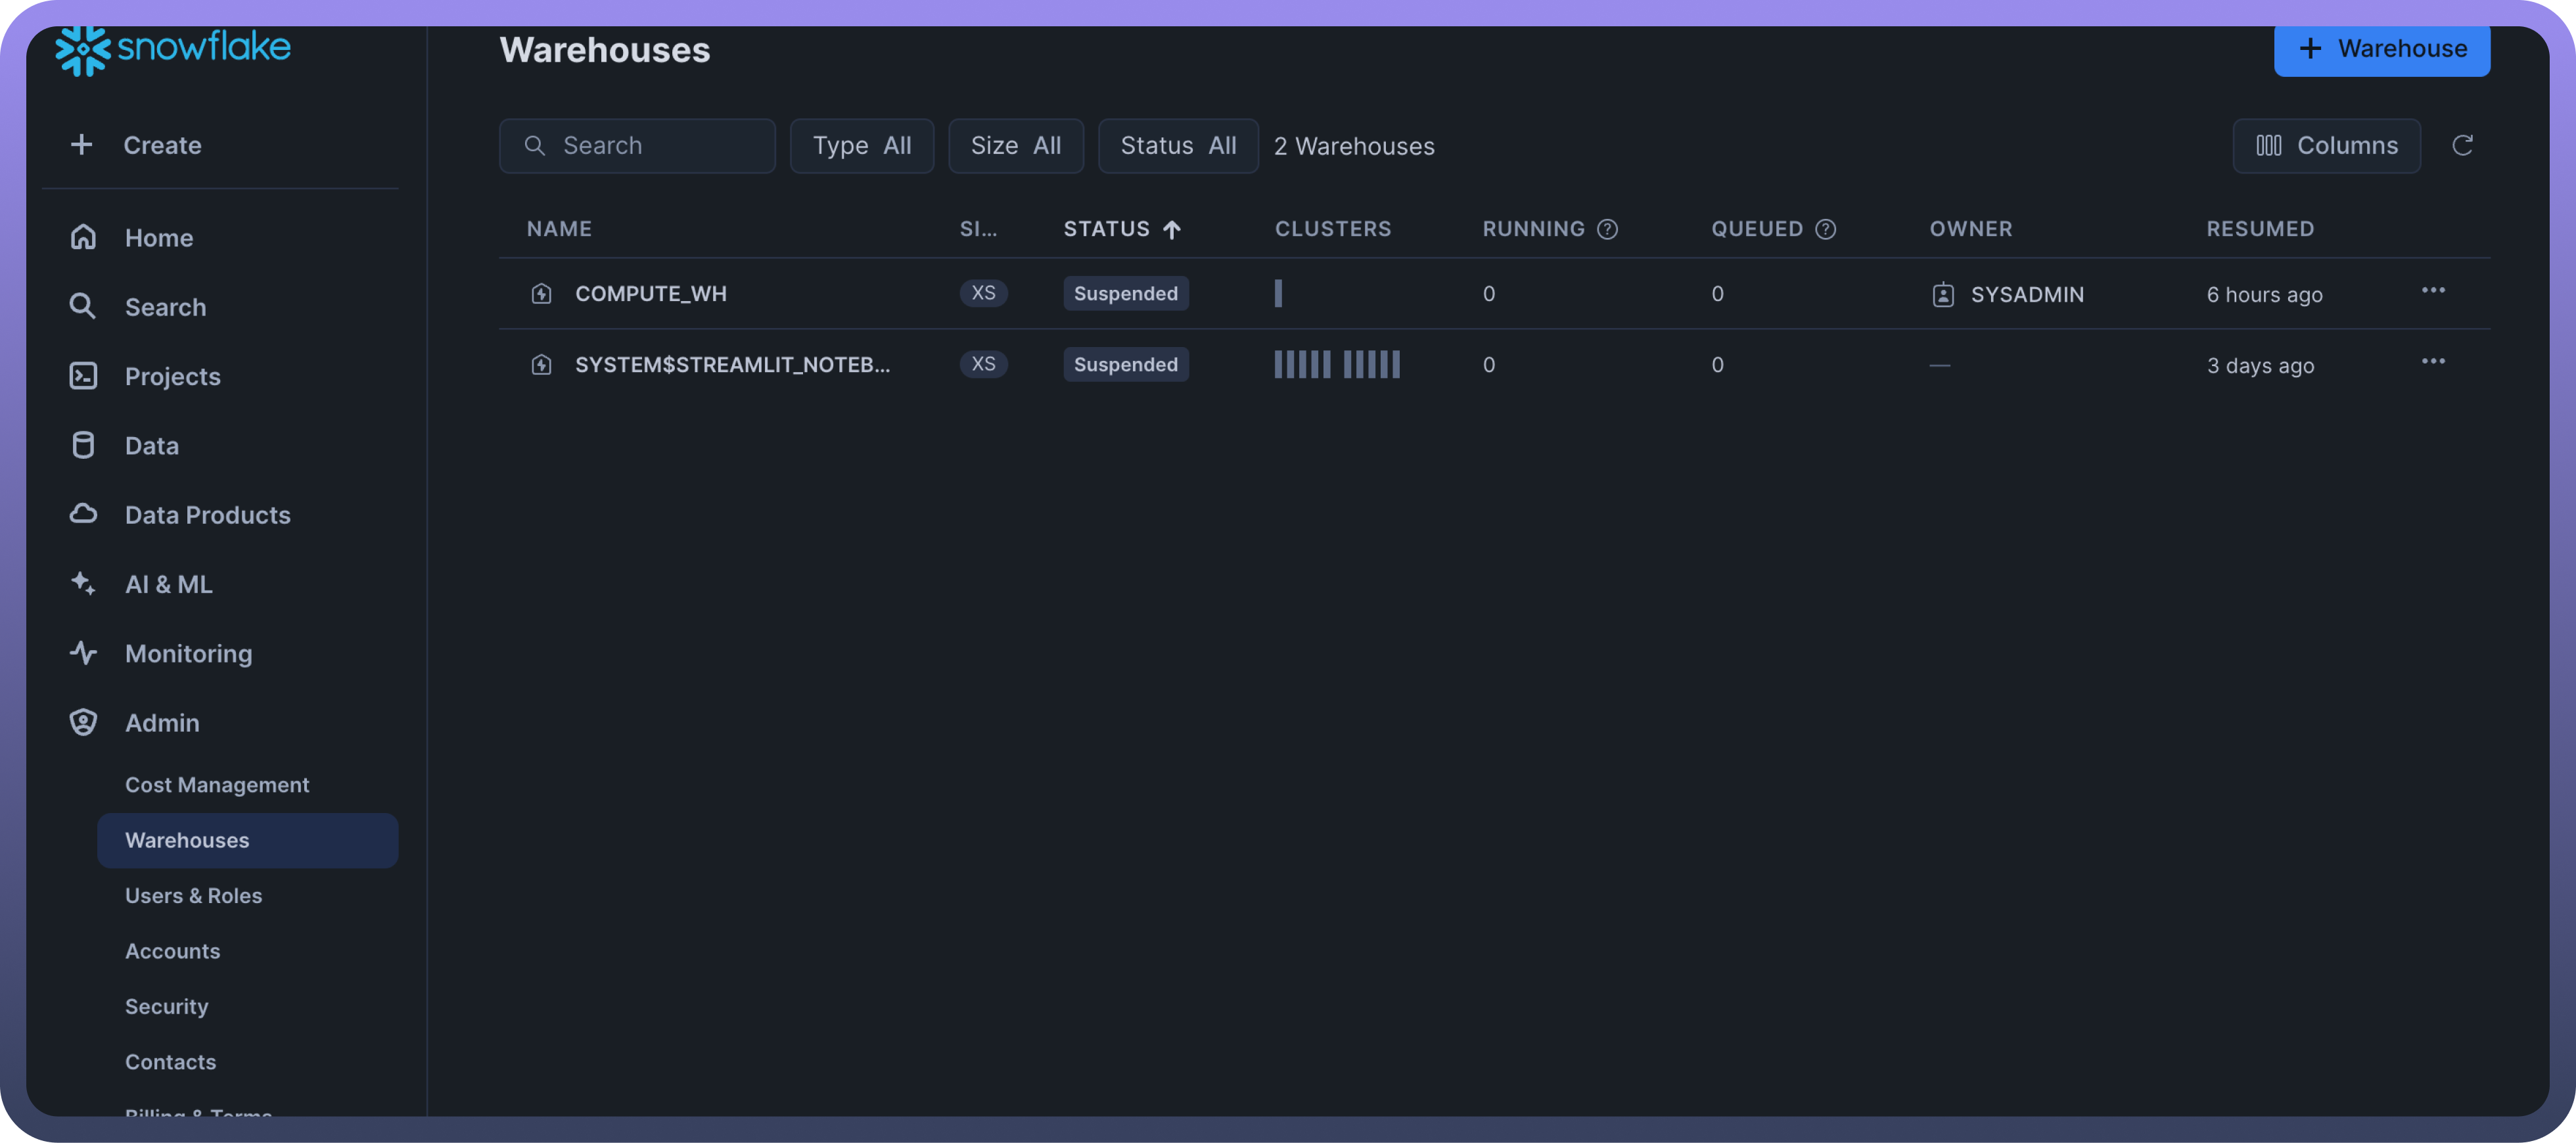
Warehouse Name: It is the compute resource that executes SQL queries. To view your warehouses, go to the left sidebar and click "Admin" then click "Warehouses". Here, you'll see a list of warehouse names and their details.
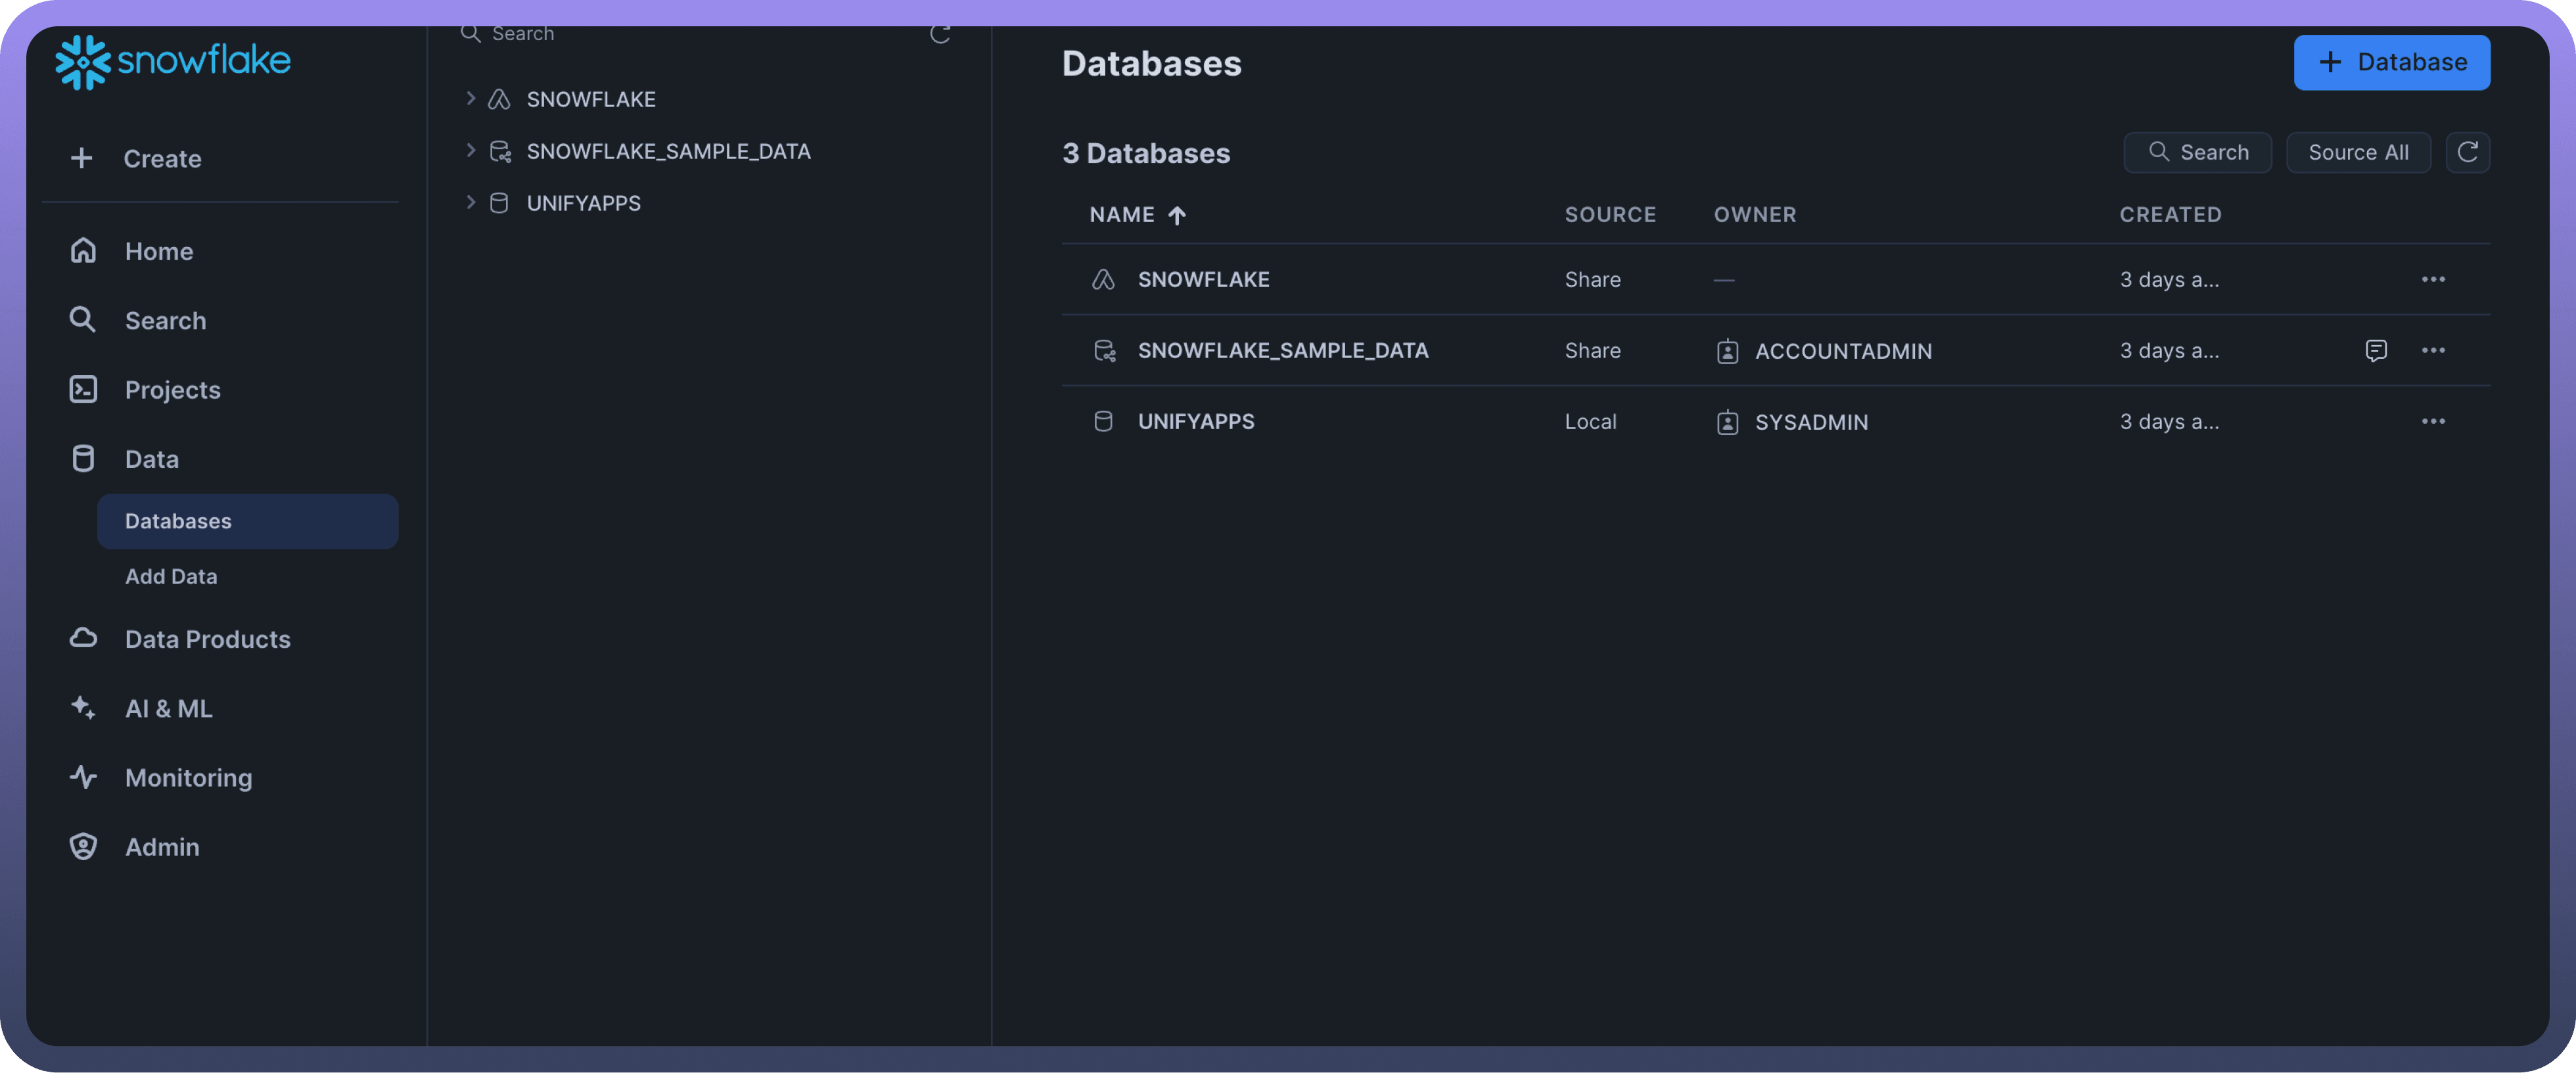
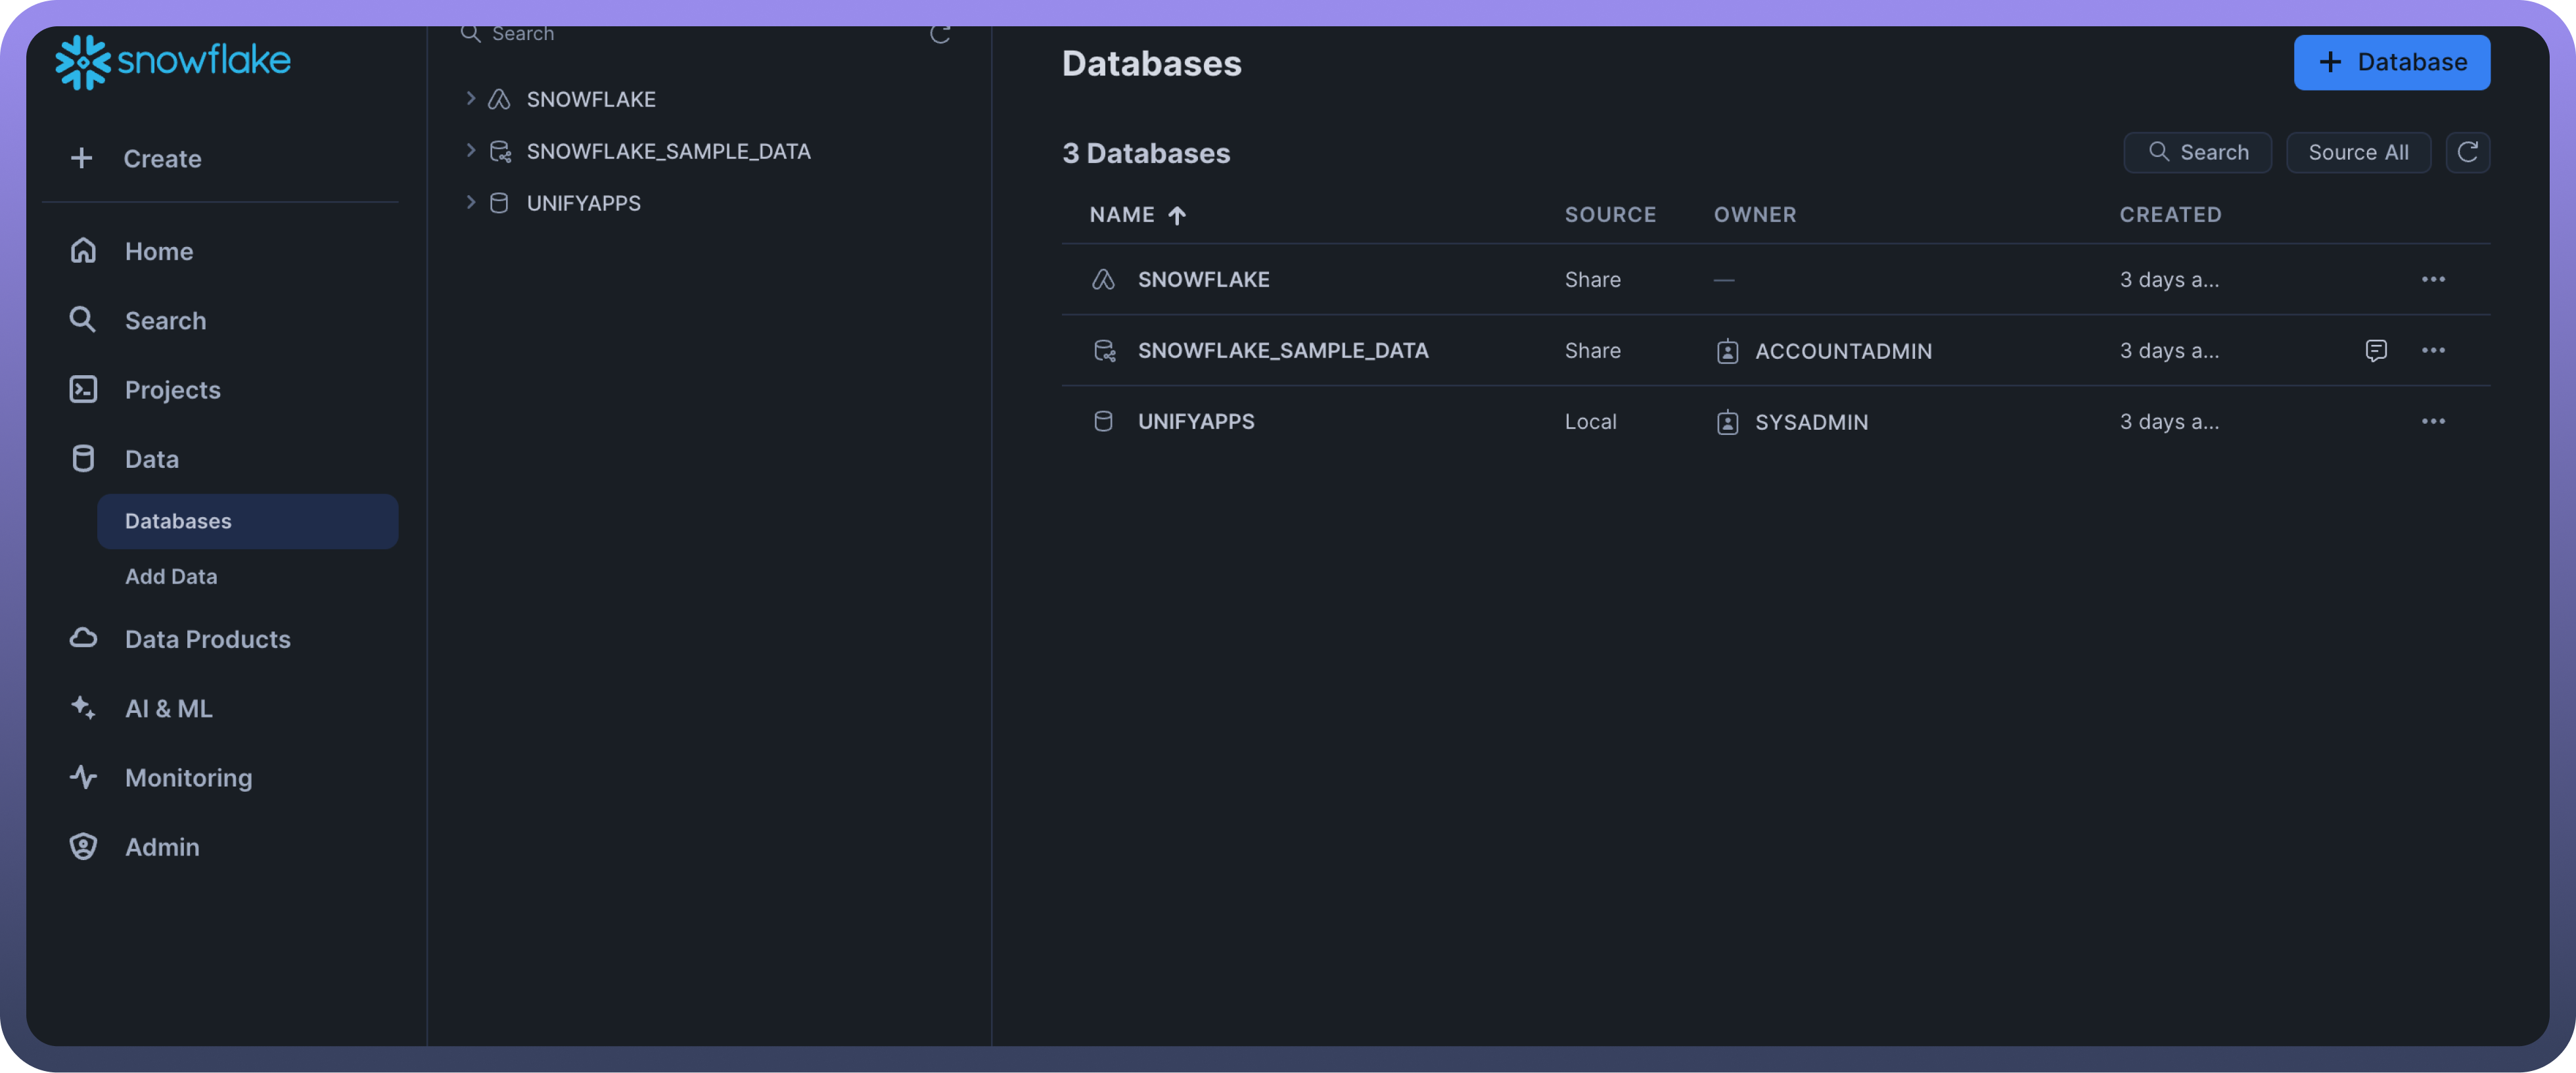
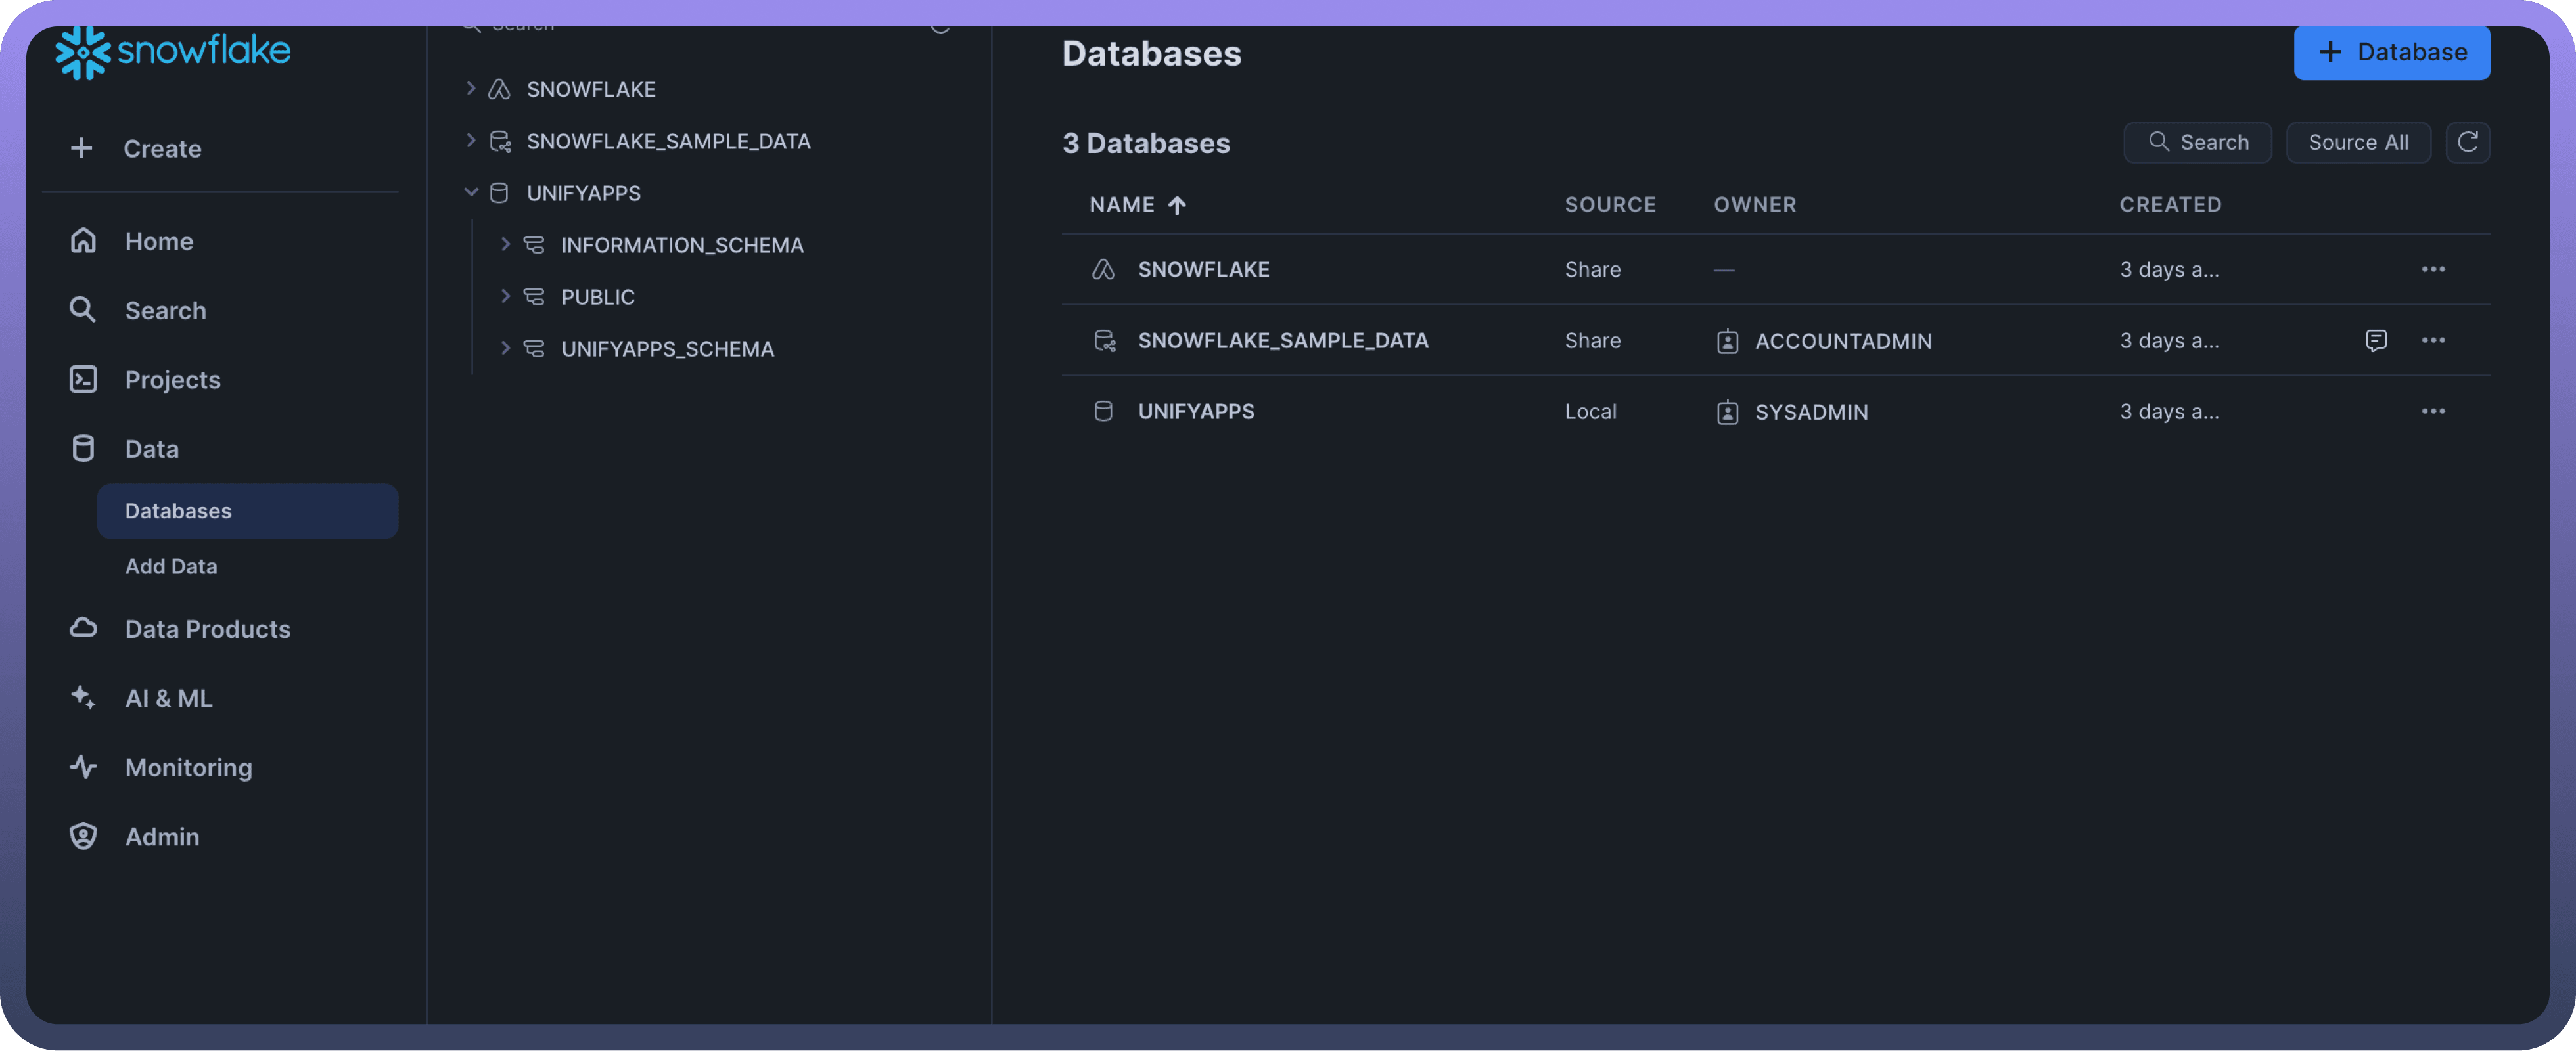
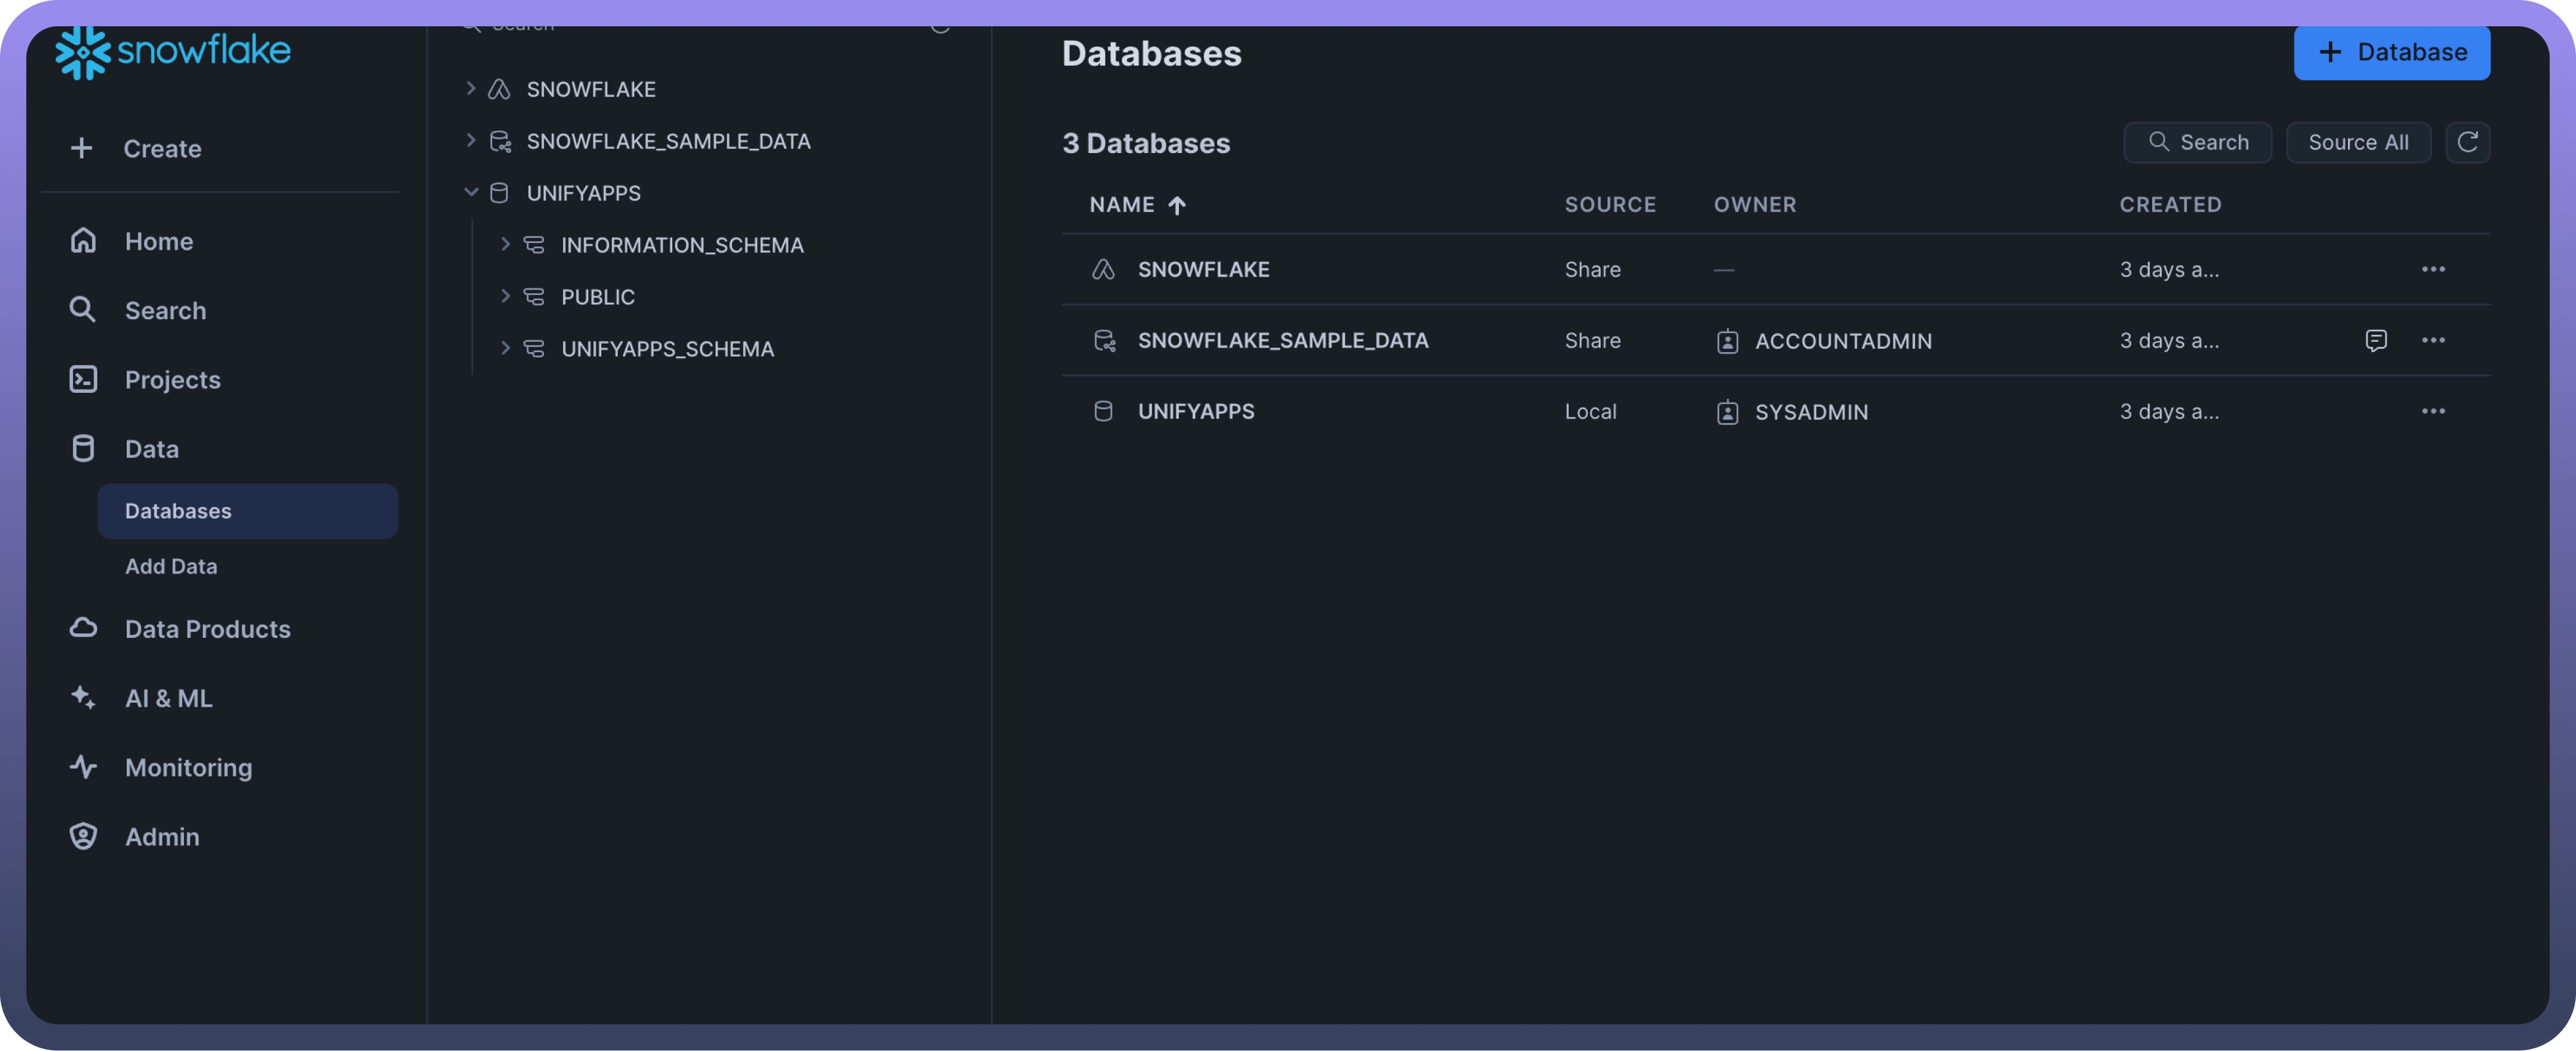
Database Name: It is another crucial piece of information. This is the container for your schemas and tables. To view your databases, go to the left sidebar and click "Data" then click "Databases". You'll see a list of all available databases.
Schema Name: To view schemas, first select a database, then click "Schemas" within that database. You'll see a list of all schemas in the selected database.
Actions
Action | Description |
| Deletes rows in a table using Snowflake |
| Executes SQL in Snowflake |
| Inserts a row in a table in Snowflake |
| Replicates a batch of rows to a table in Snowflake |
| Selects rows from a table in Snowflake |