
Introduction
Object selection is an important step in configuring your data pipelines within UnifyData.
This process involves choosing the necessary objects, such as tables in databases or folders in file storage systems like Amazon S3 and Google Cloud Storage.
In this article, we'll walk you through the process of object selection, helping you understand:
What objects and fields are in the context of data pipelines
How to select objects and fields in UnifyData
Best practices for efficient object selection
Understanding Pipeline Objects
UnifyData works with various types of source systems which have different structures of storing data such as SQL databases, applications etc.
These objects include:
Tables: Tables are the most common database objects, especially in relational databases. They organize data into rows (records) and columns (fields).Files: In file-based storage systems, files are the primary data objects. Can include CSV, JSON, XML, or other structured and semi-structured data formats.Folders: Folders organize files in a hierarchical structure. It is common in cloud storage systems like Amazon S3 or Google Cloud Storage.Entities: Applications such as Microsoft Dynamics 365 store data in the form of entities.
Steps for Object Selection
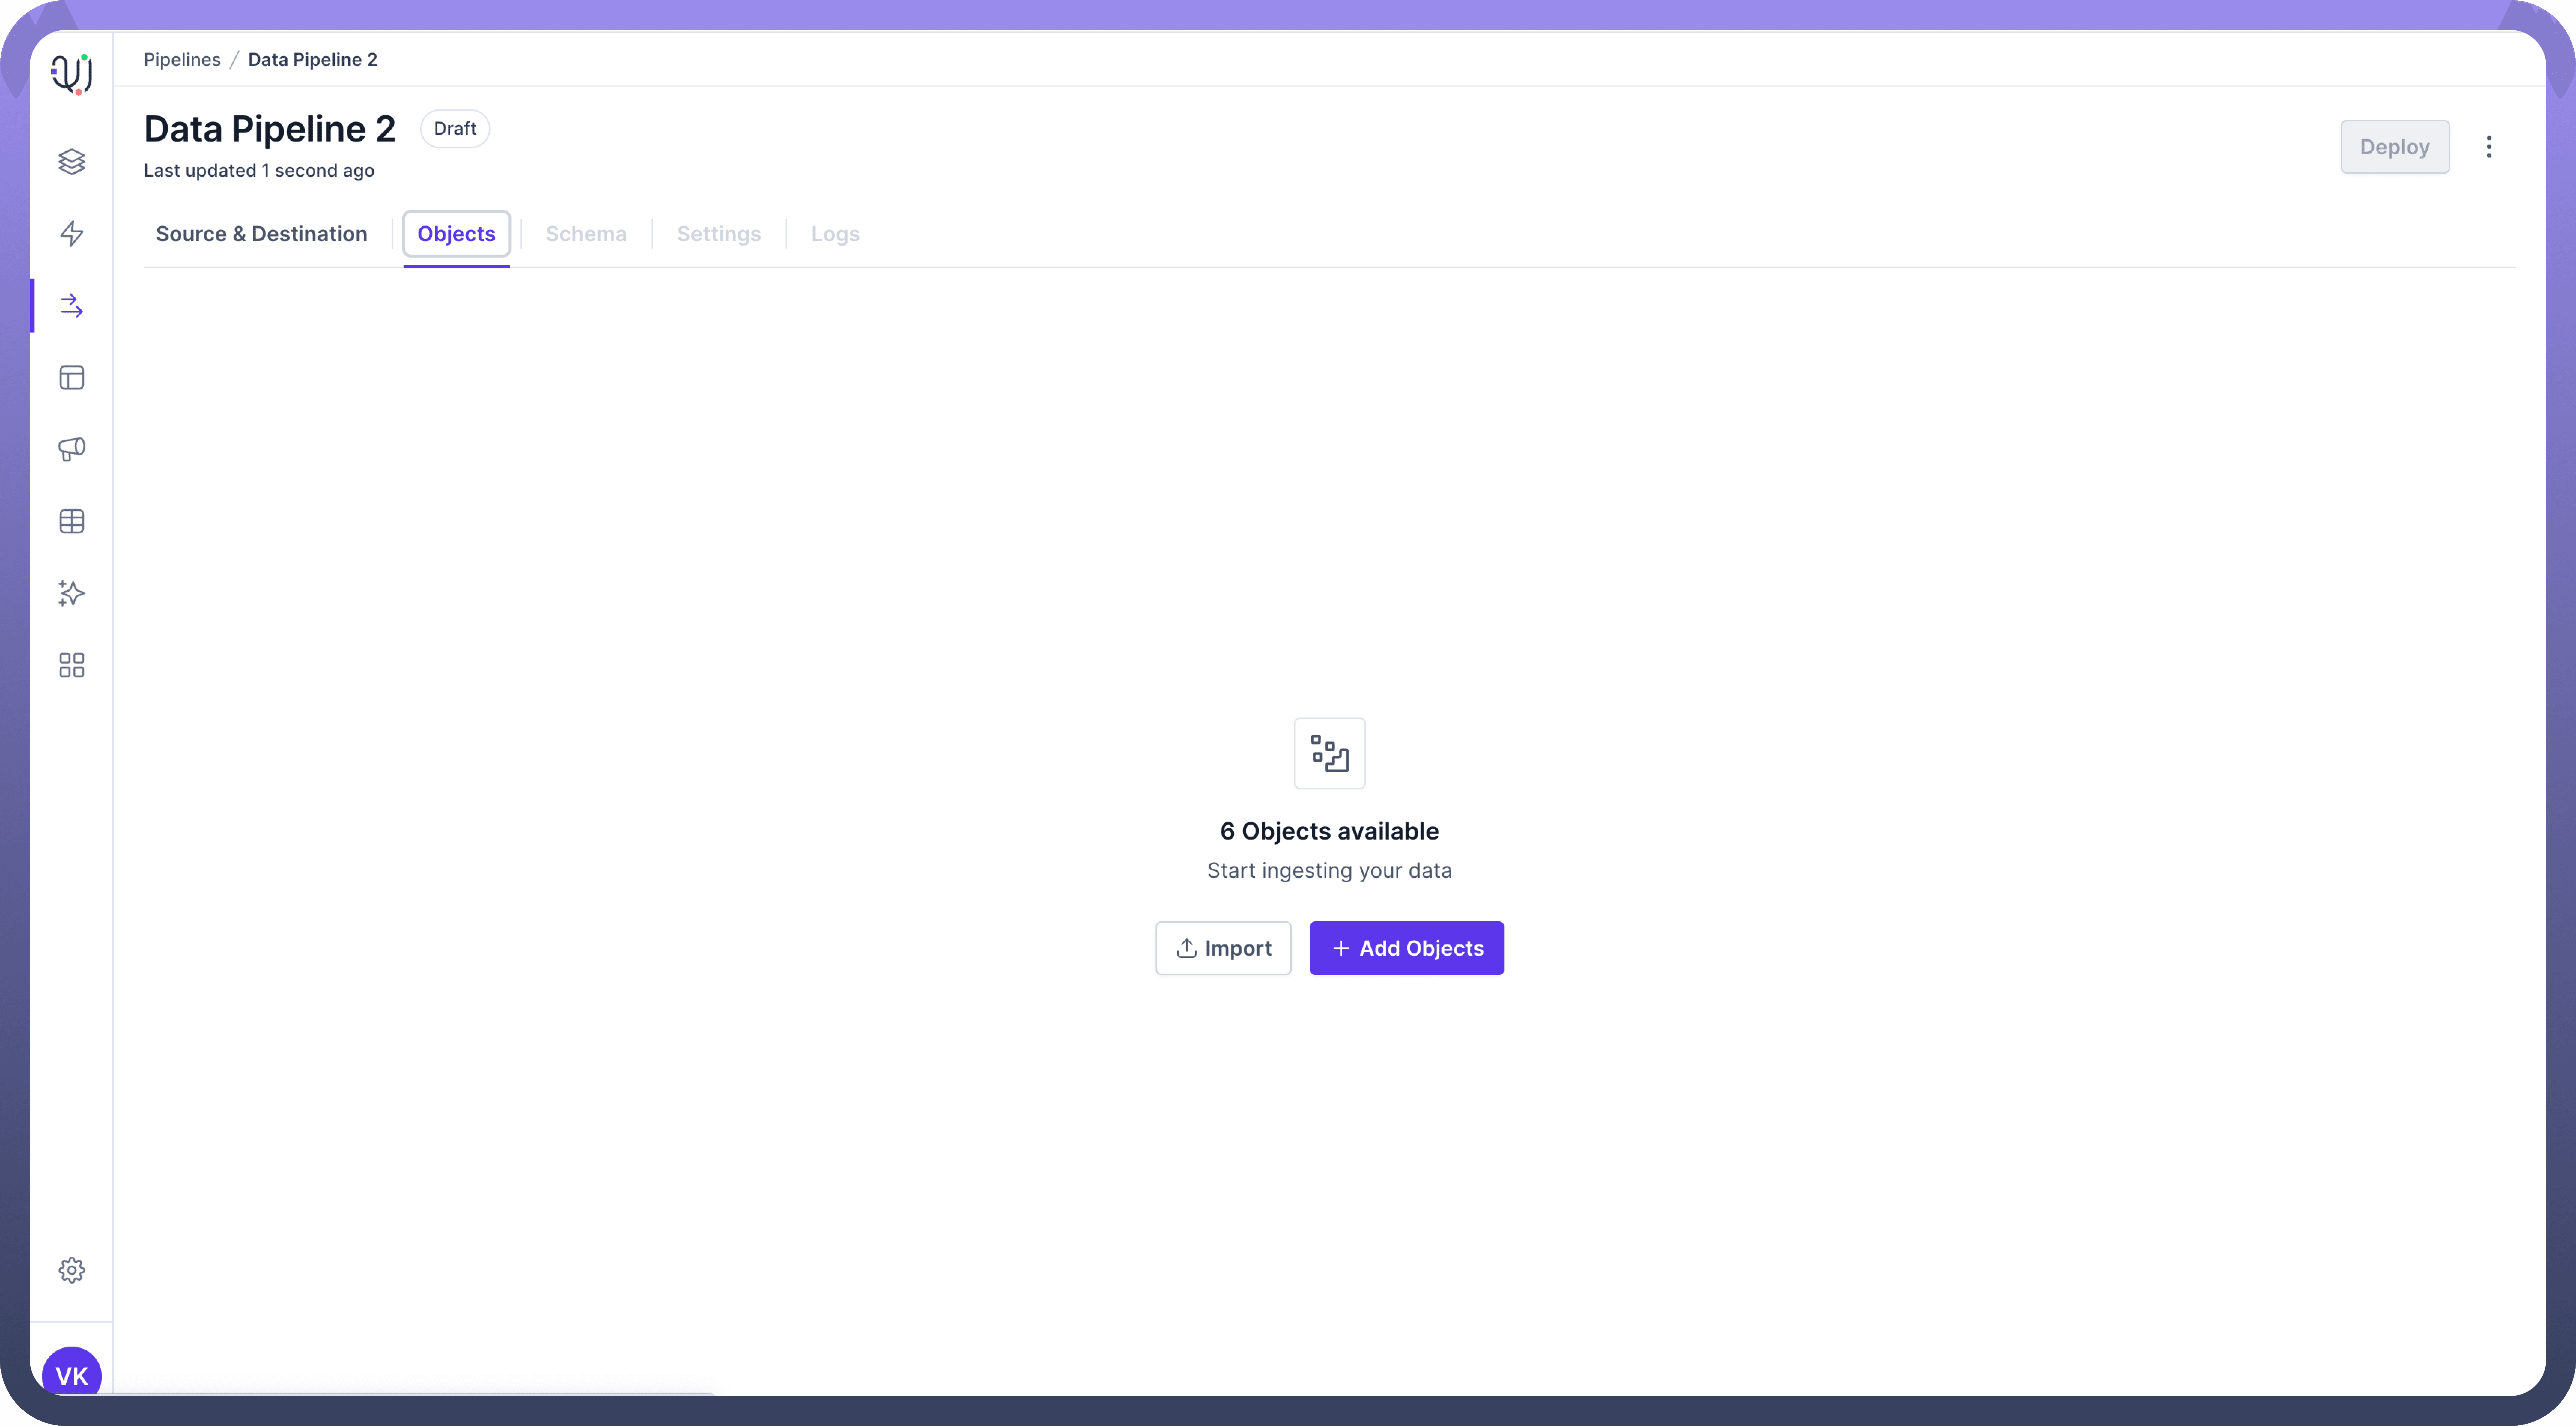
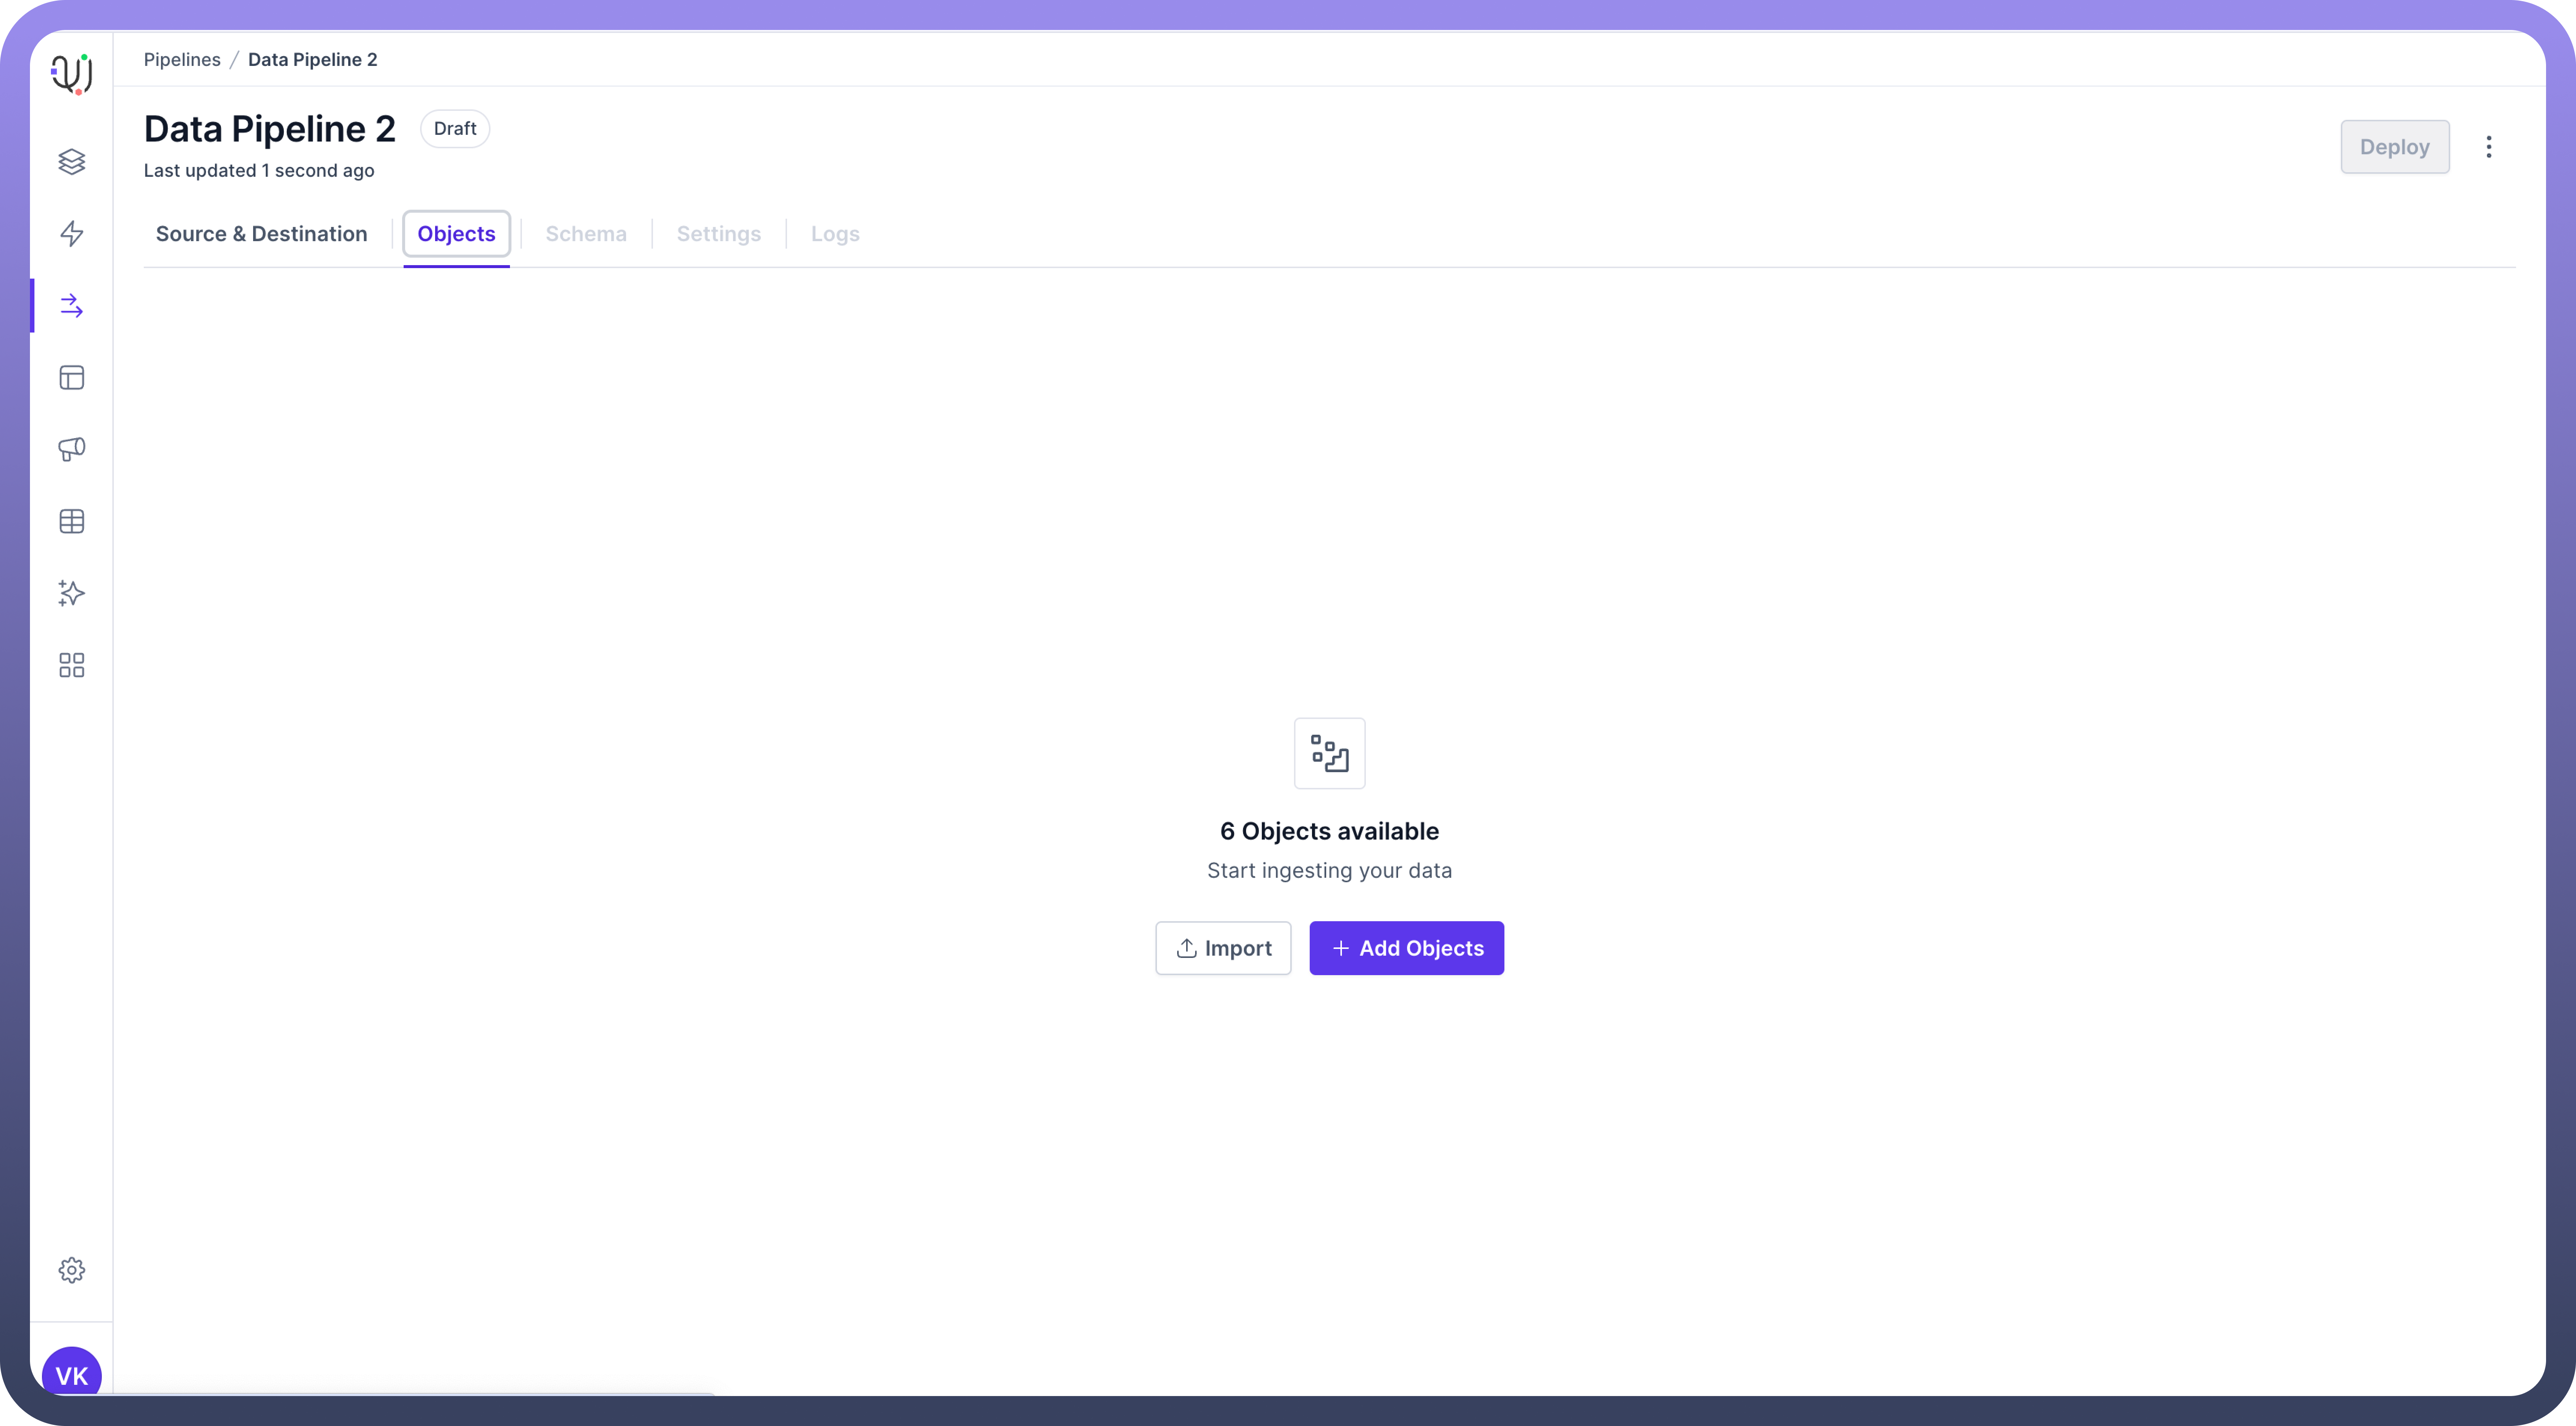
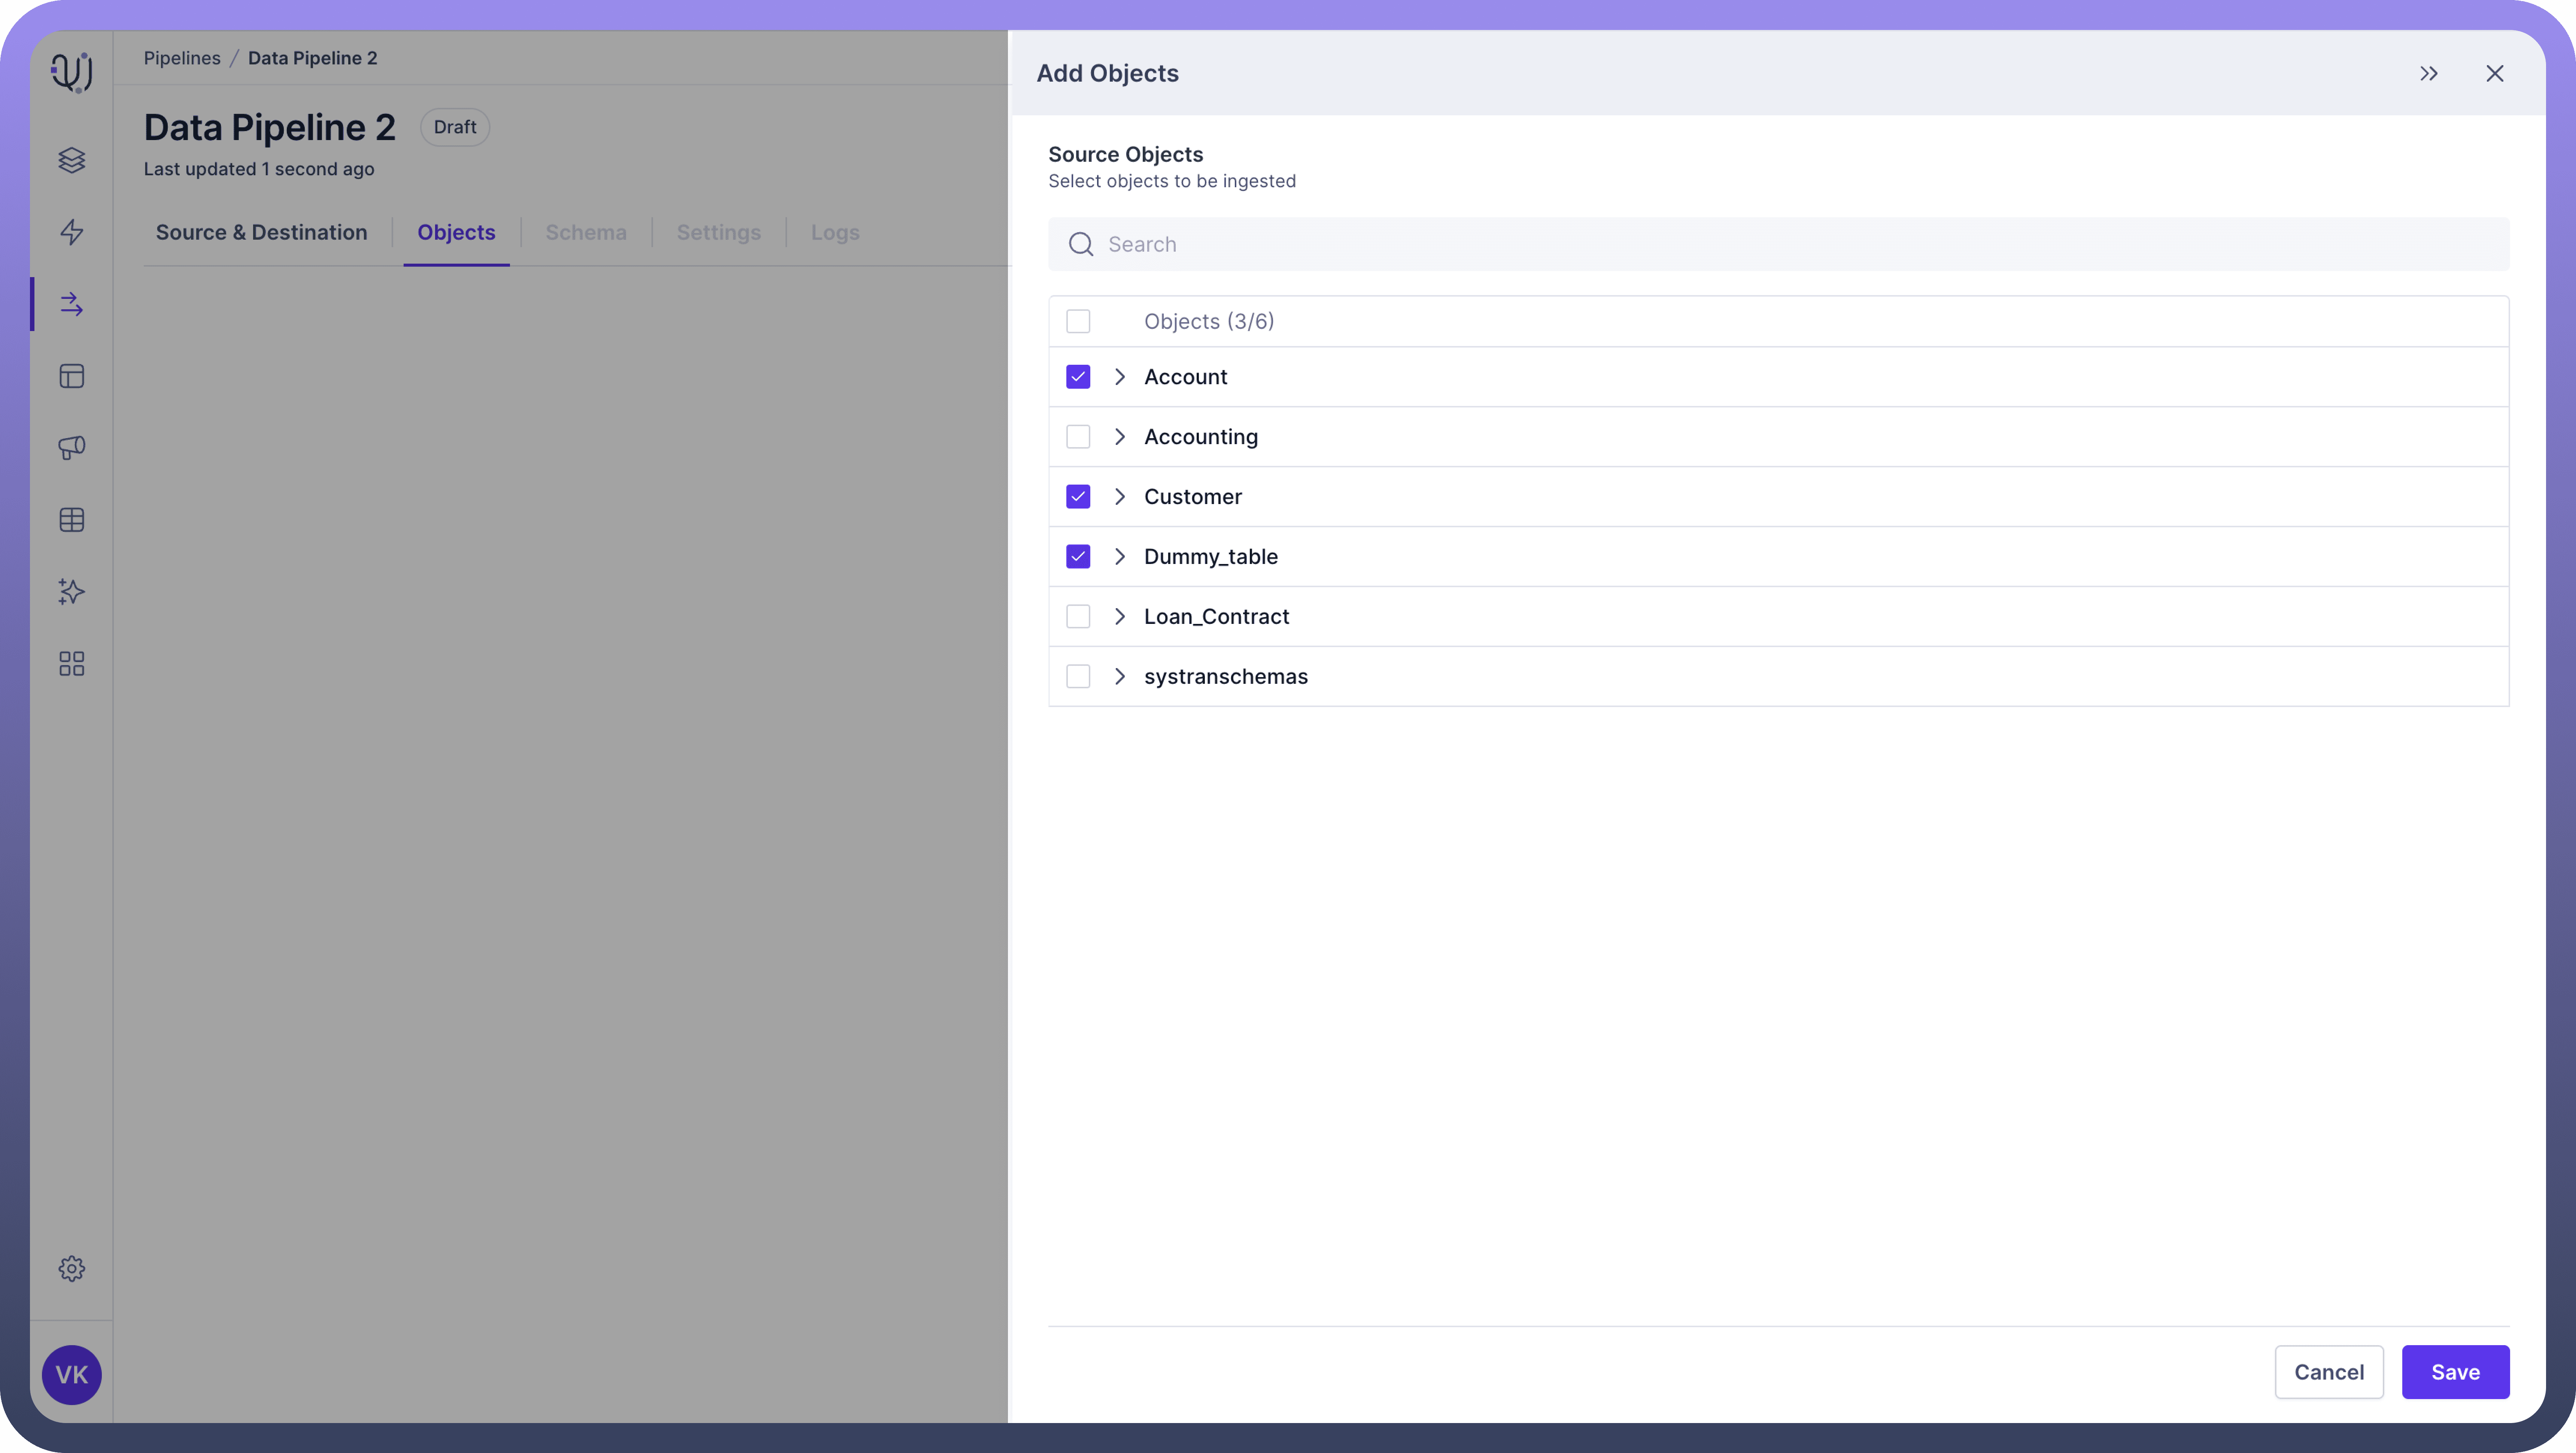
Add Objects
In the 'Objects' tab, you can add the necessary objects from the source to your data pipeline.
Click on Add Objects:Click the
Add Objectsbutton.This action will open a third pane displaying the available objects from the source.
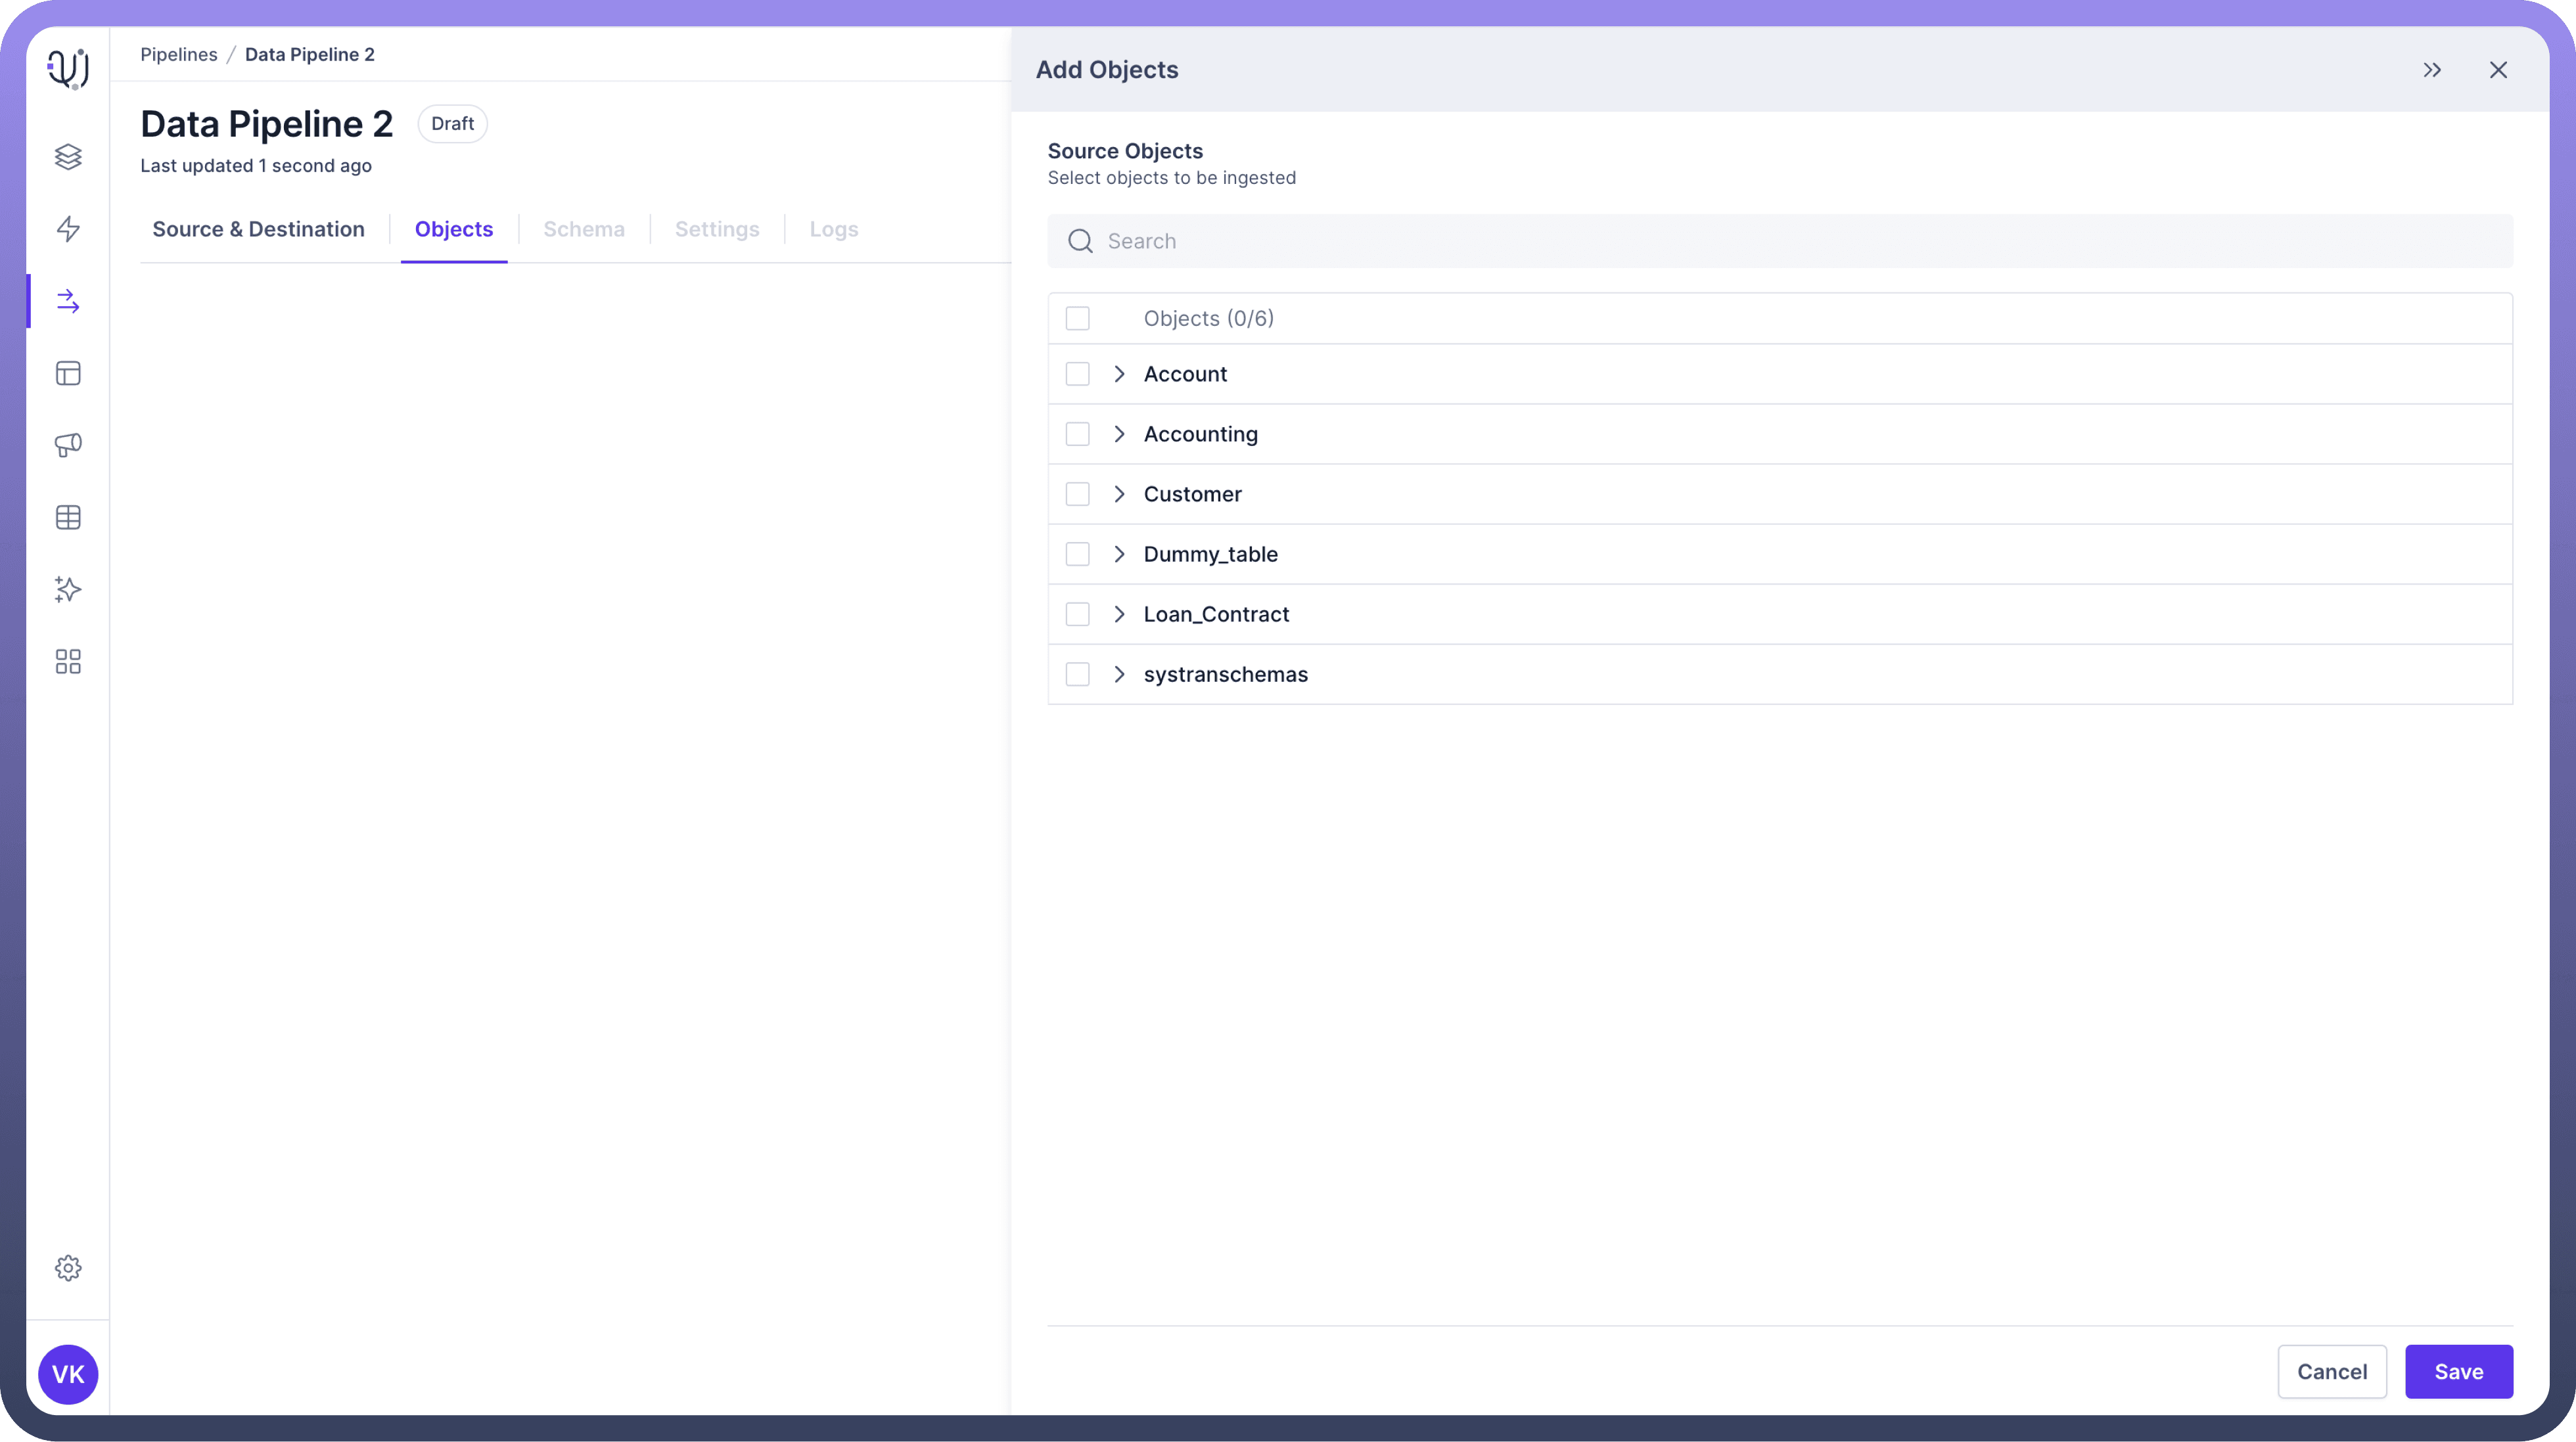
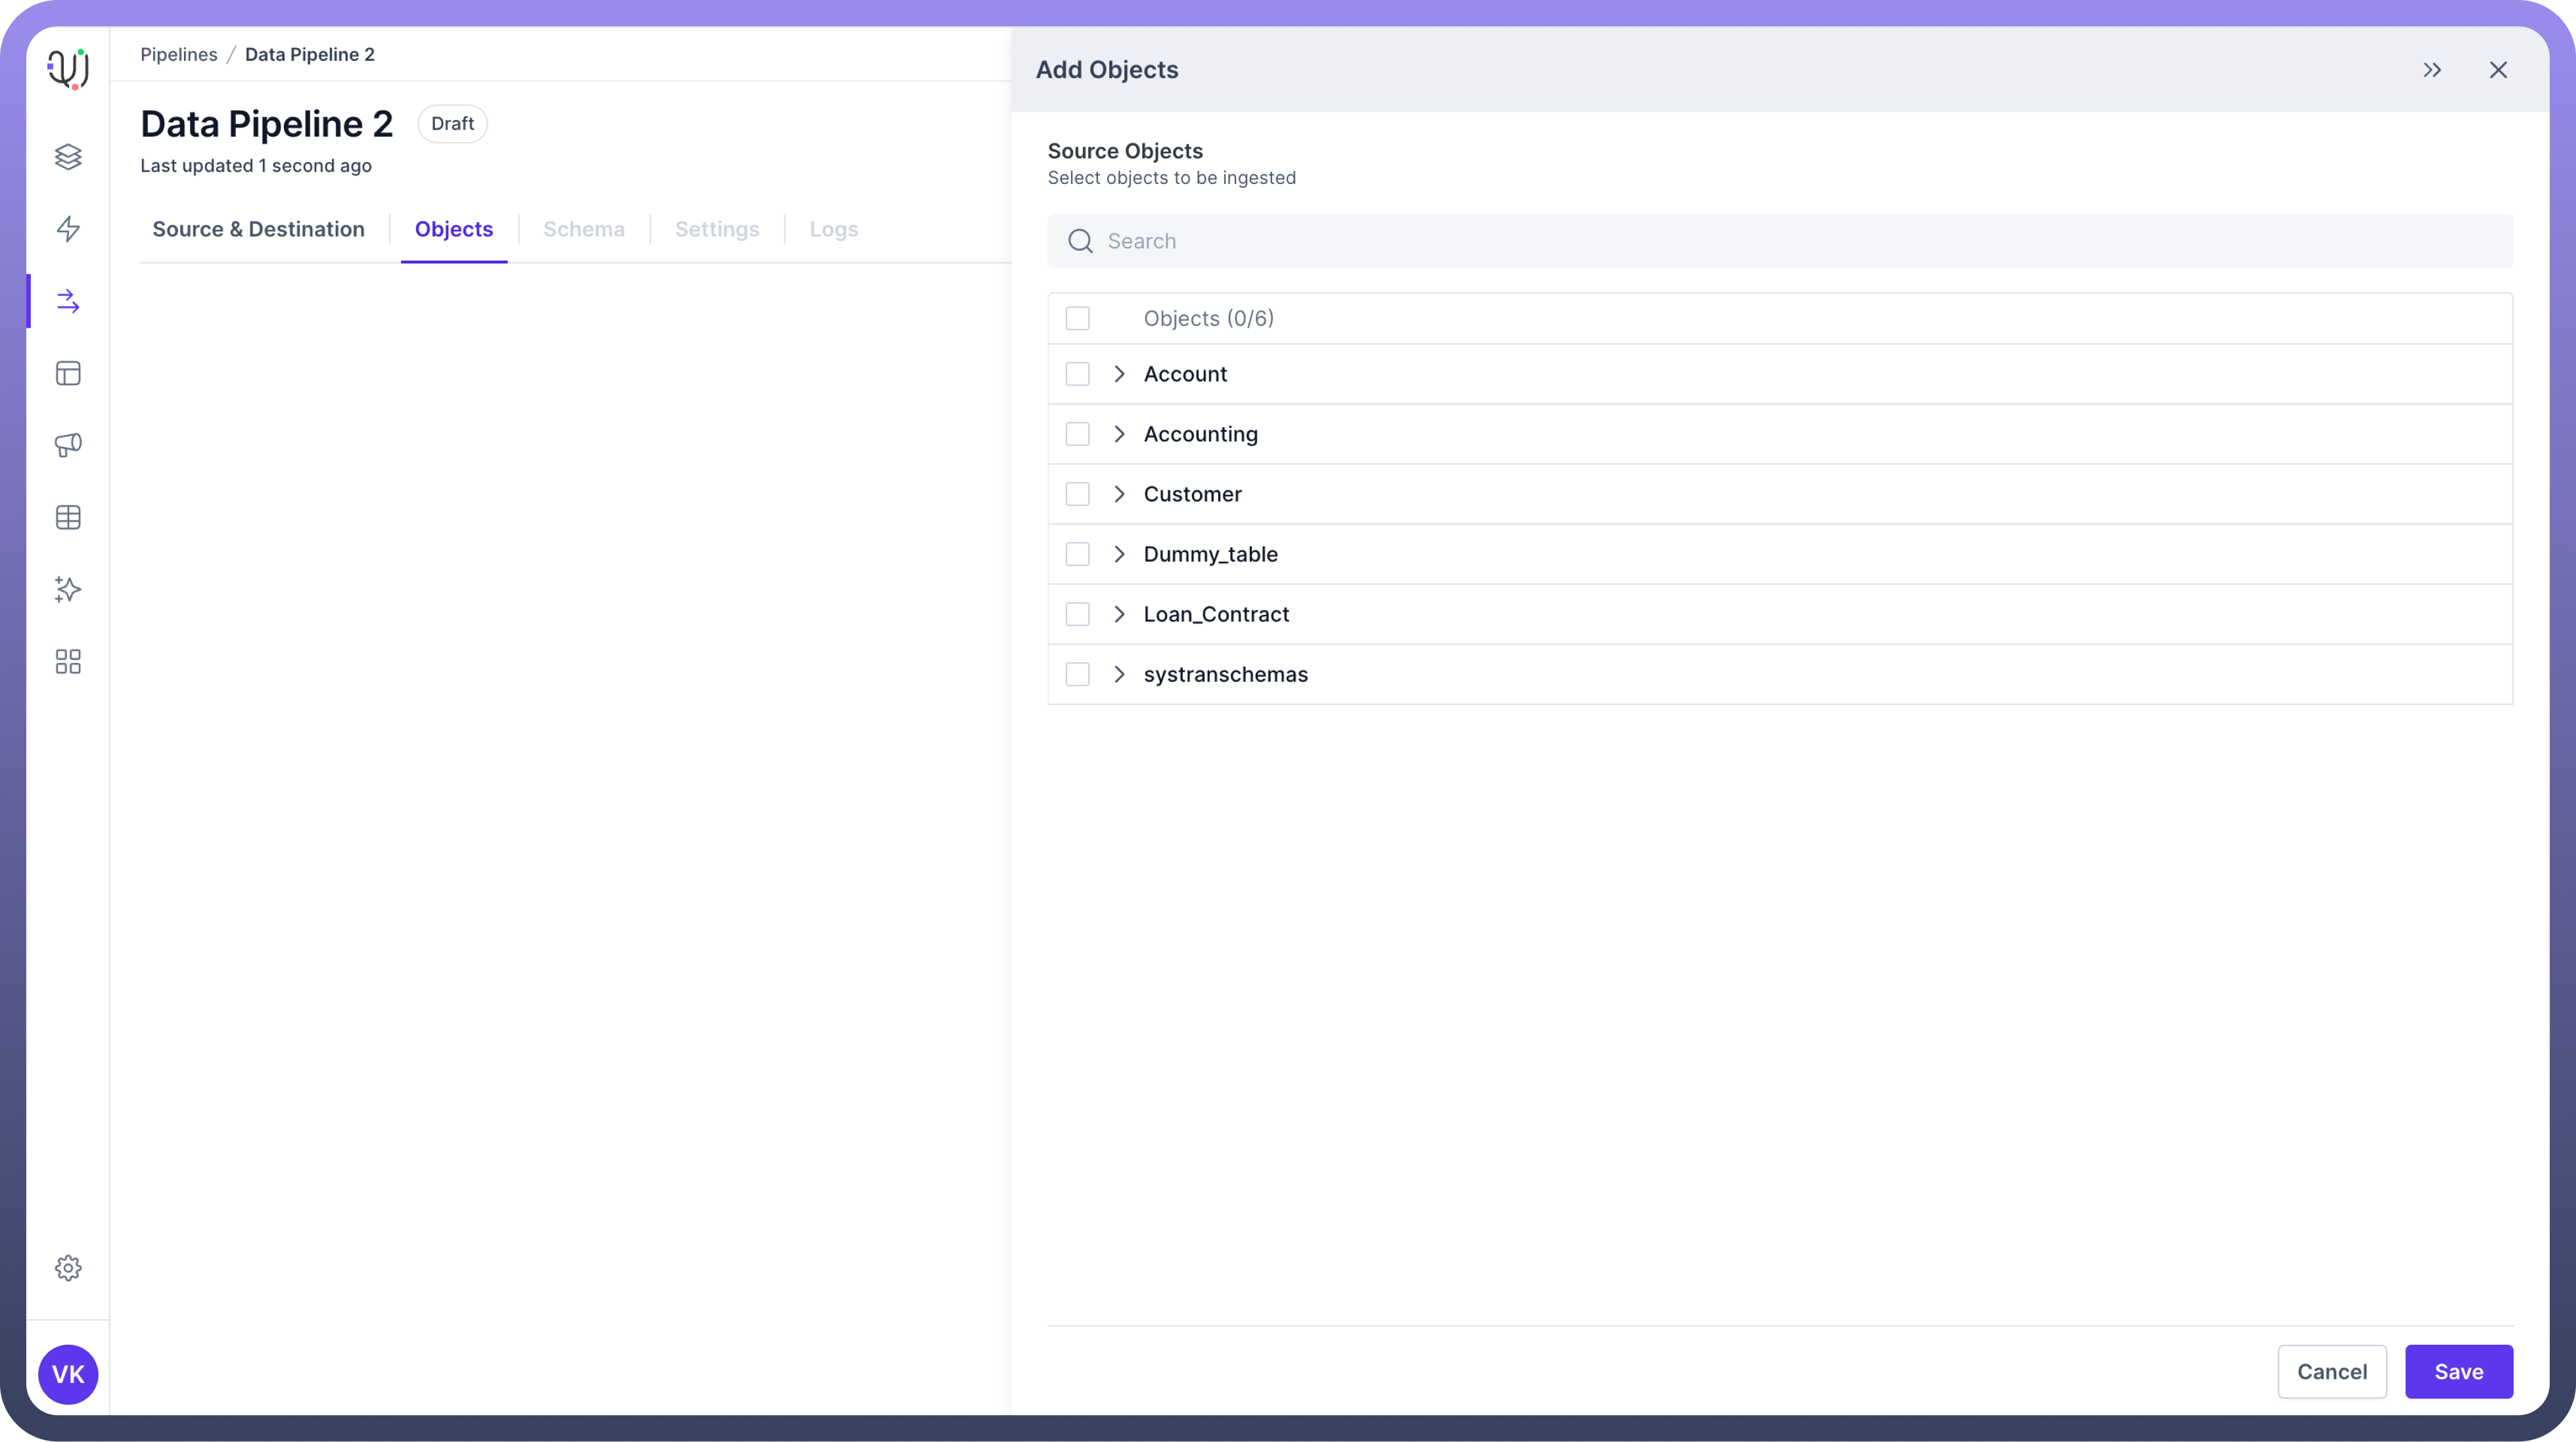
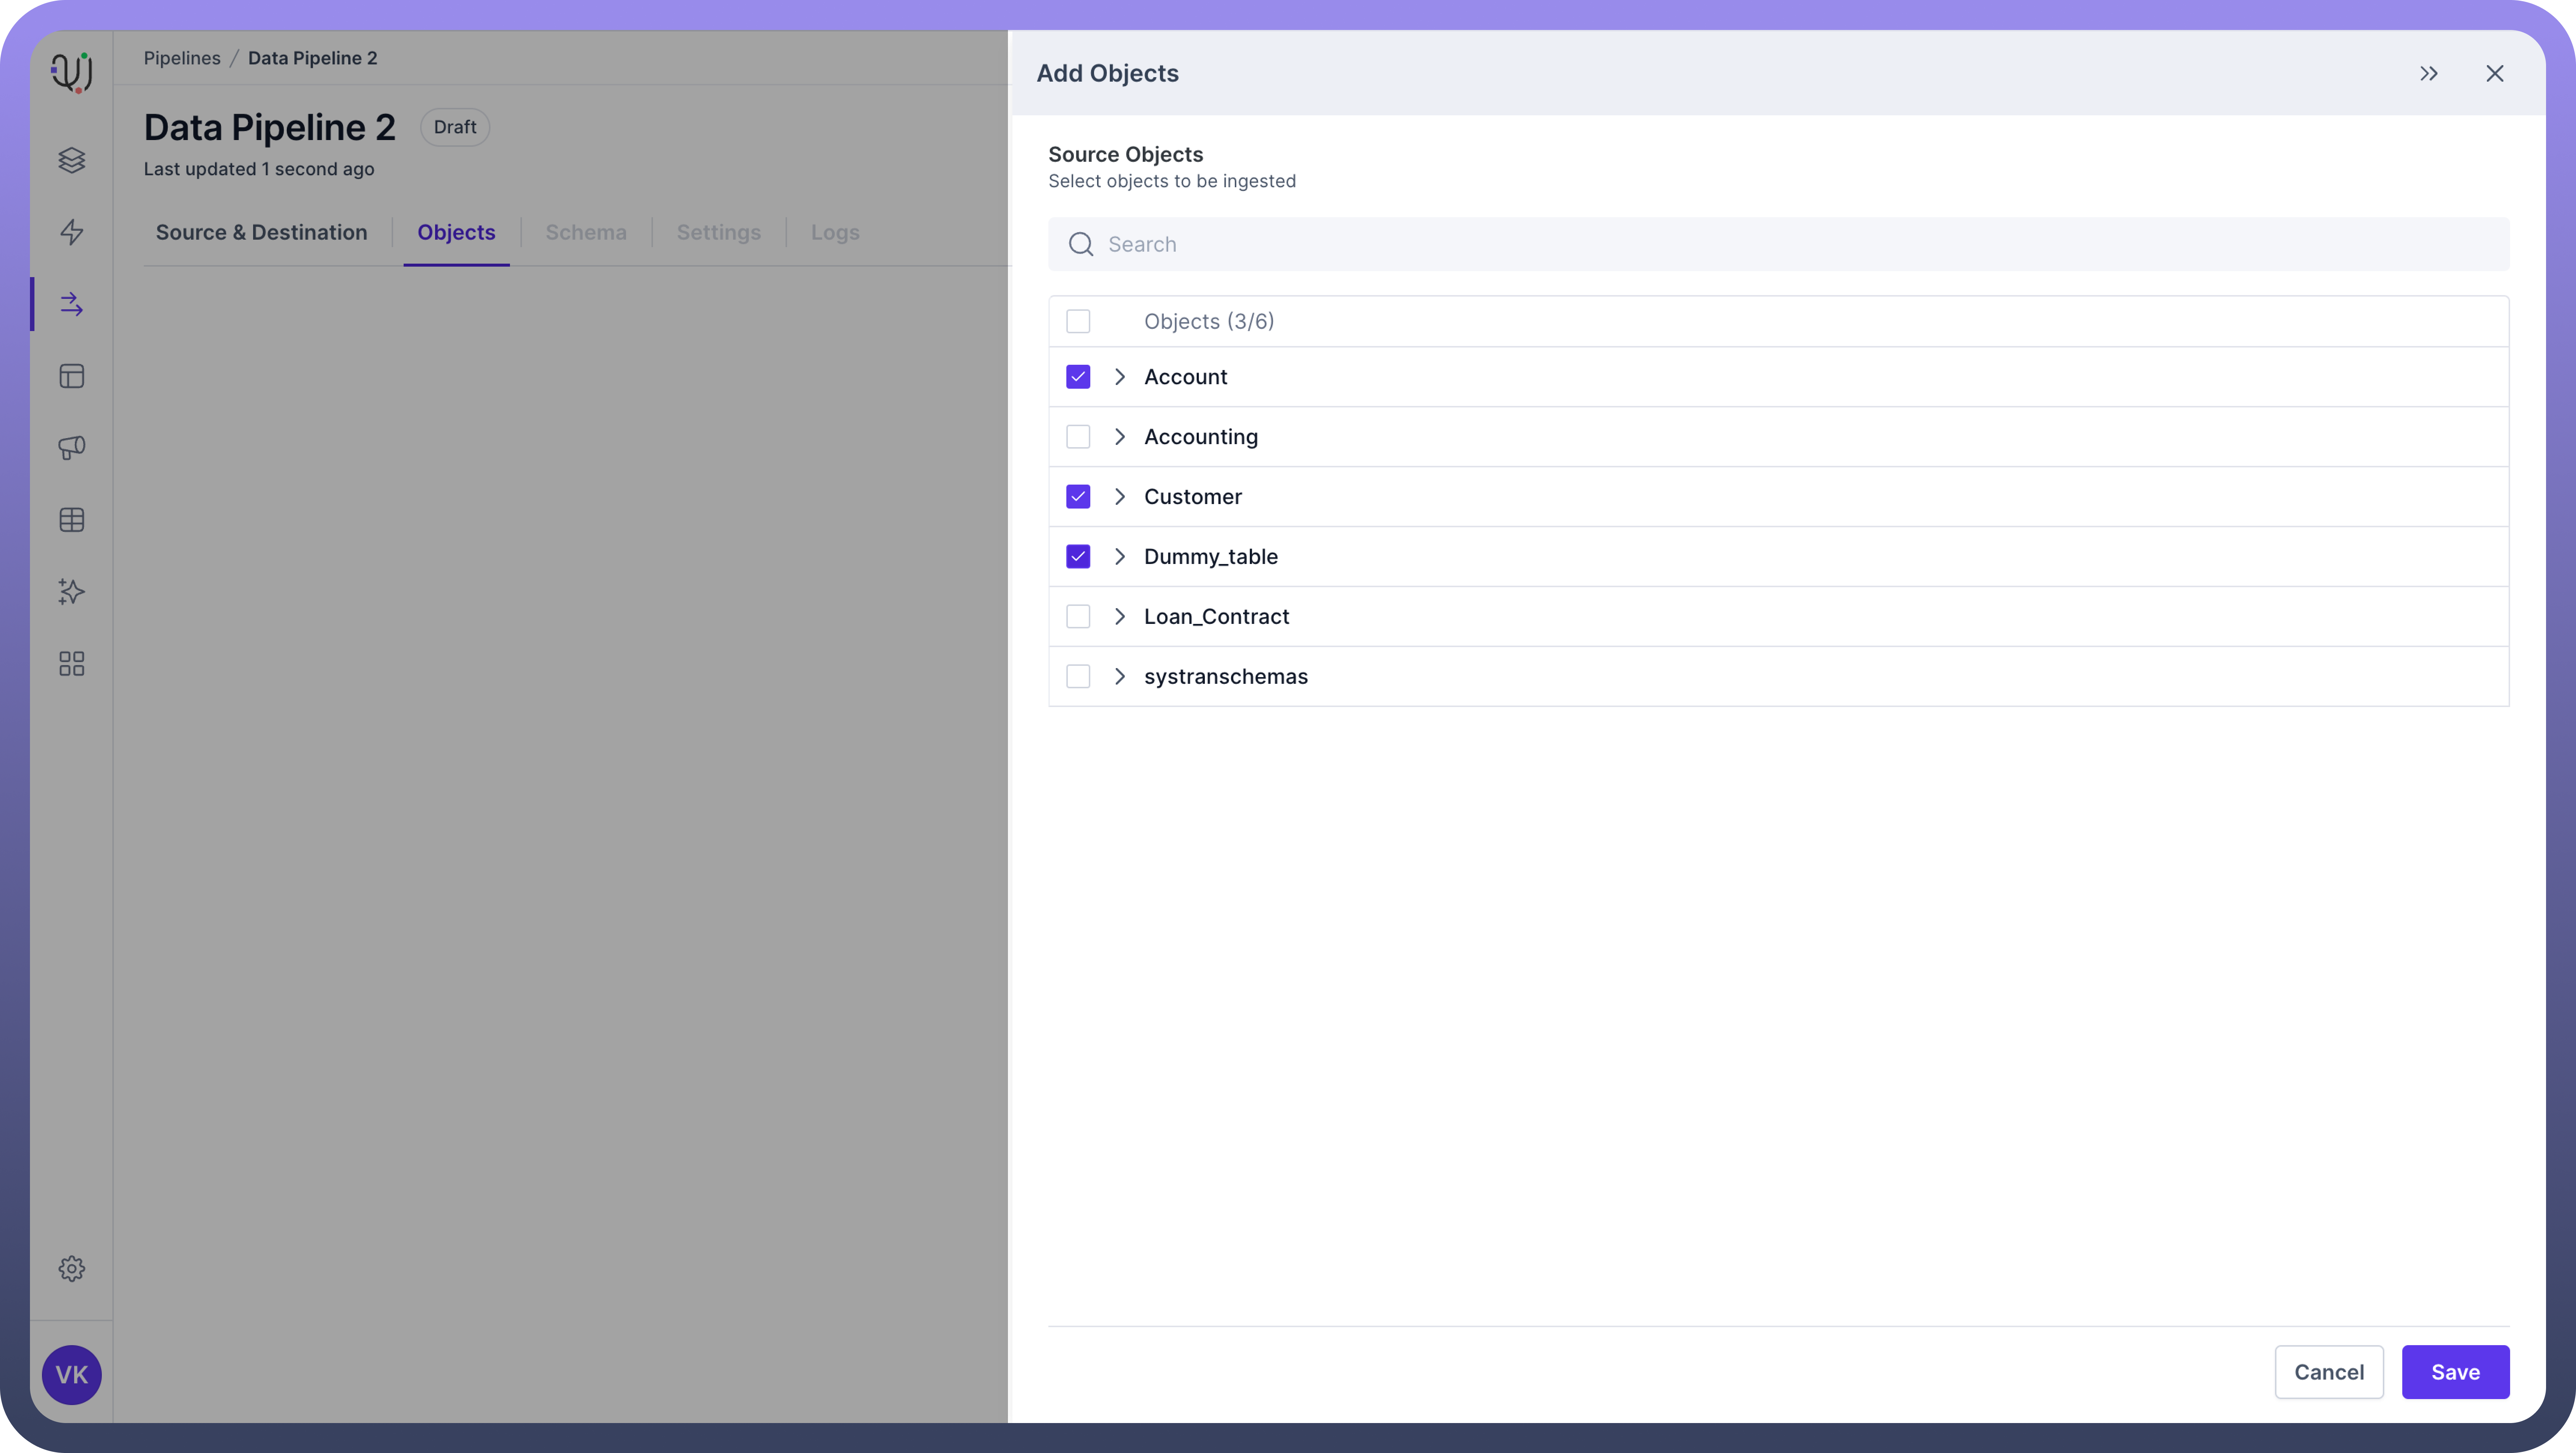
Select Objects
Choose the objects you need by following these steps:Select the Required Objects:
Select the objects you need by checking the box next to each object name.
Expand Objects to View Fields/Folders:
Click on an object name to expand it and view its fields or sub-folders.
For database tables, you'll see a list of fields (columns).
For file storage systems, you might see sub-folders.
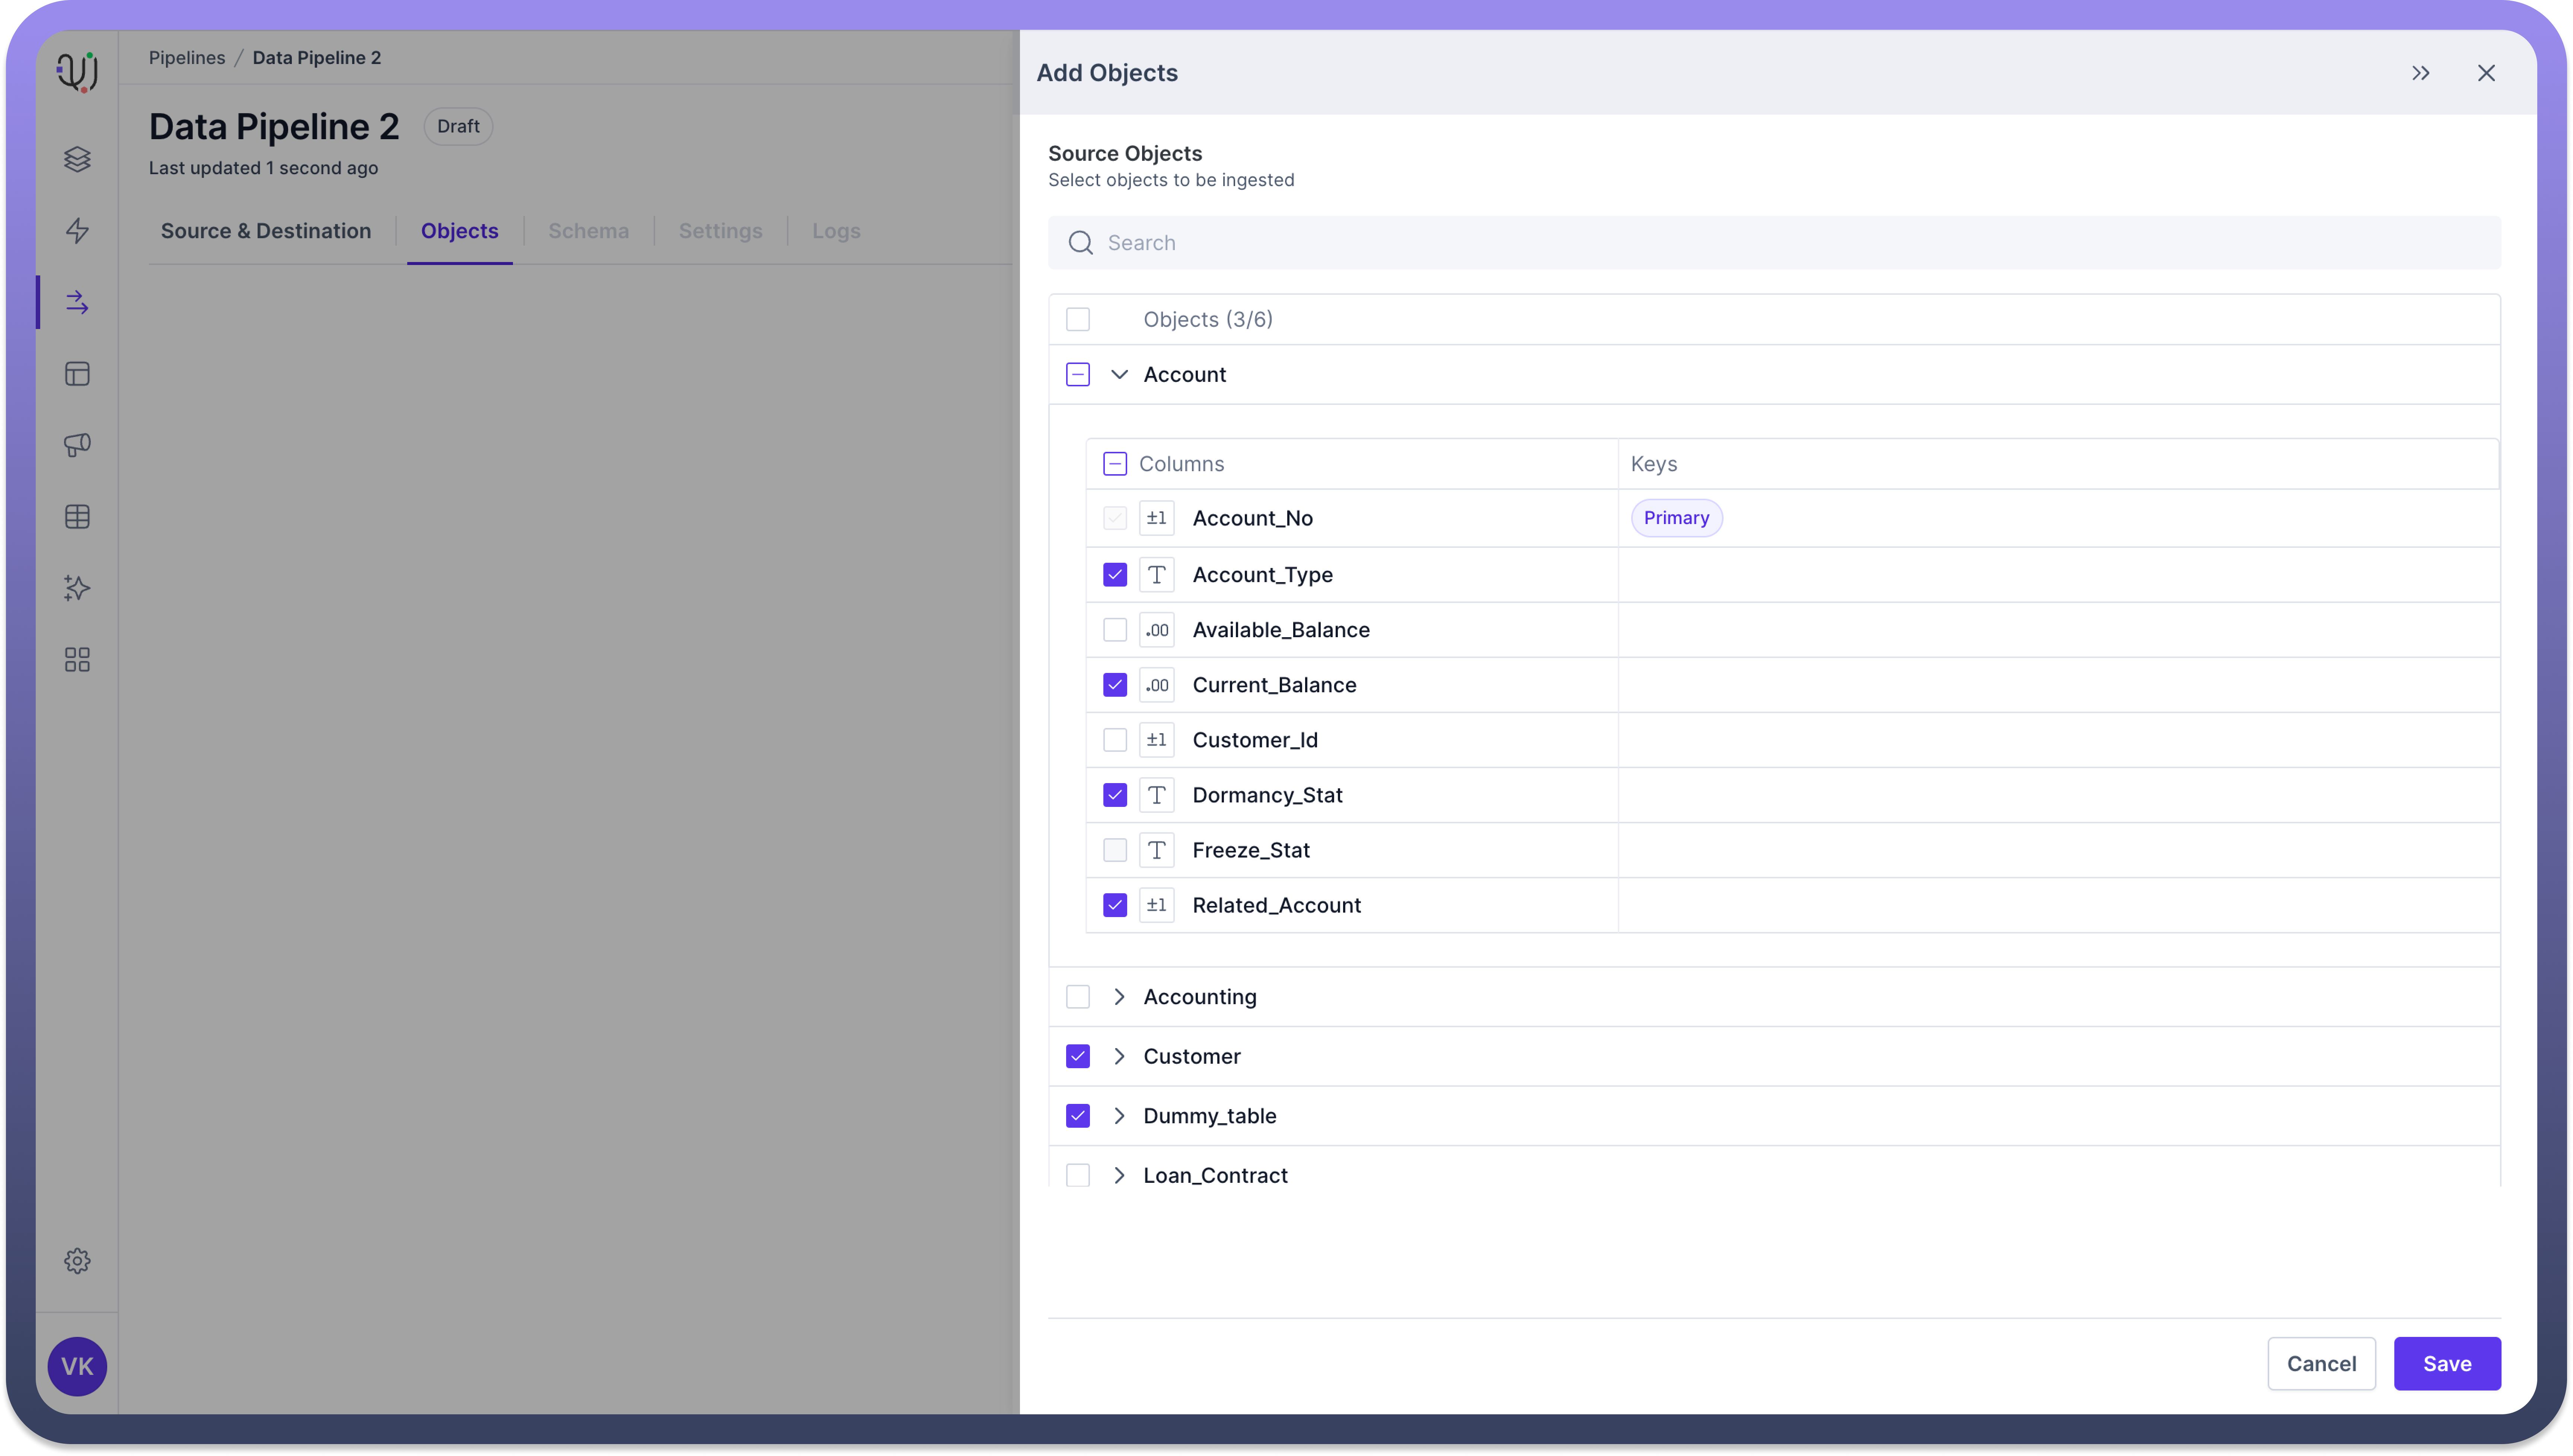
Select Fields
After expanding the objects, you can selectively choose the fields or sub-folders required for your data pipeline.Choose the Necessary Fields/Folders:
Check the
boxesnext to the fields or folders you need.The
Primary Keyswill be indicated in a separate column for database tables.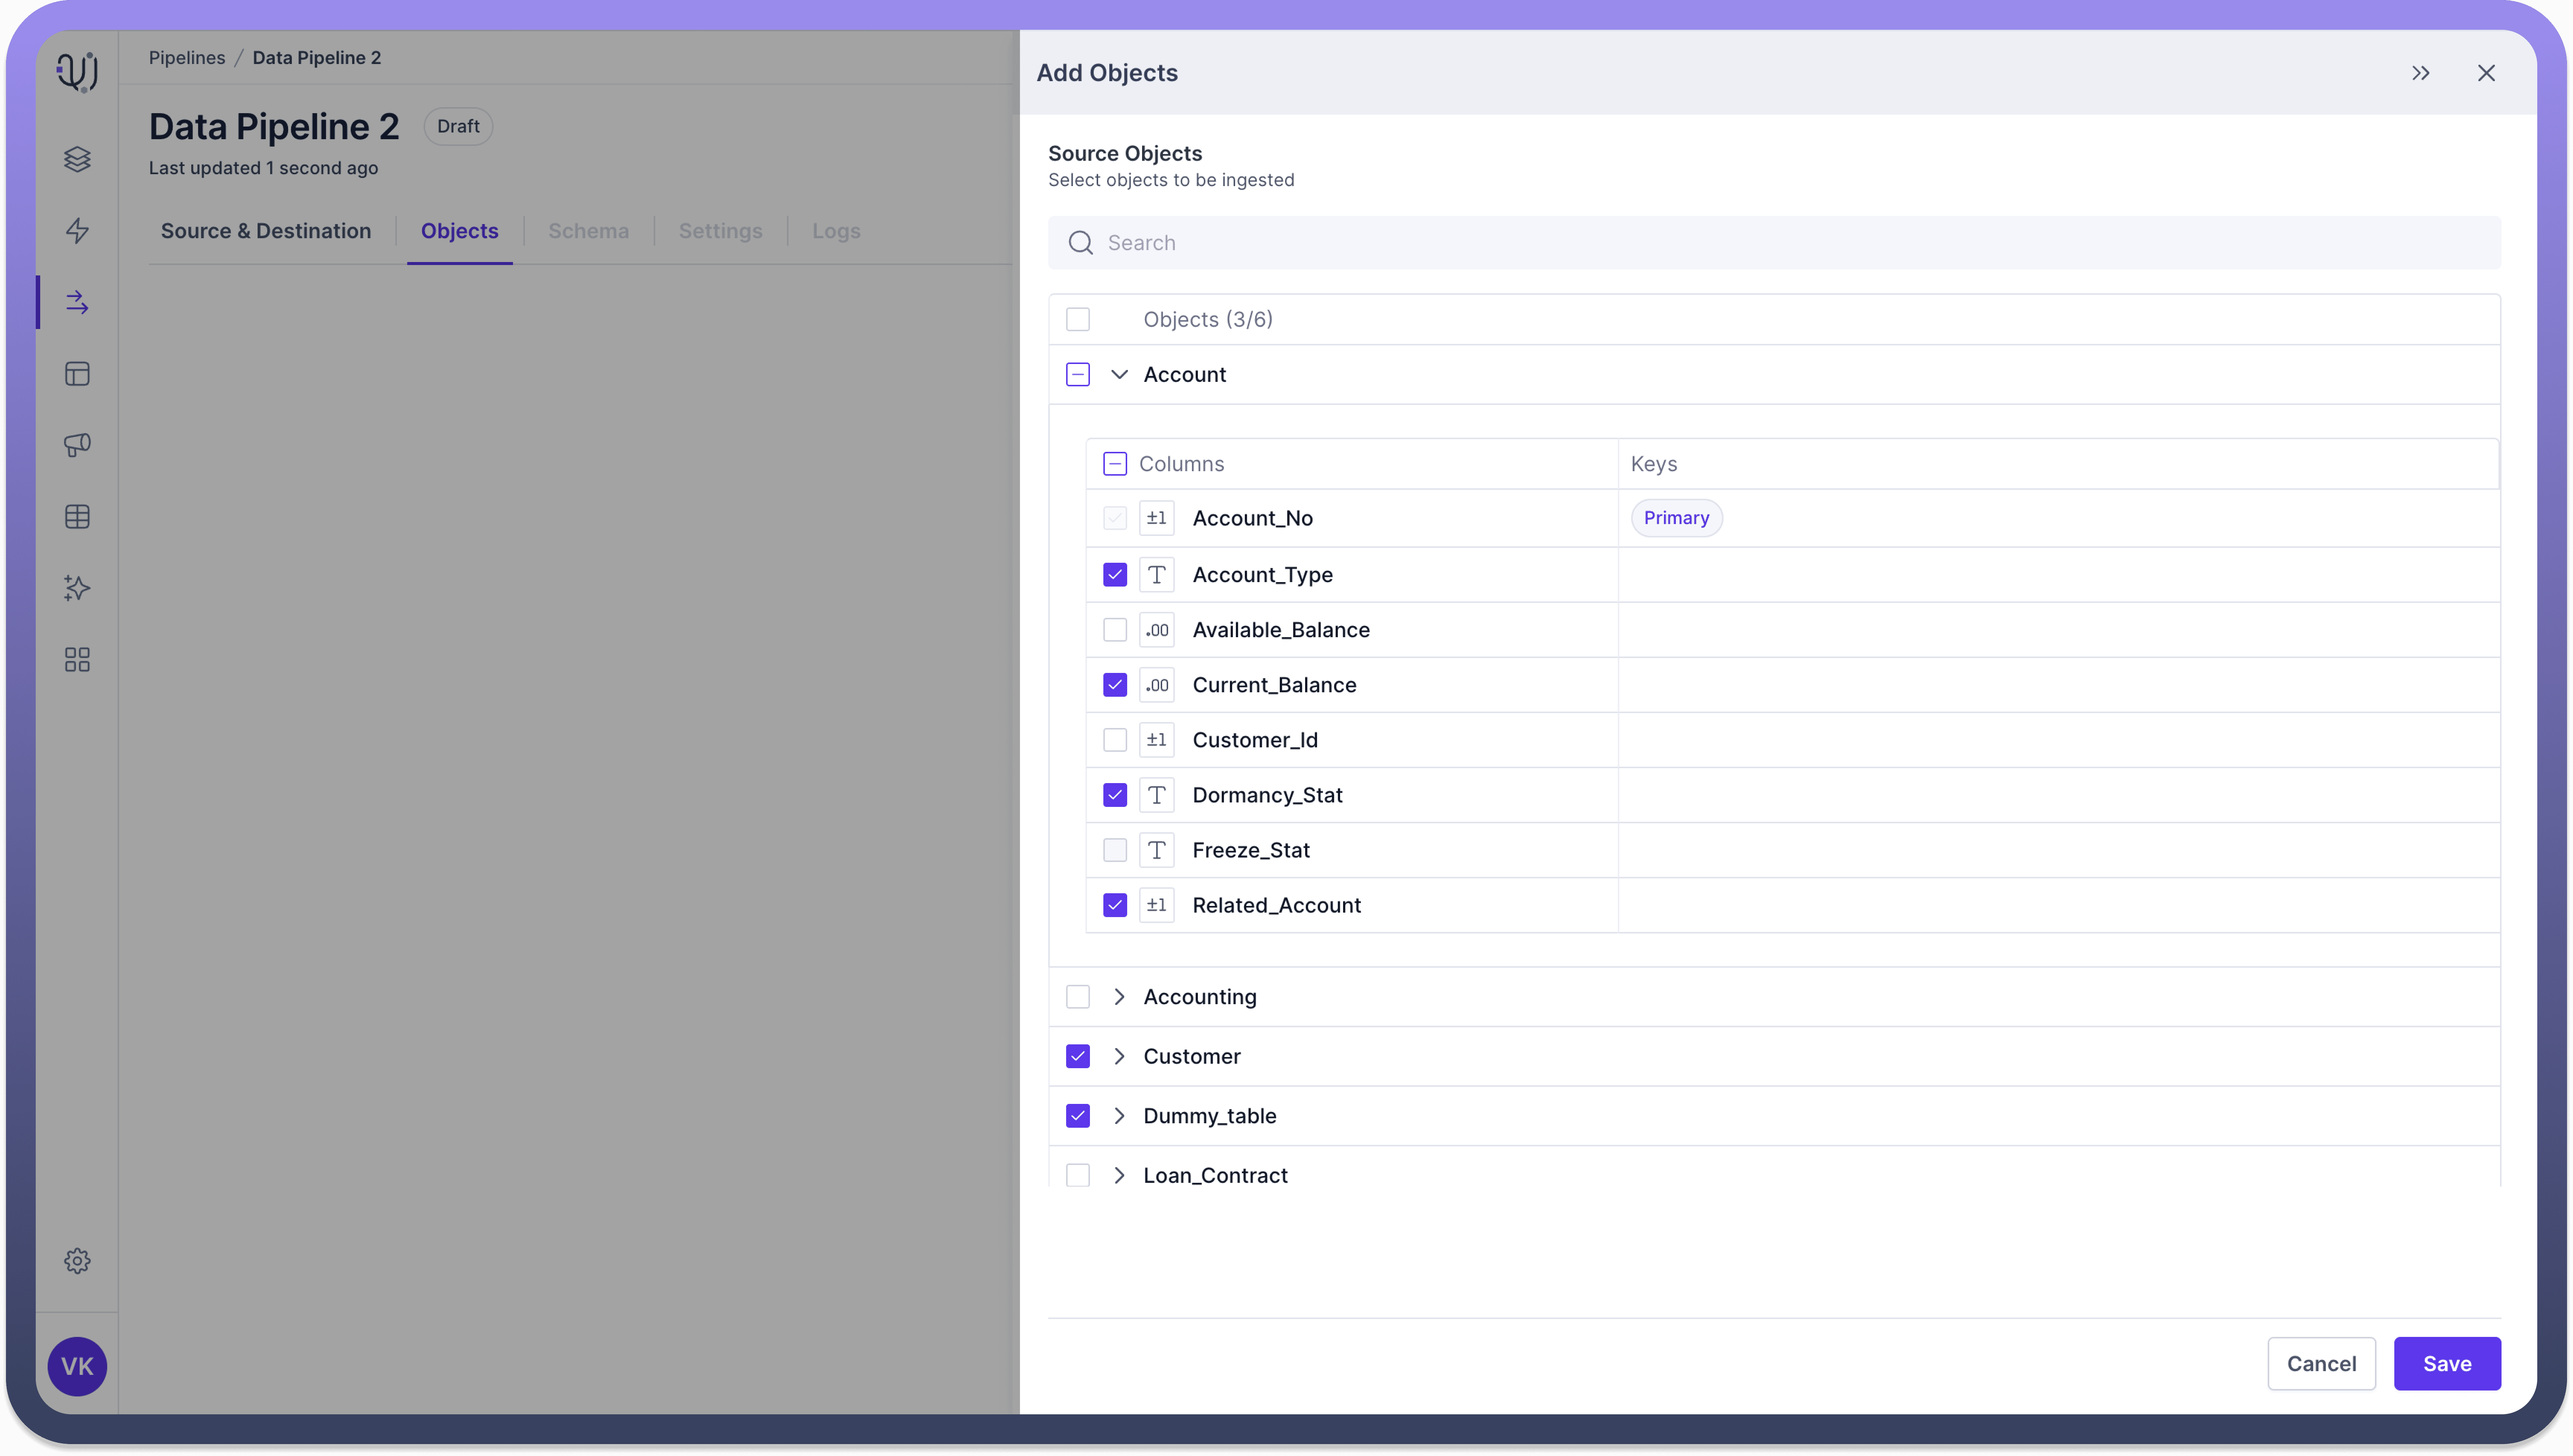
Save Selections
Once you have selected the necessary fields or folders, you need to save your selections to include them in your data pipeline.Save the Selected Objects and Fields/Folders:
Click
Saveto add the selected objects and fields/folders to your data pipeline.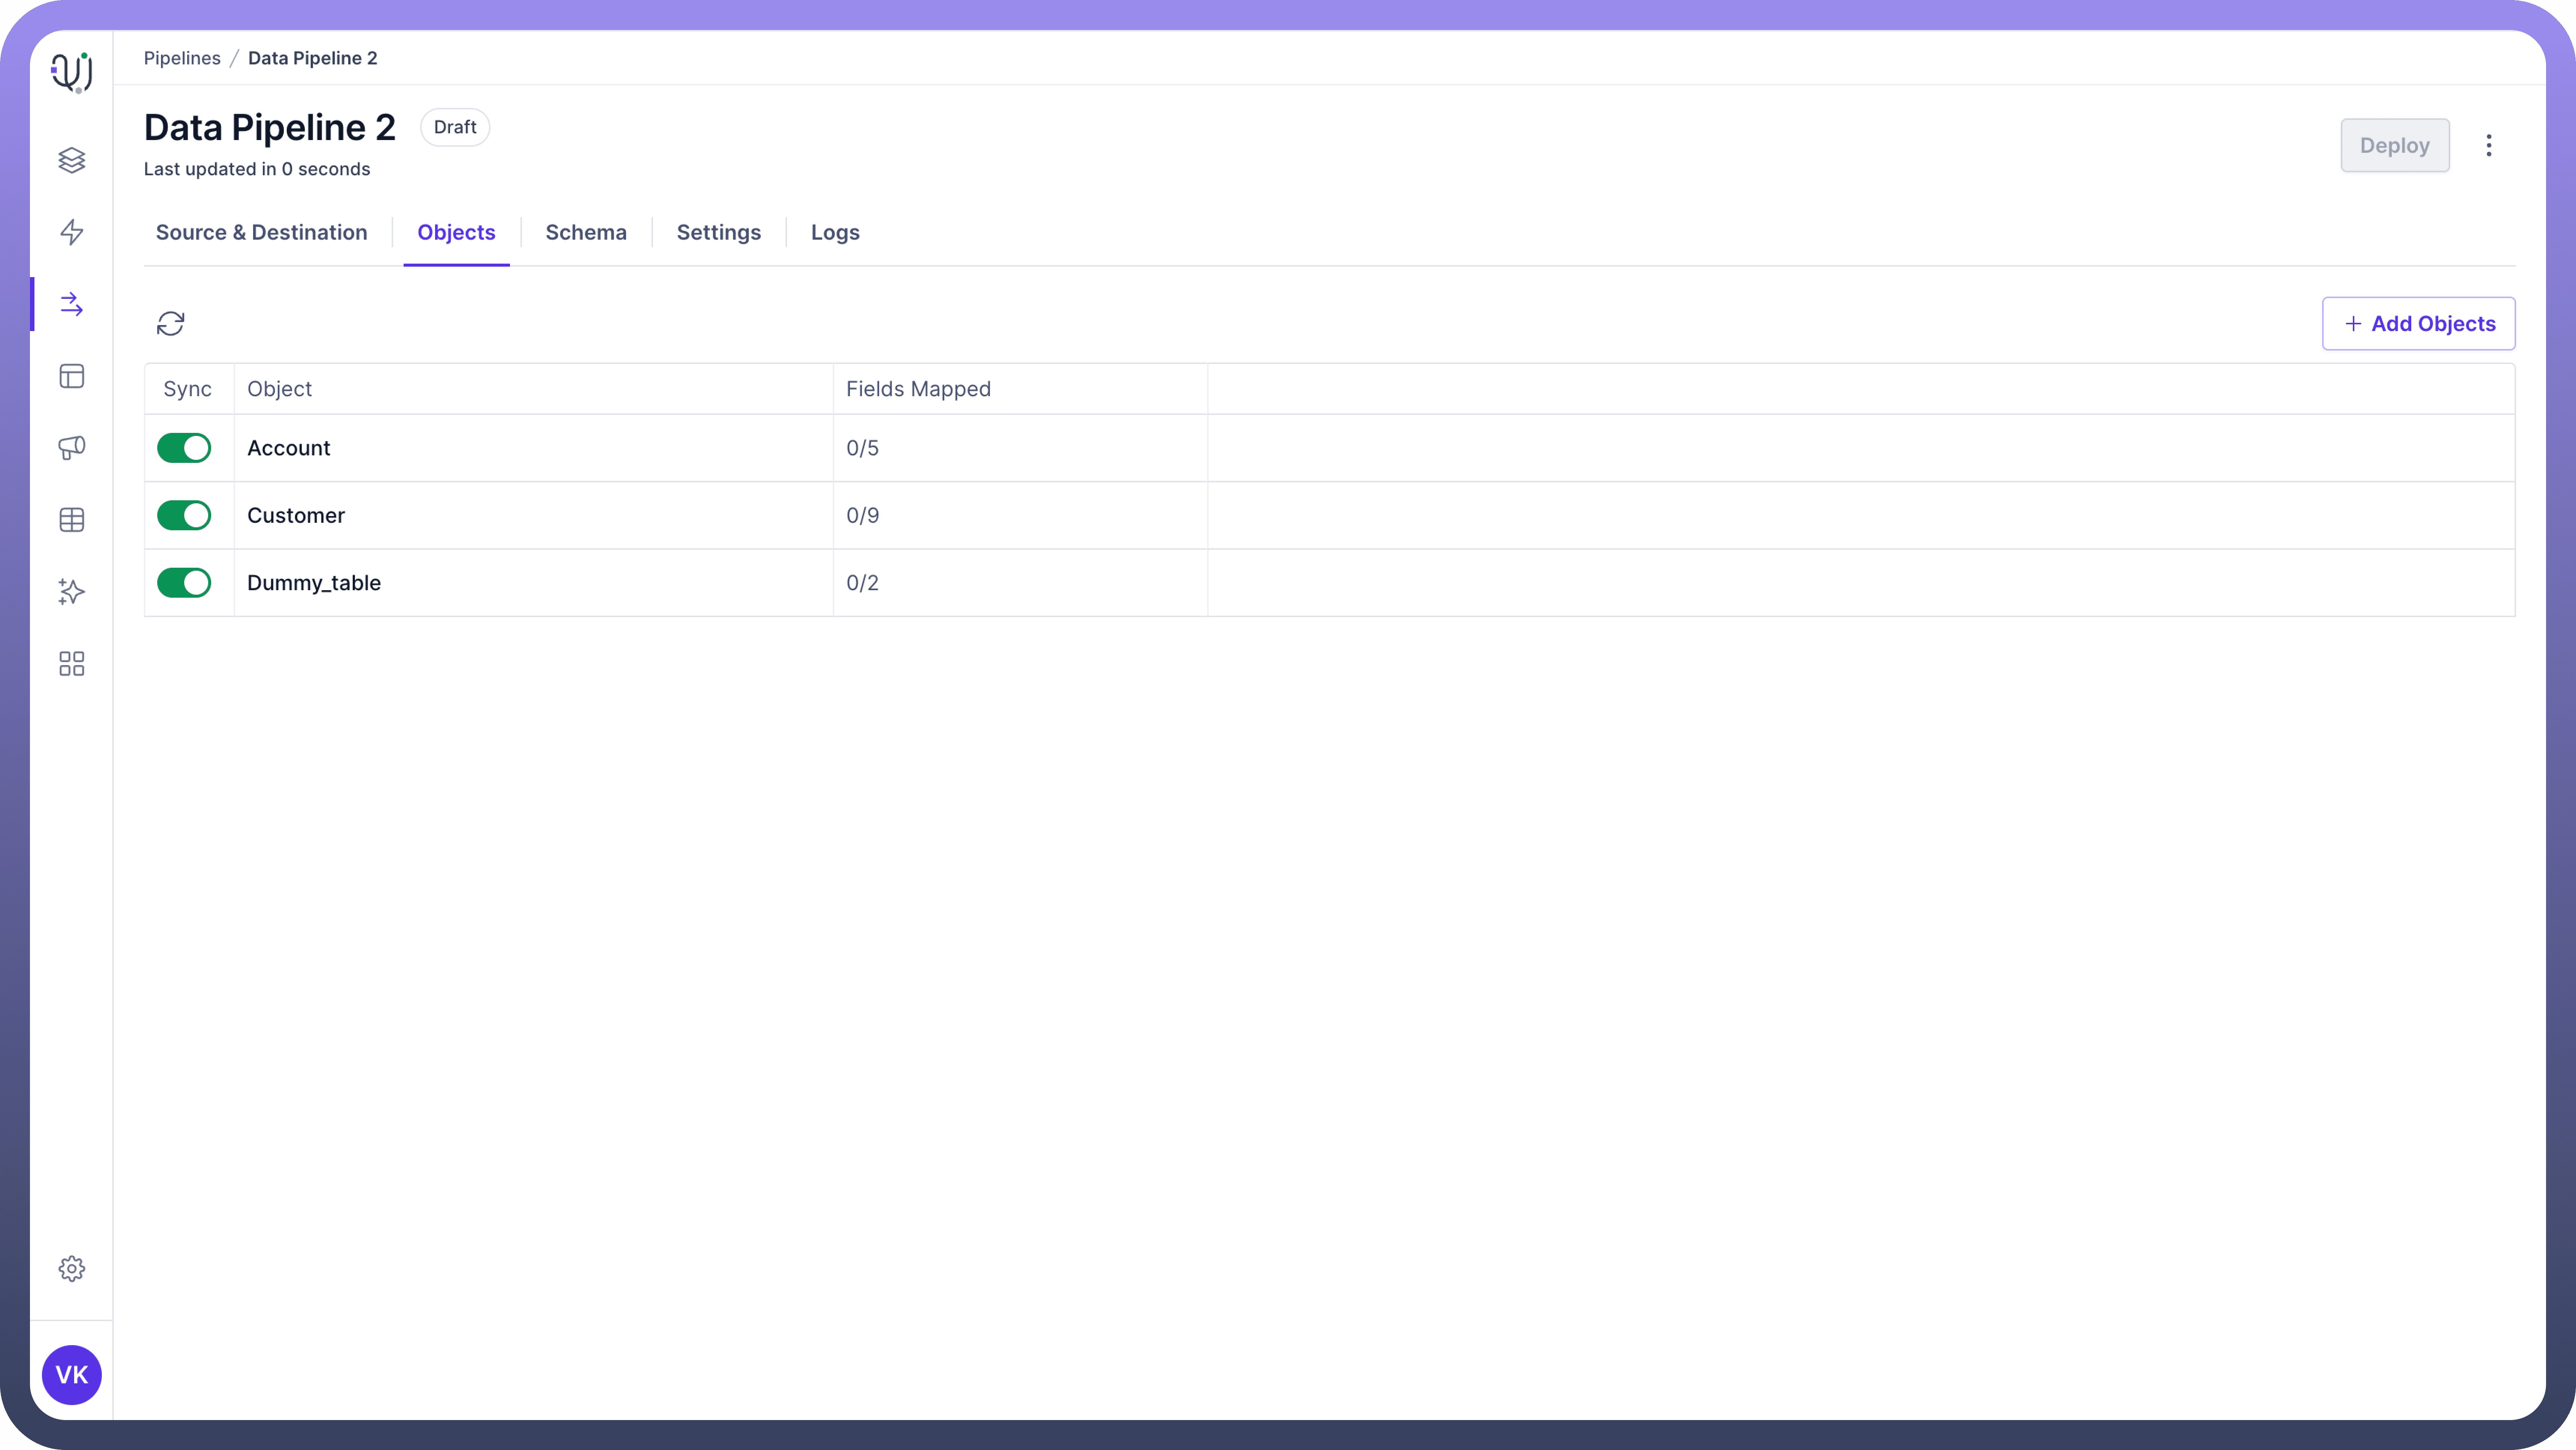
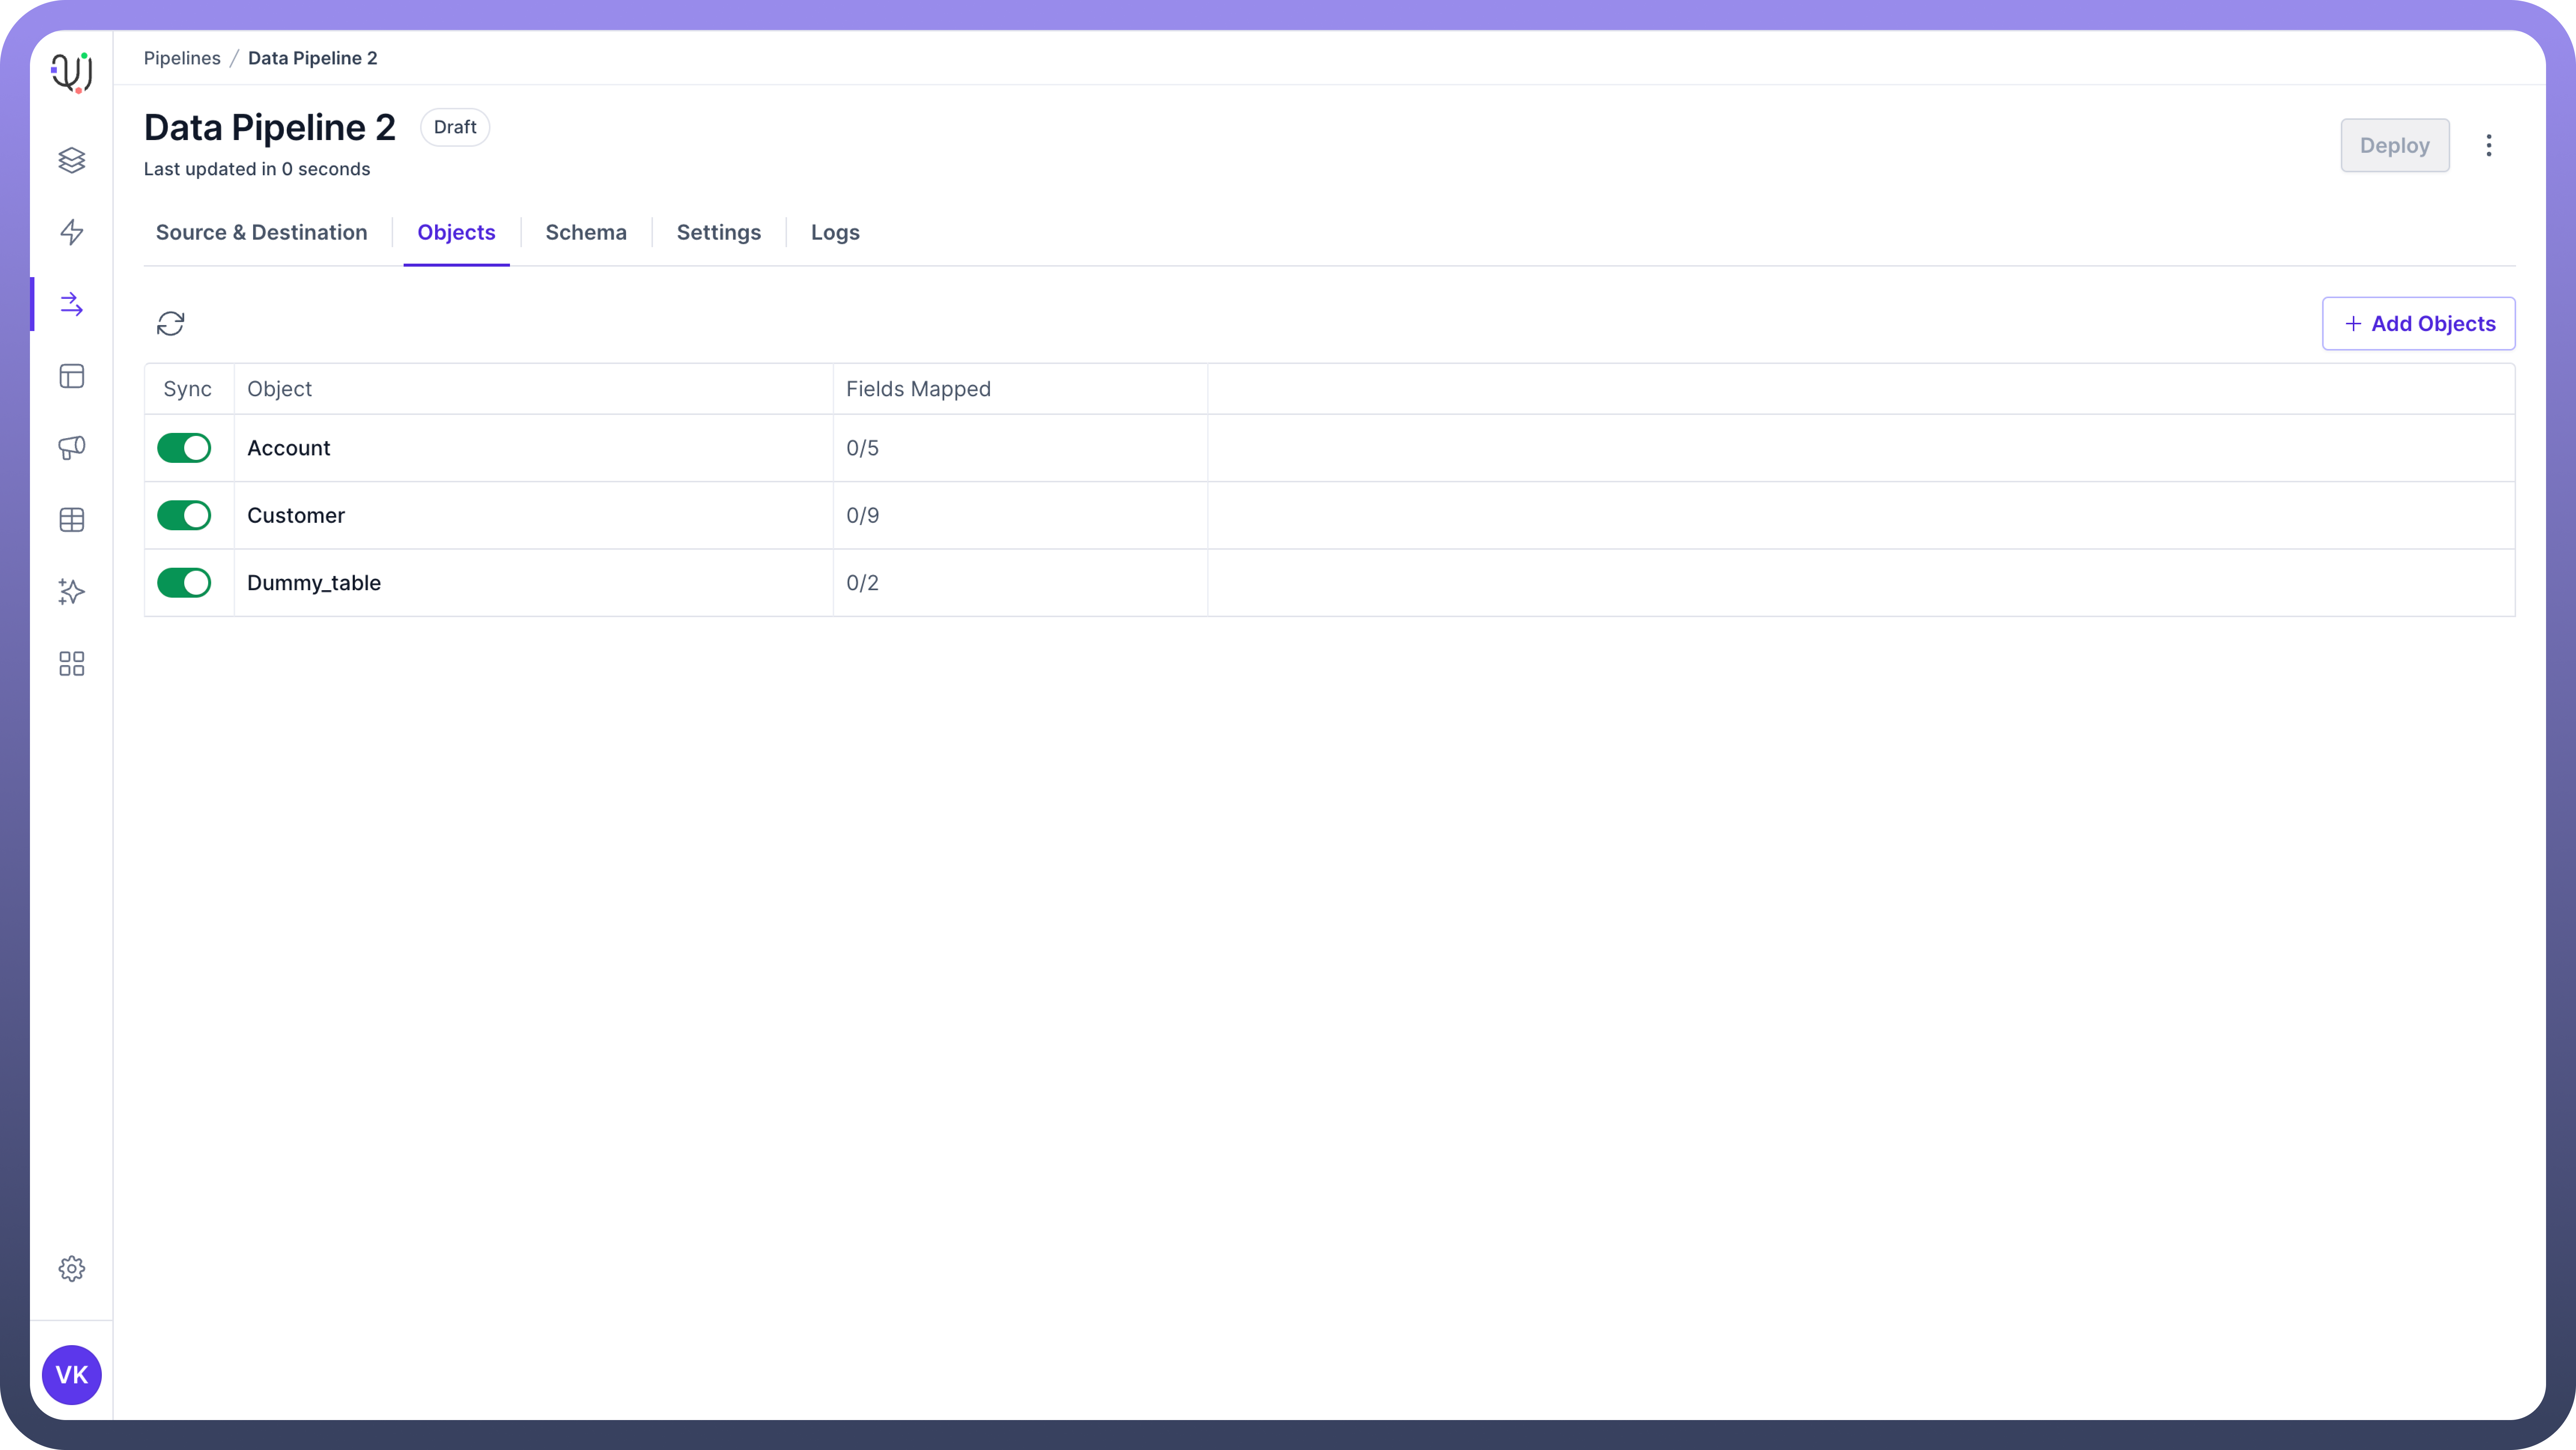
Objects List View
The Objects List View provides an overview of all the selected objects and their fields or folders.
This view helps you manage and track the objects included in your data pipeline.
Details in Objects List View:
Viewall the selected objects and their respective fields or folders.See the number of fieldsselected and how many have been mapped to the destination object’s fields.
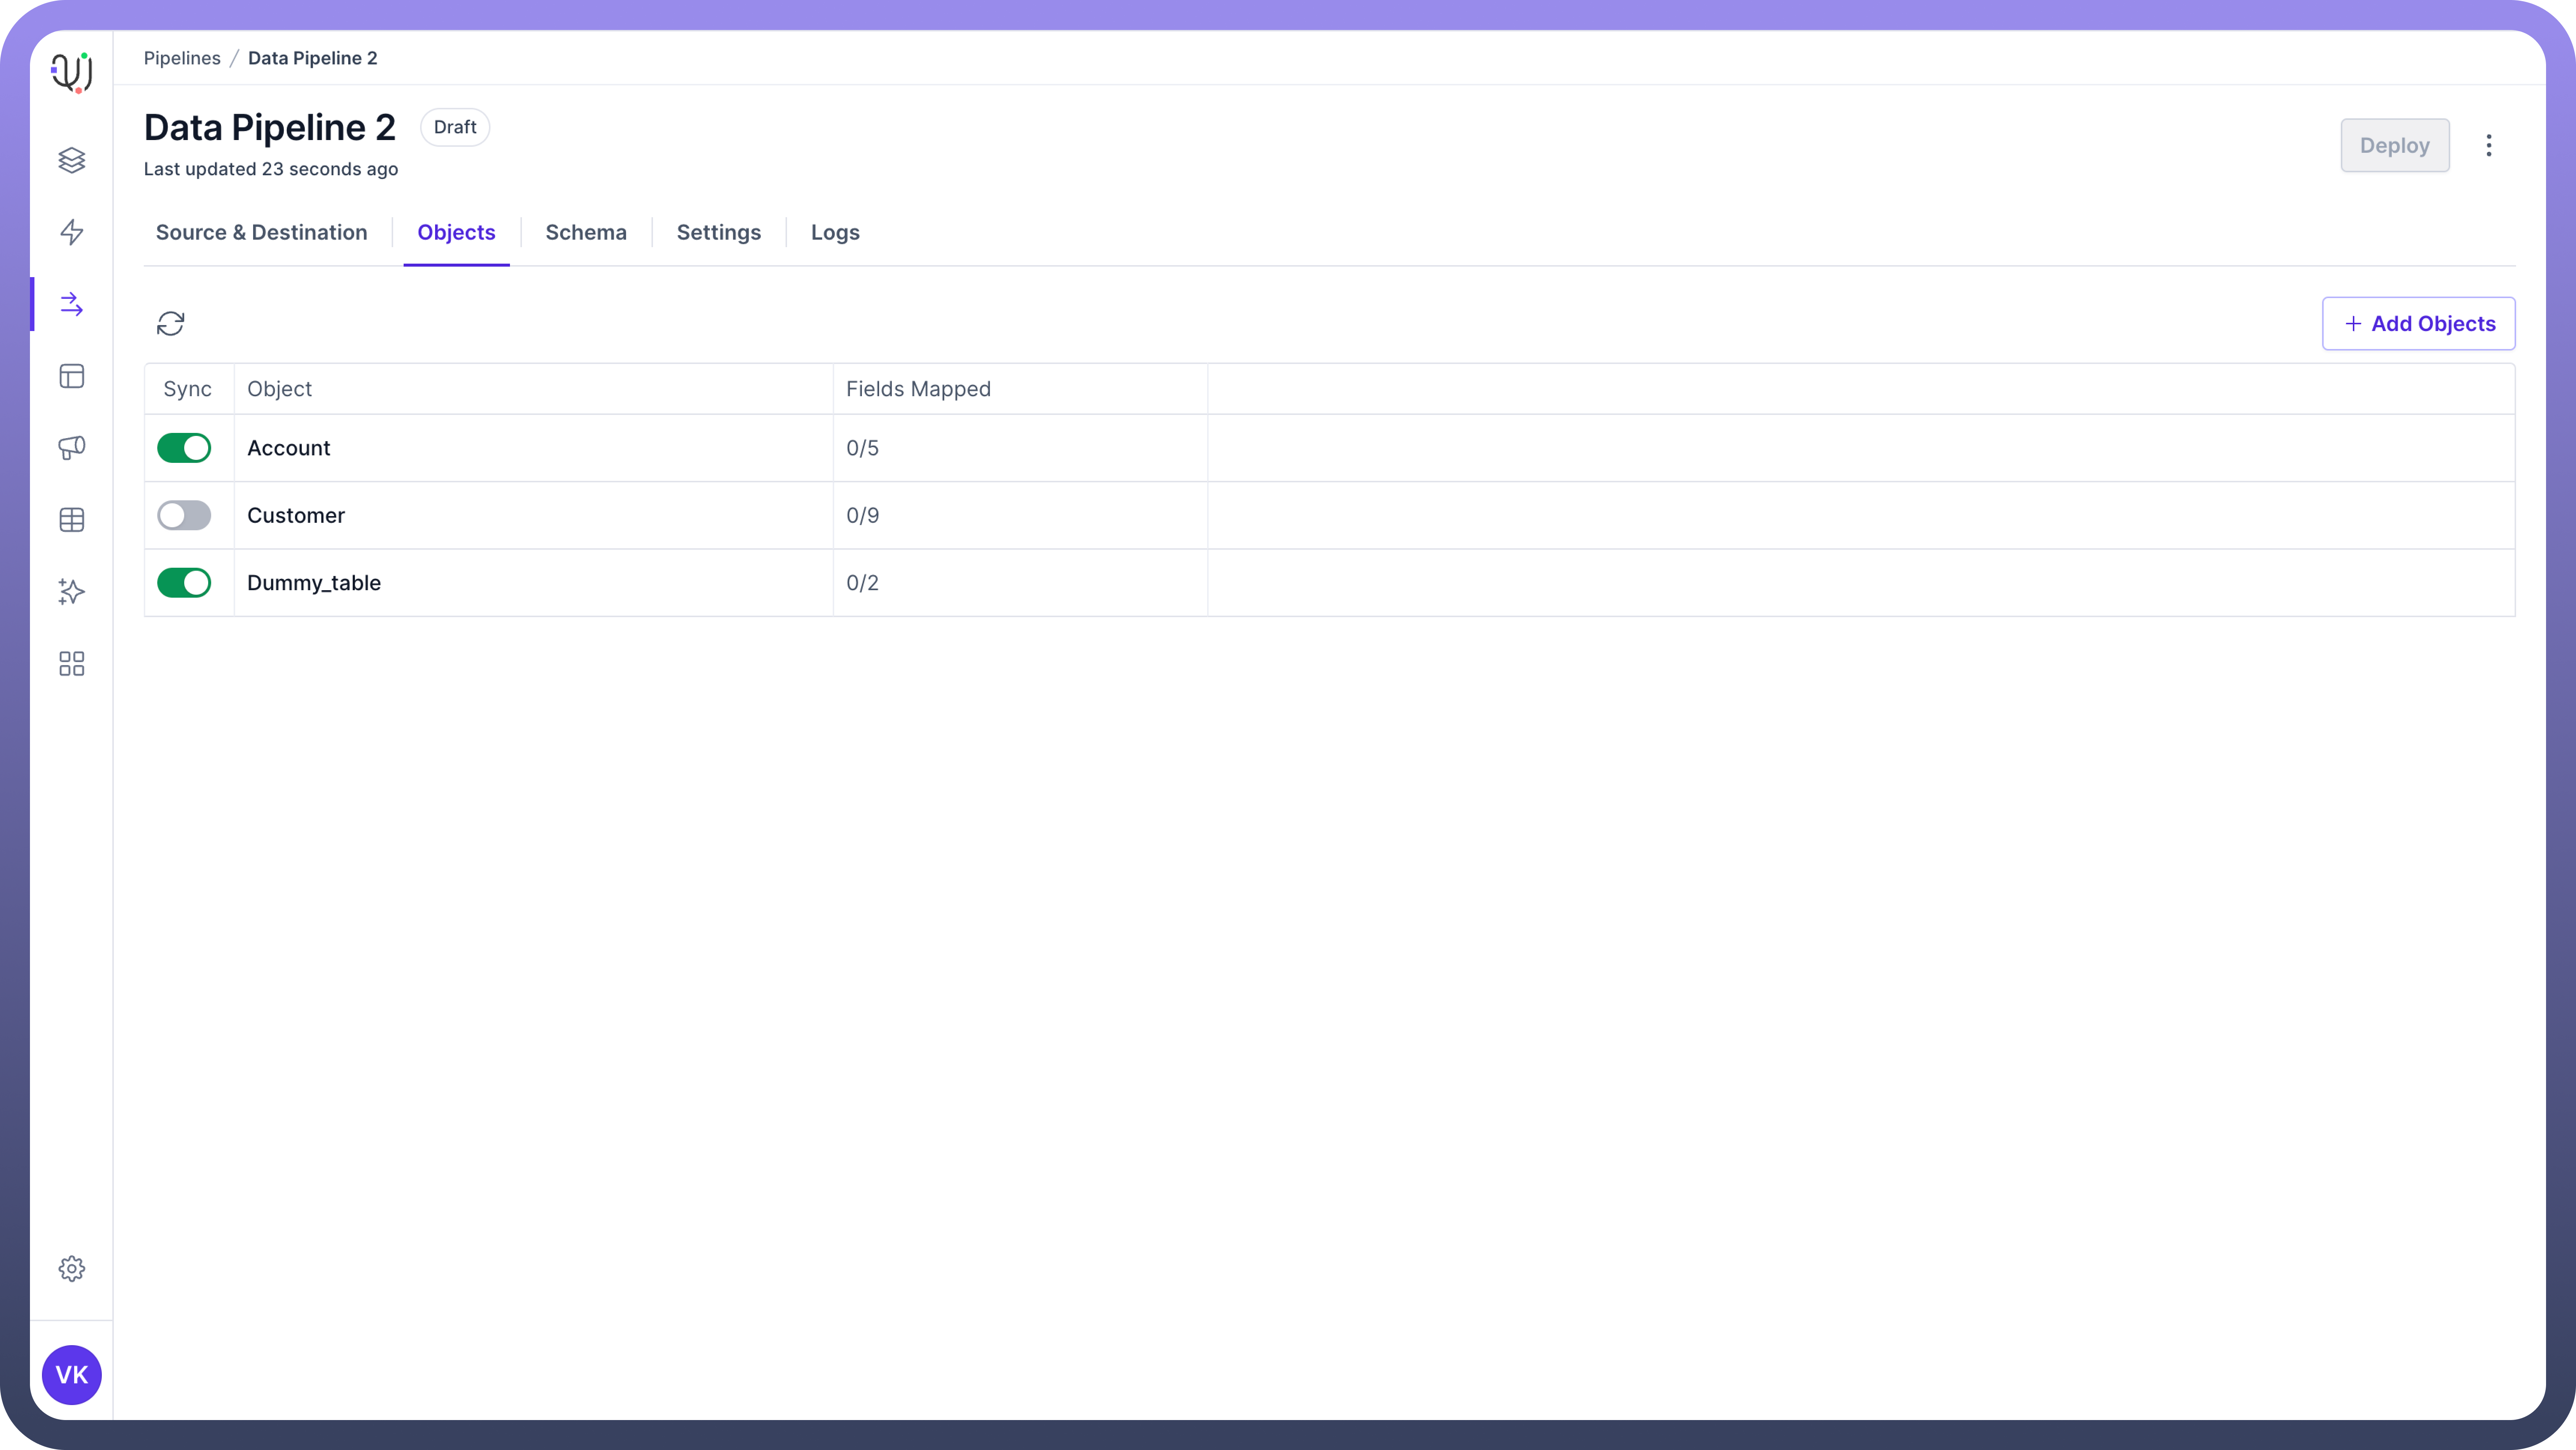
Object Ingestion Toggle
Each object in the list view has an object ingestion toggle that allows you to control data synchronization.
Using the Toggle:
The toggle allows you to turn
data synchronizationon or off for each object.Turning off the sync
stops data movementfor the object but preserves the schema mapping.This feature allows you to
re-enable syncwith the same mapping later.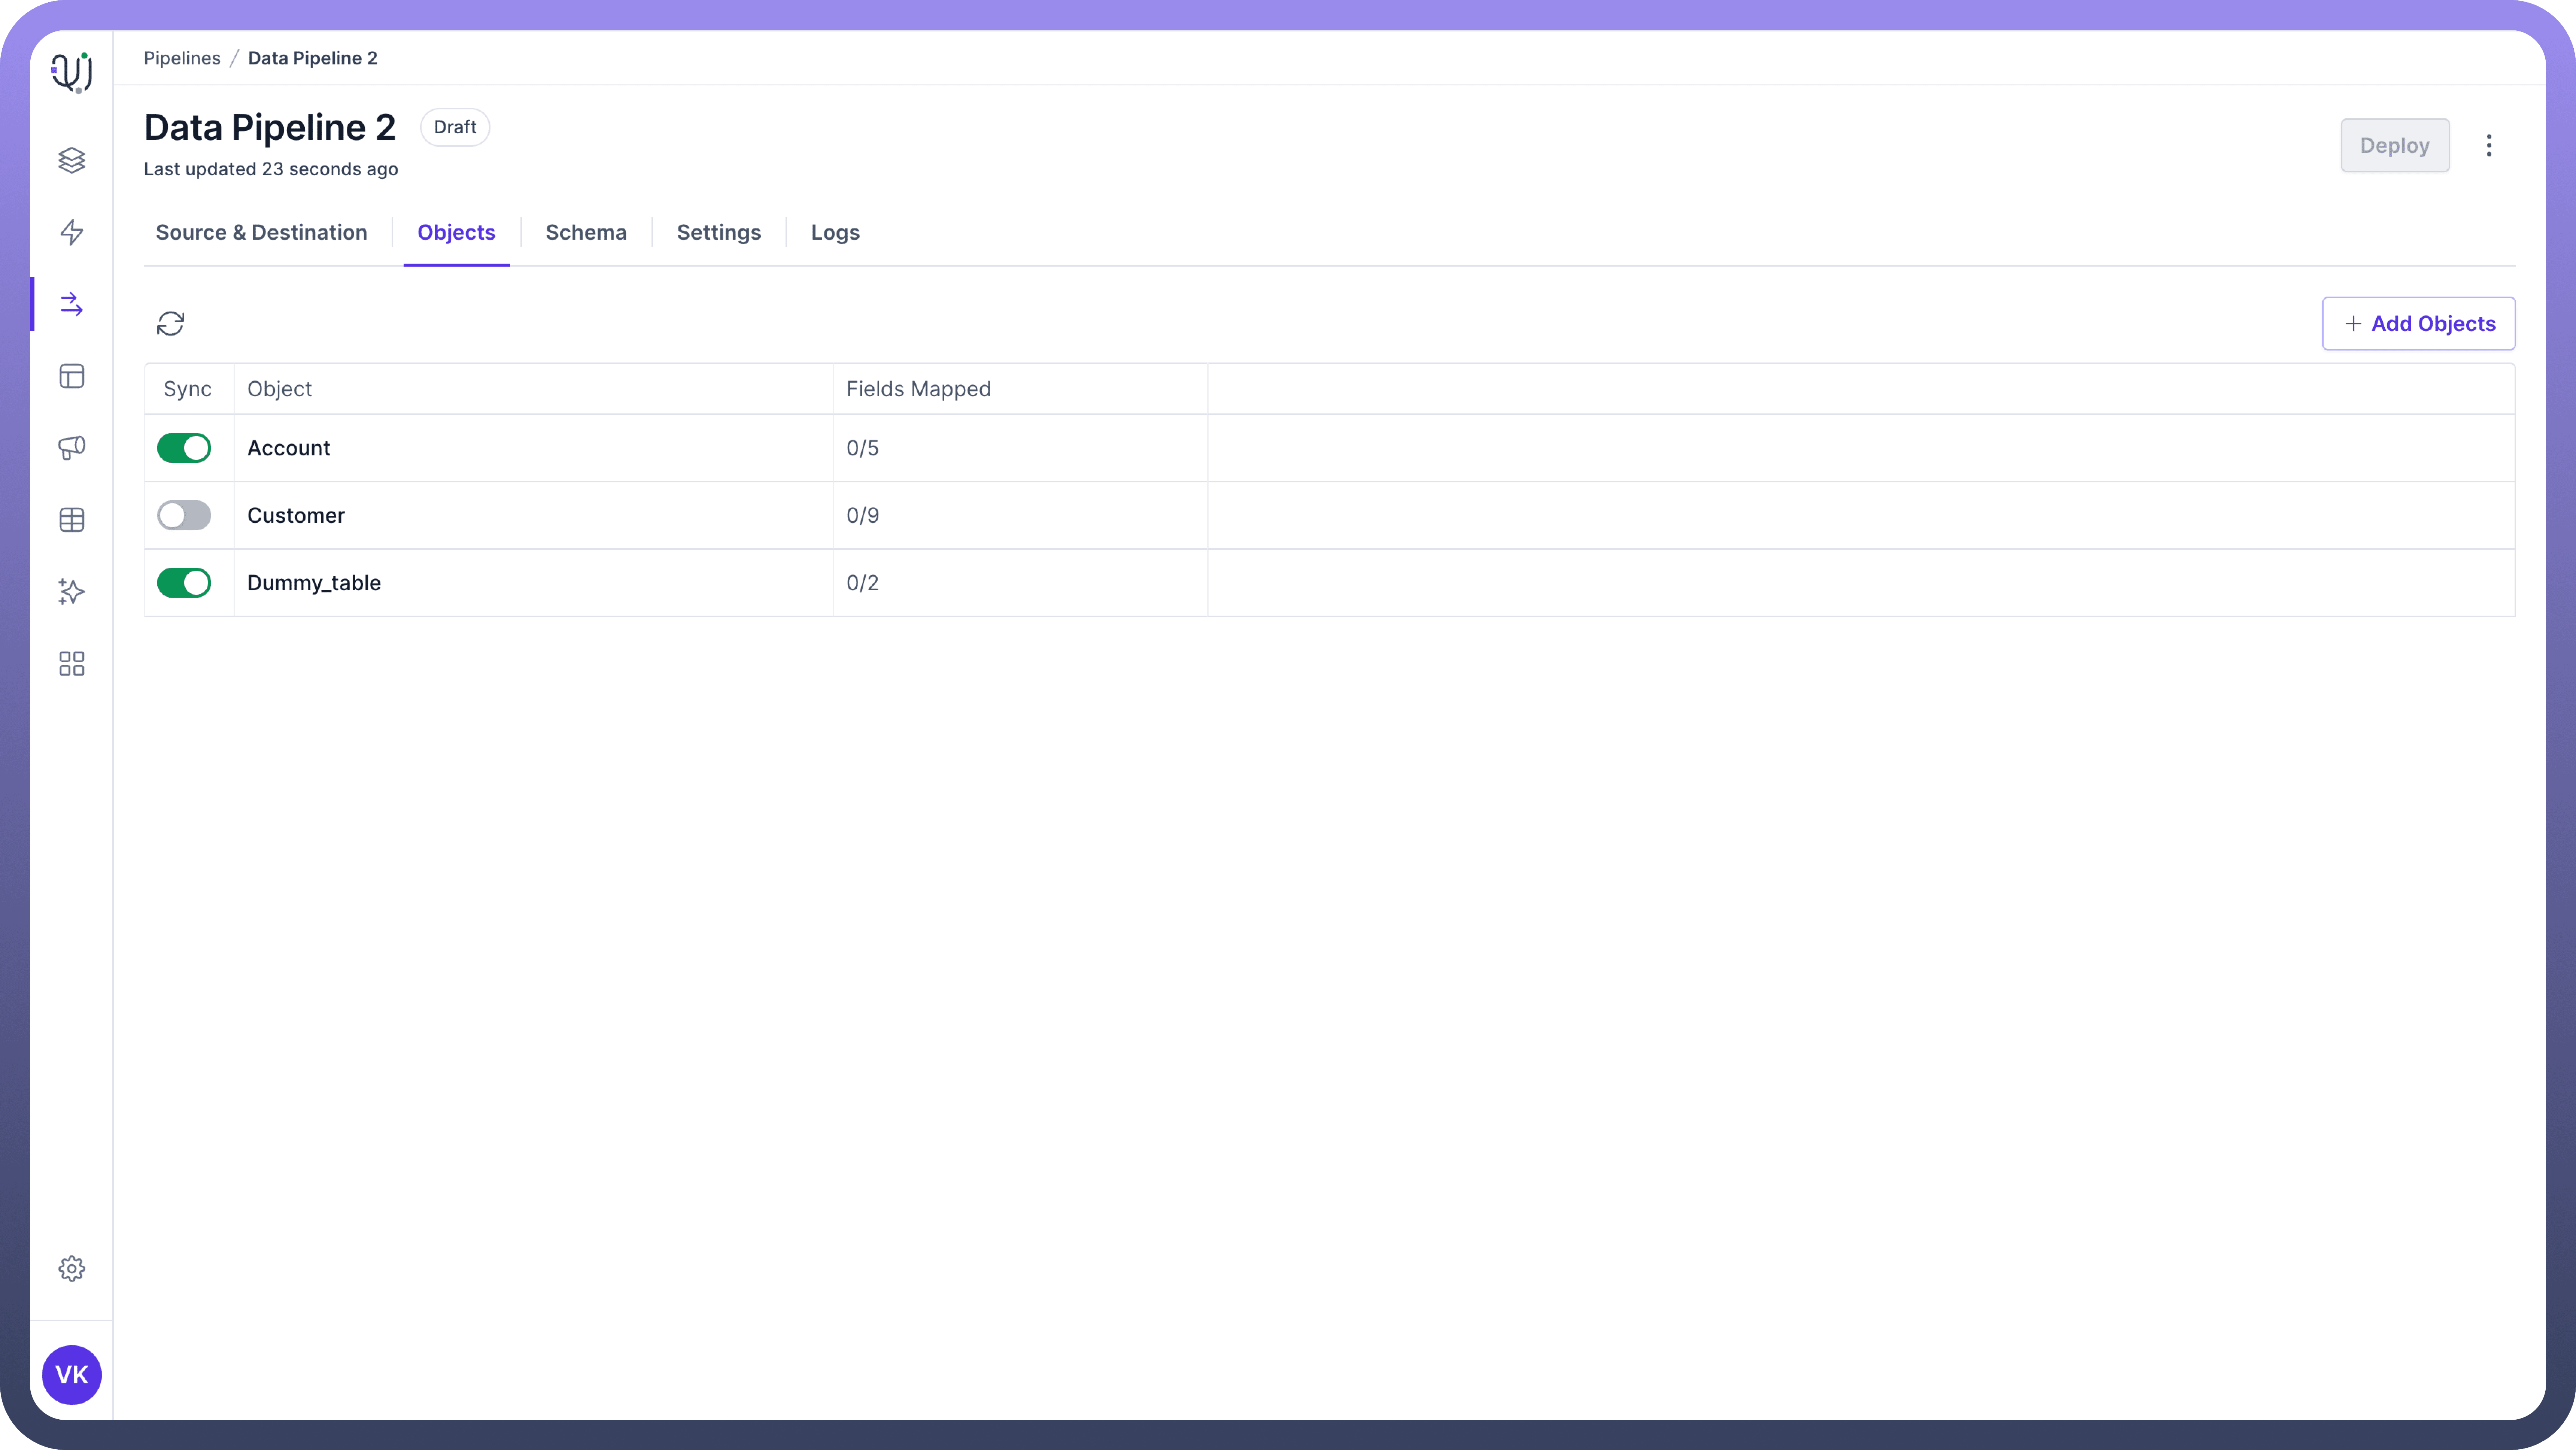
Best Practices
Plan Your Object Selection
Clearly define the data source and its schema before selecting objects. This ensures an organized data structure and reduces the risk of errors.
Have a clear understanding of the data requirements for your pipeline. Select only the necessary objects and fields to optimize performance and storage.
Optimize for Performance Select Only Required Data - Avoid selecting unnecessary objects and fields. This reduces data volume and improves pipeline performance.