Overview
Schema mapping is a fundamental process in data pipelines, serving as the bridge between your source data and your target systems. It's the blueprint that defines how data should flow and transform as it moves through your data pipeline.
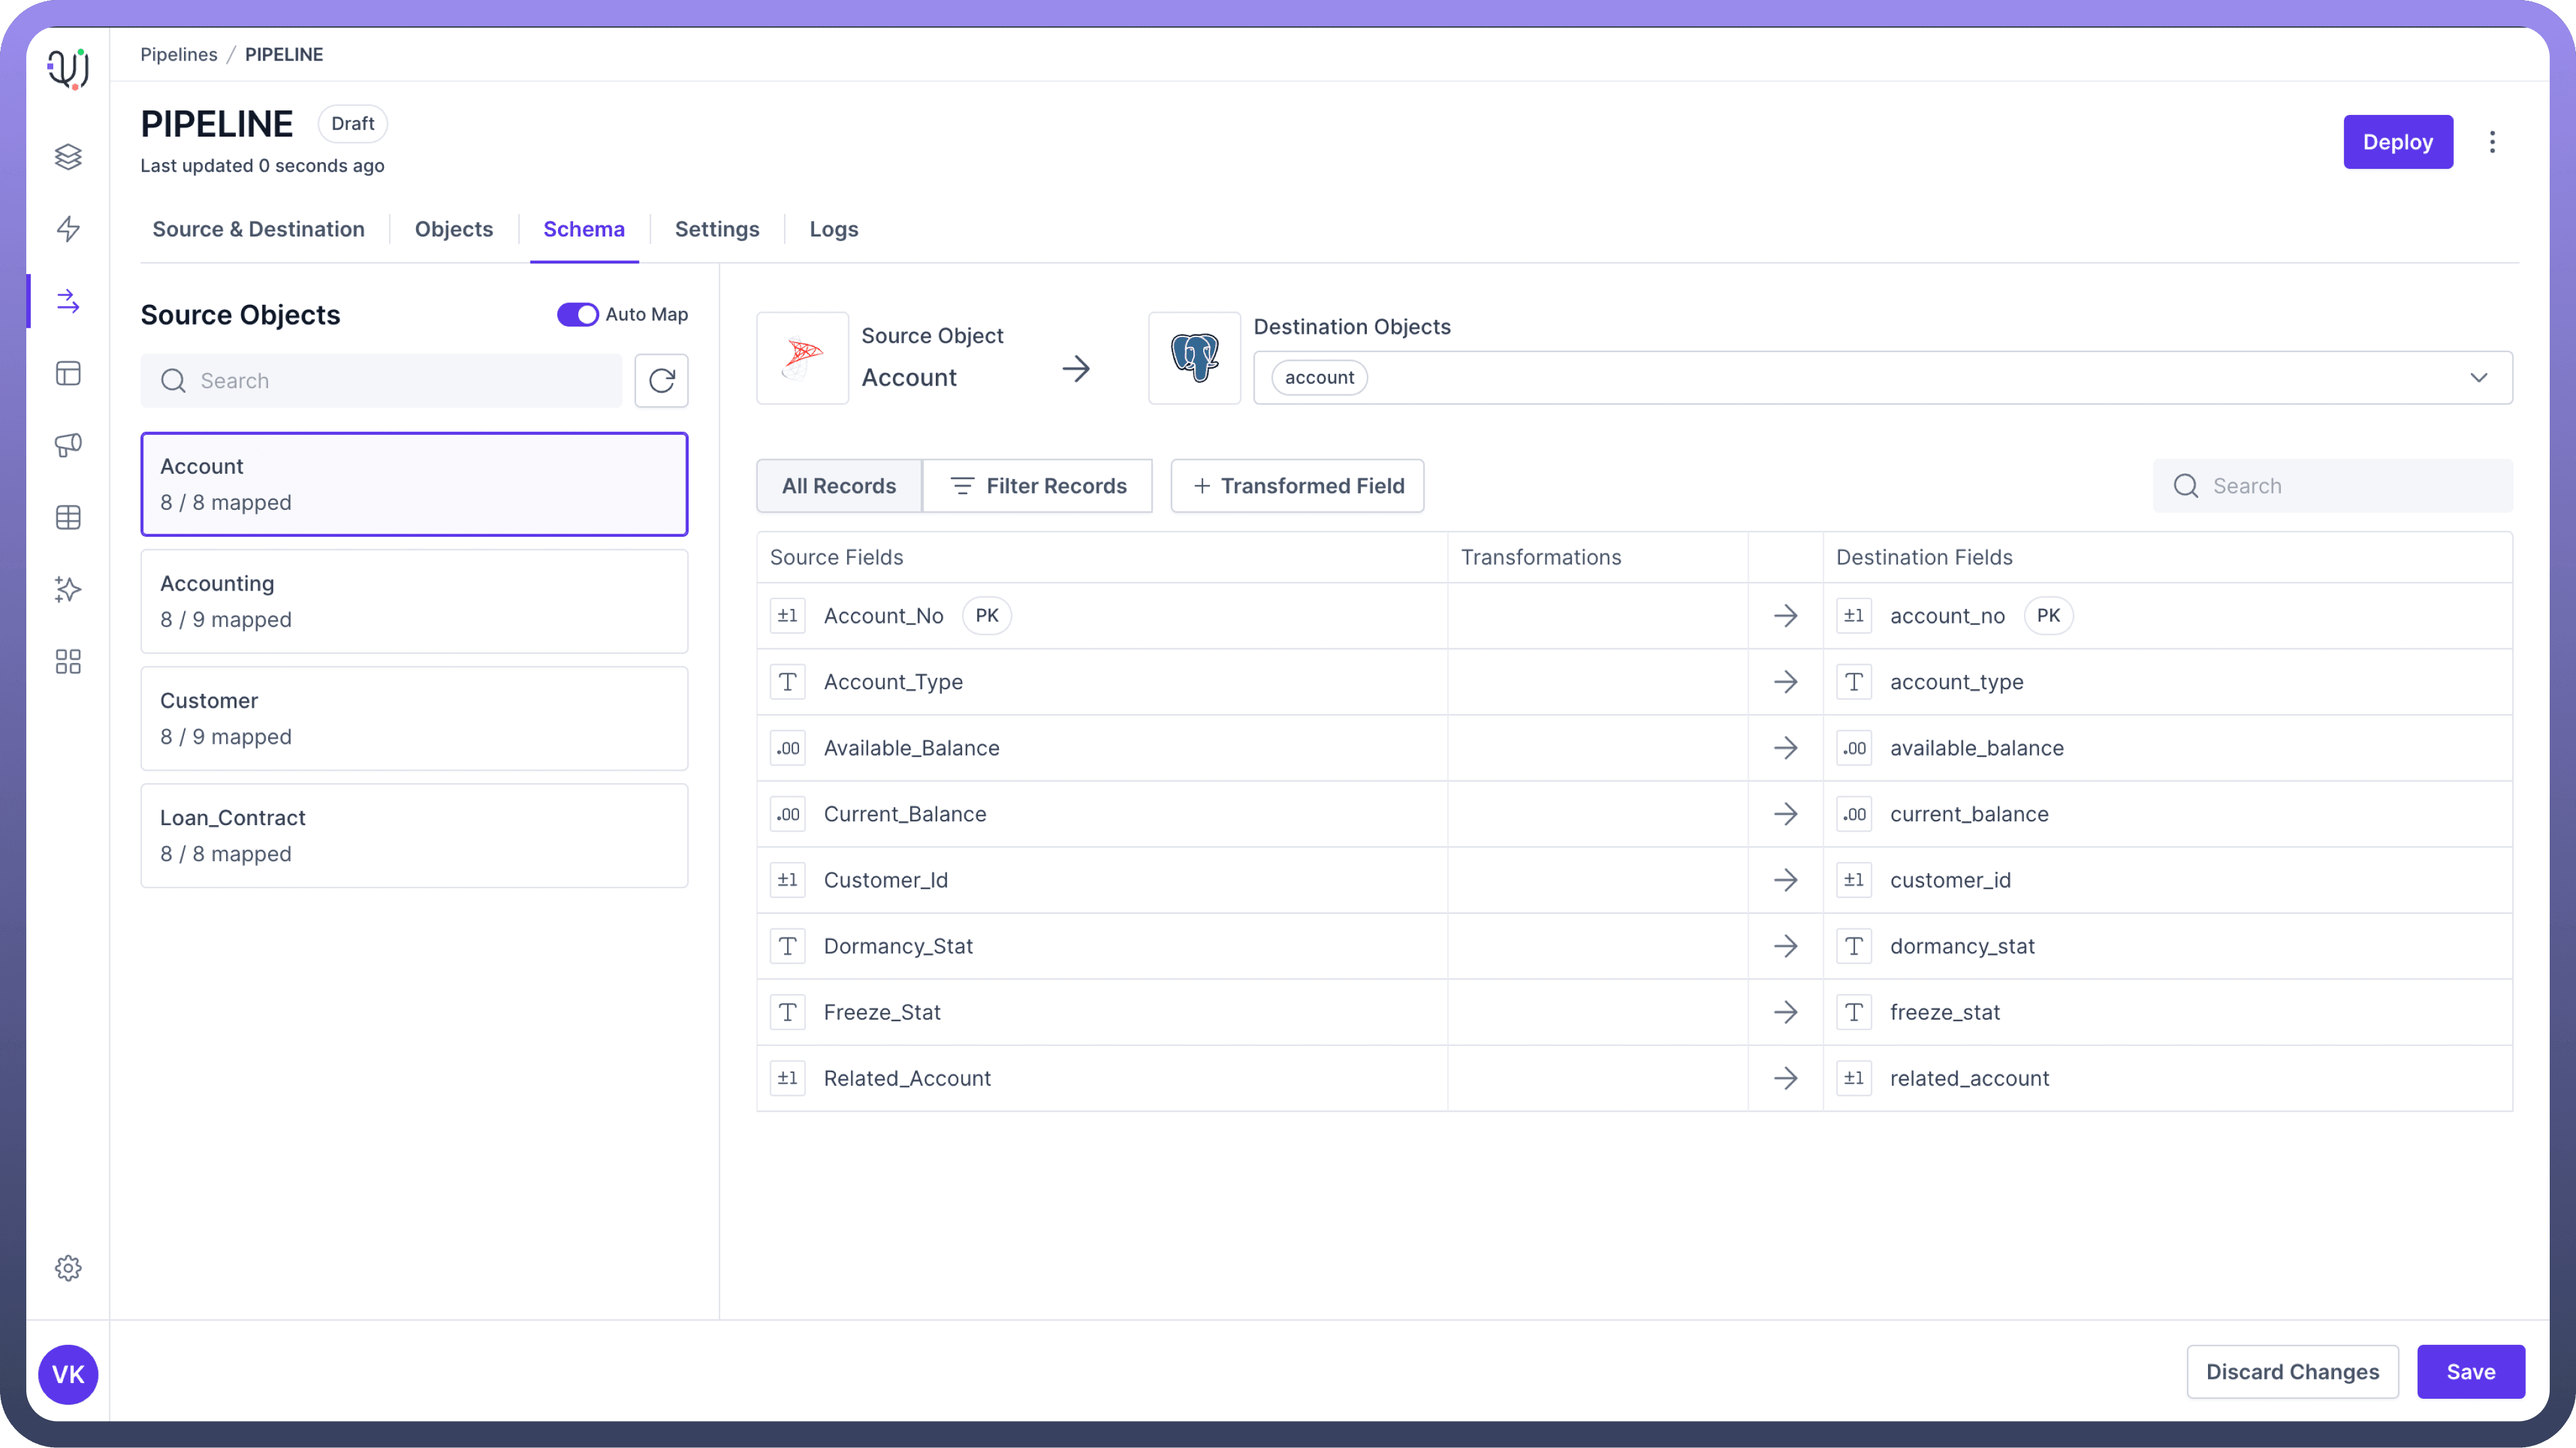
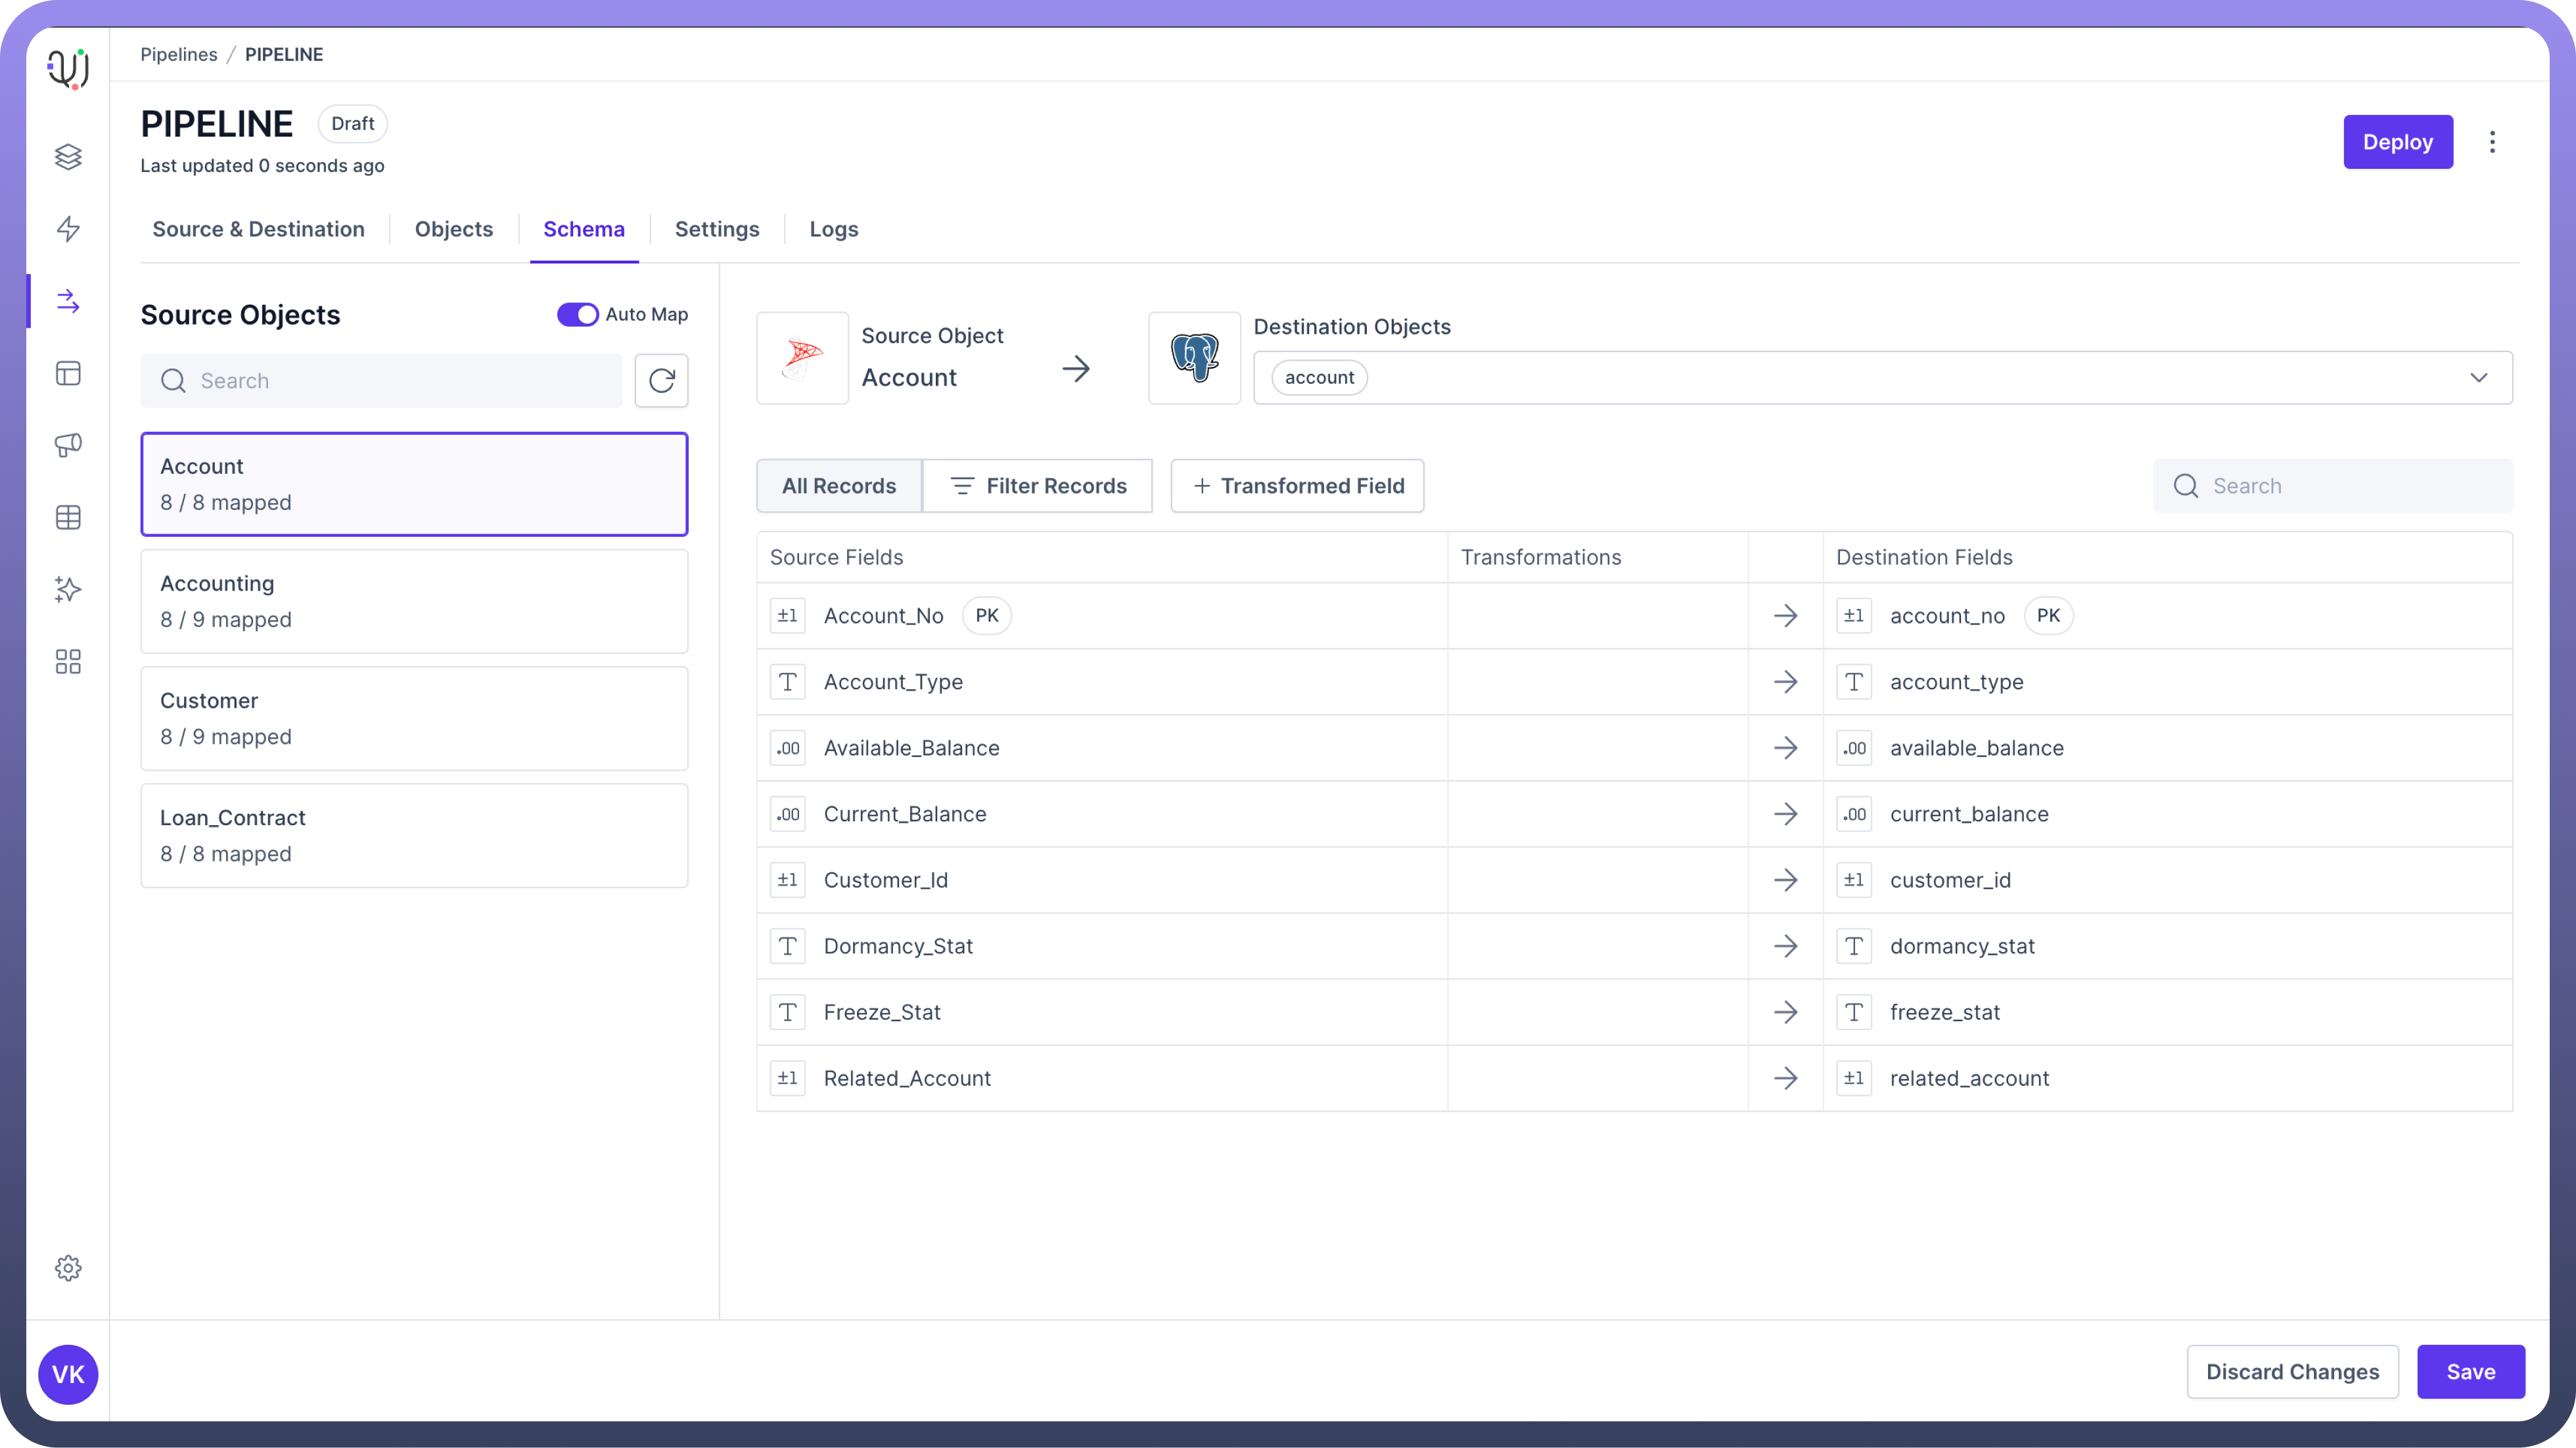
Effective schema mapping ensures that your data lands in the right place, in the right format, ready for analysis or further processing.
What is Schema Mapping?
Schema mapping is the process of creating relationships between the schema of a source database and the schema of a target database.
In the context of ETL, it involves defining how data from one or more source systems should be transformed and loaded into a target system.
Types of Schema Mapping
UnifyData supports three types of schema mapping to accommodate various data mapping scenarios:
One-to-One Mapping
One-to-Many Mapping
Many-to-One Mapping
Let's explore each of these in detail.
One-to-One Mapping
One-to-One mapping is the simplest form of schema mapping. It involves mapping fields from one source object directly to fields in one destination object.
Example: Source Object: Customer Destination Object: Client
Source Field | Destination Field |
CustomerID | ClientID |
FirstName | FirstName |
LastName | LastName |
EmailAddress |
In this example, each field from the Customer object is mapped to a corresponding field in the Client object. Note that field names don't have to be identical (e.g., Email to EmailAddress).
One-to-Many Mapping
One-to-Many mapping involves mapping one source object to multiple destination objects. This is useful when you need to distribute data from a single source across multiple tables or objects in the destination system.
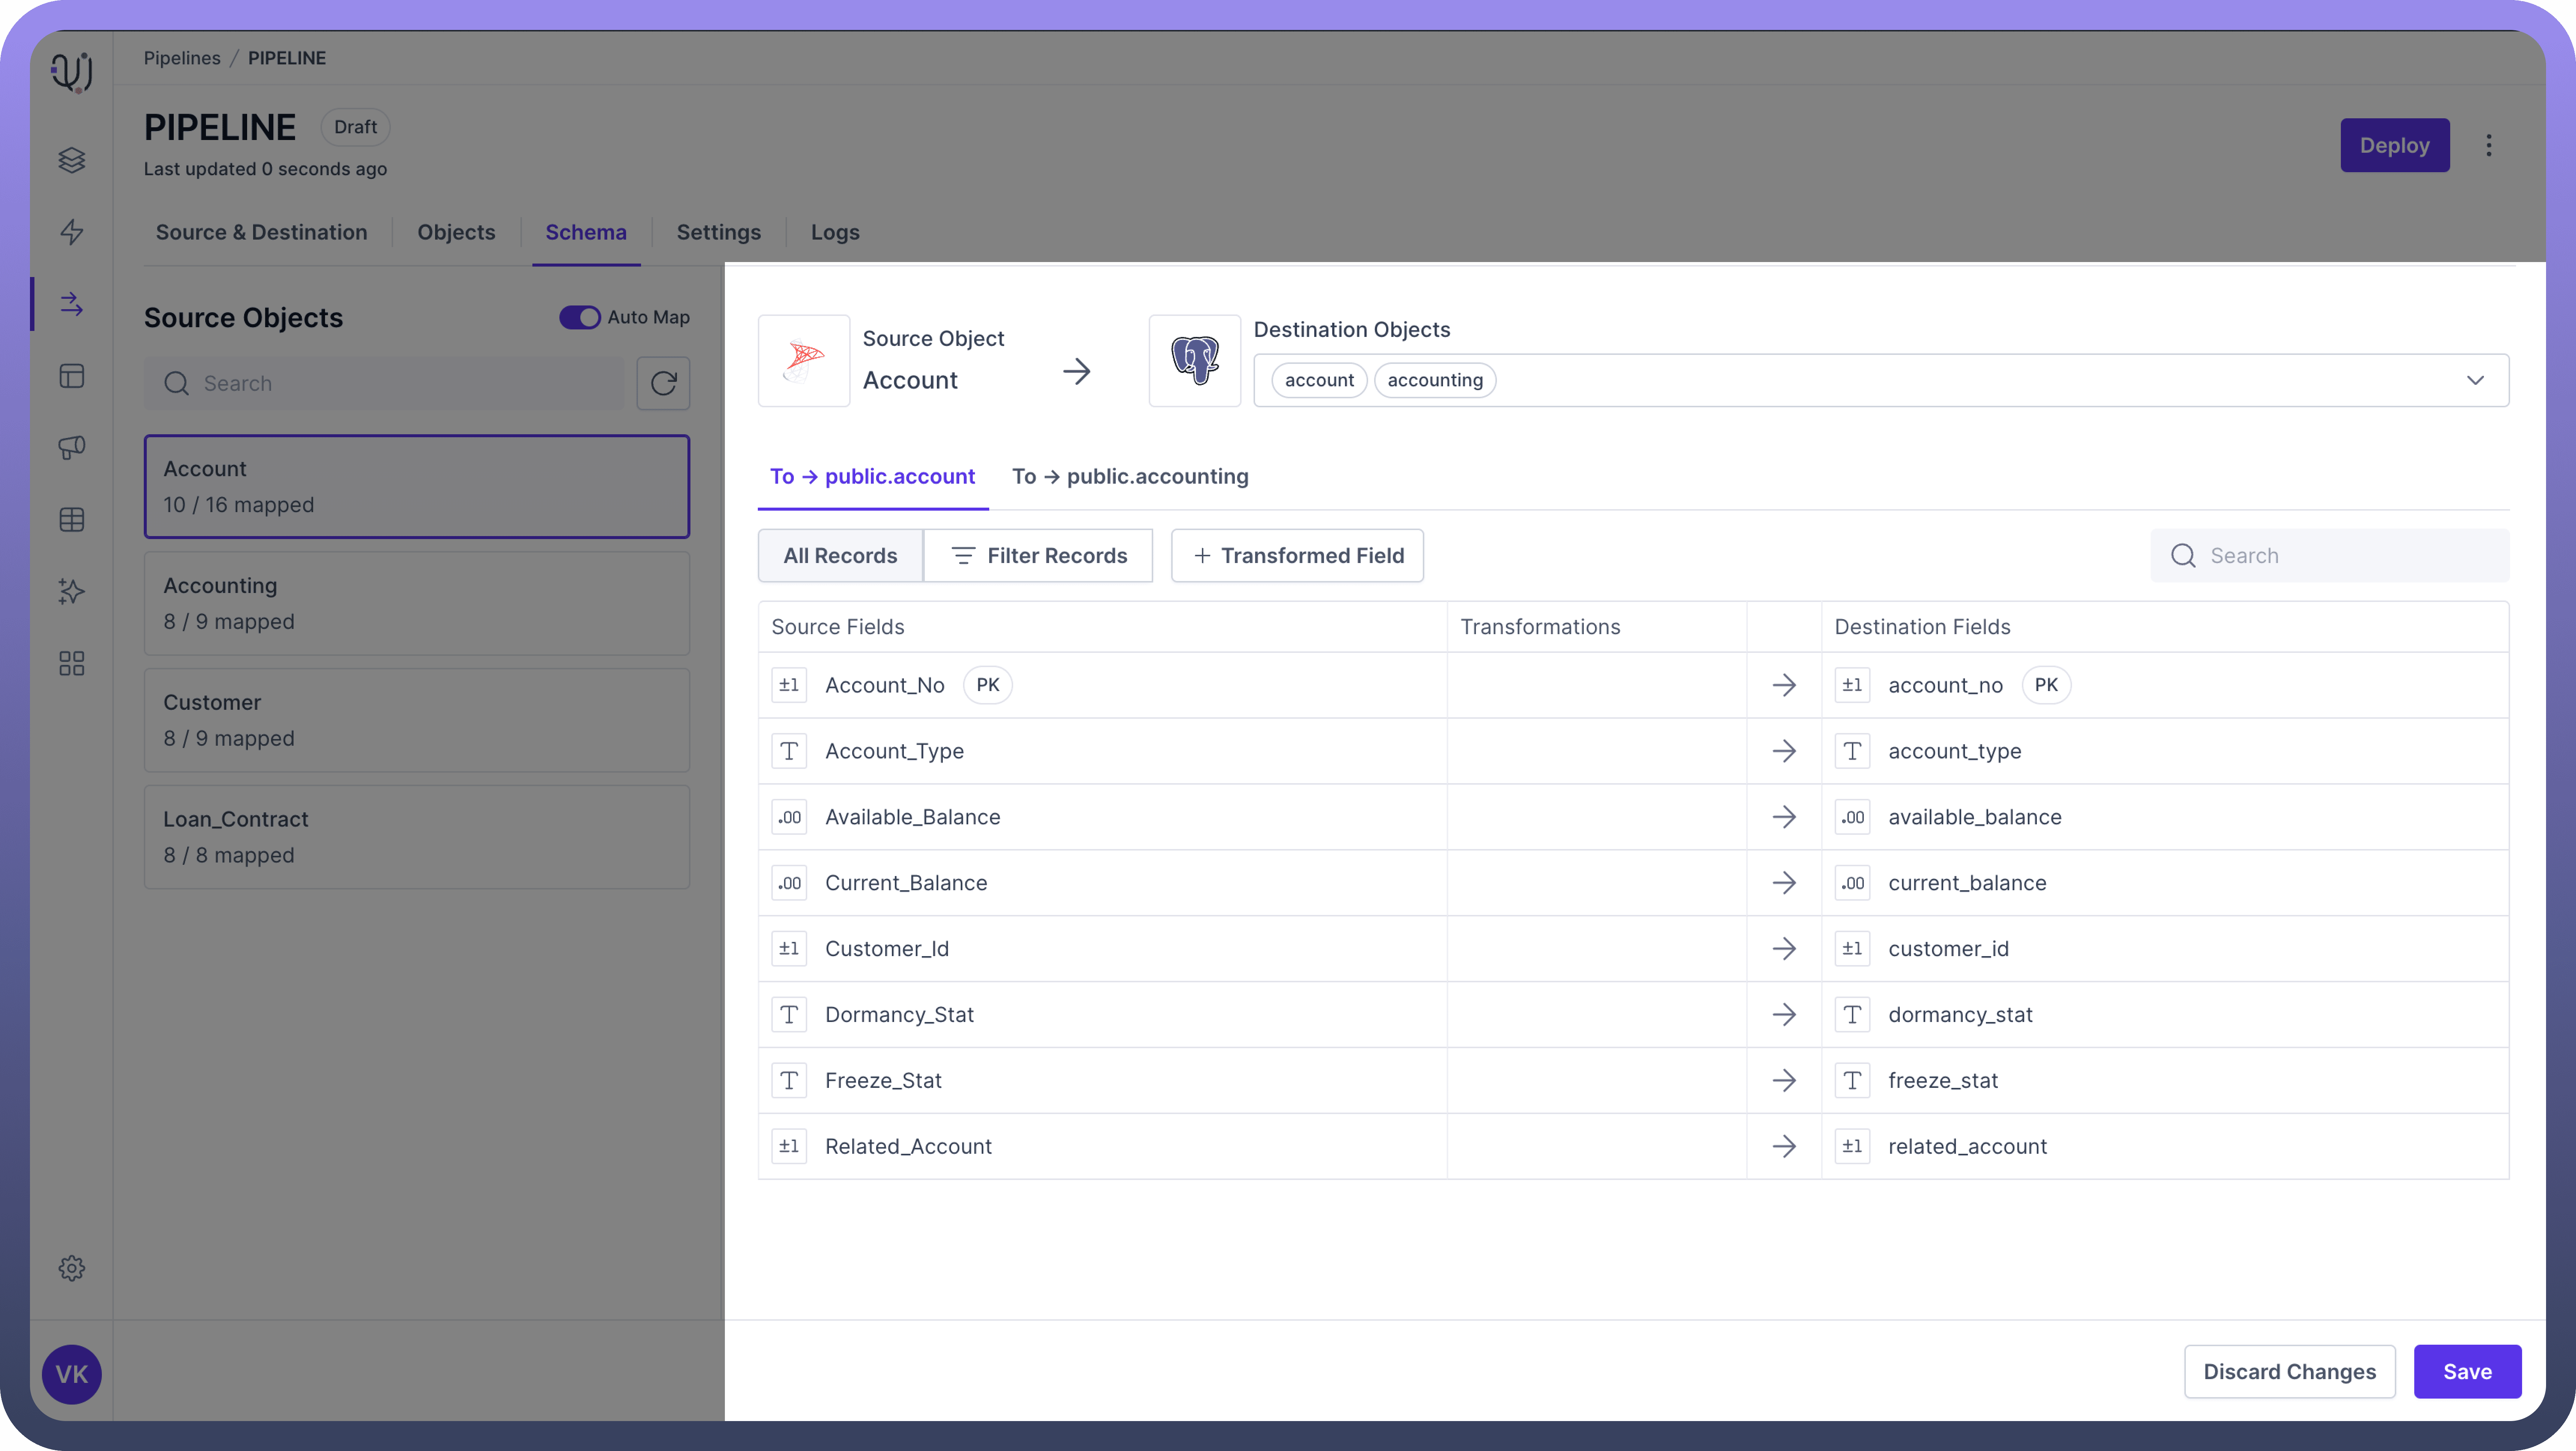
Example: Source Object: Order Destination Objects: SalesOrder, OrderDetails
SalesOrder Mapping:
Source Field | Destination Field |
OrderID | SalesOrderID |
CustomerID | CustomerID |
OrderDate | OrderDate |
TotalAmount | TotalAmount |
OrderDetails Mapping:
Source Field | Destination Field |
OrderID | SalesOrderID |
ProductID | ProductID |
QuantityOrdered | Quantity |
UnitPrice | UnitPrice |
In this example, data from the Order object is split between two destination objects: SalesOrder for order-level information and OrderDetails for line-item details.
Many-to-One Mapping
Many-to-One mapping involves combining data from multiple source objects into a single destination object. This is useful for consolidating data from multiple sources or creating denormalized views of data.
Example: Source Objects: Customer, Address Destination Object: CustomerProfile
Source Object | Source Field | Destination Field |
Customer | CustomerID | CustomerID |
Customer | FirstName | FirstName |
Customer | LastName | LastName |
Customer | ||
Address | Street | StreetAddress |
Address | City | City |
Address | State | State |
Address | ZipCode | PostalCode |
In this example, data from both the Customer and Address objects are combined into a single CustomerProfile object in the destination system.
Choosing the Right Mapping
The choice of mapping type depends on your specific data integration requirements:
"Use One-to-One mapping for straightforward data transfers between similar schemas."
"Use One-to-Many mapping when you need to distribute or normalize your data in the destination system."
"Use Many-to-One mapping when you want to consolidate data or create comprehensive views of related information."
Steps for Schema Mapping
Select Source Object
In the left panel, you'll see a list of available source objects
Use the Search bar at the top of this panel to quickly find specific objects
Click on the desired source object to select it
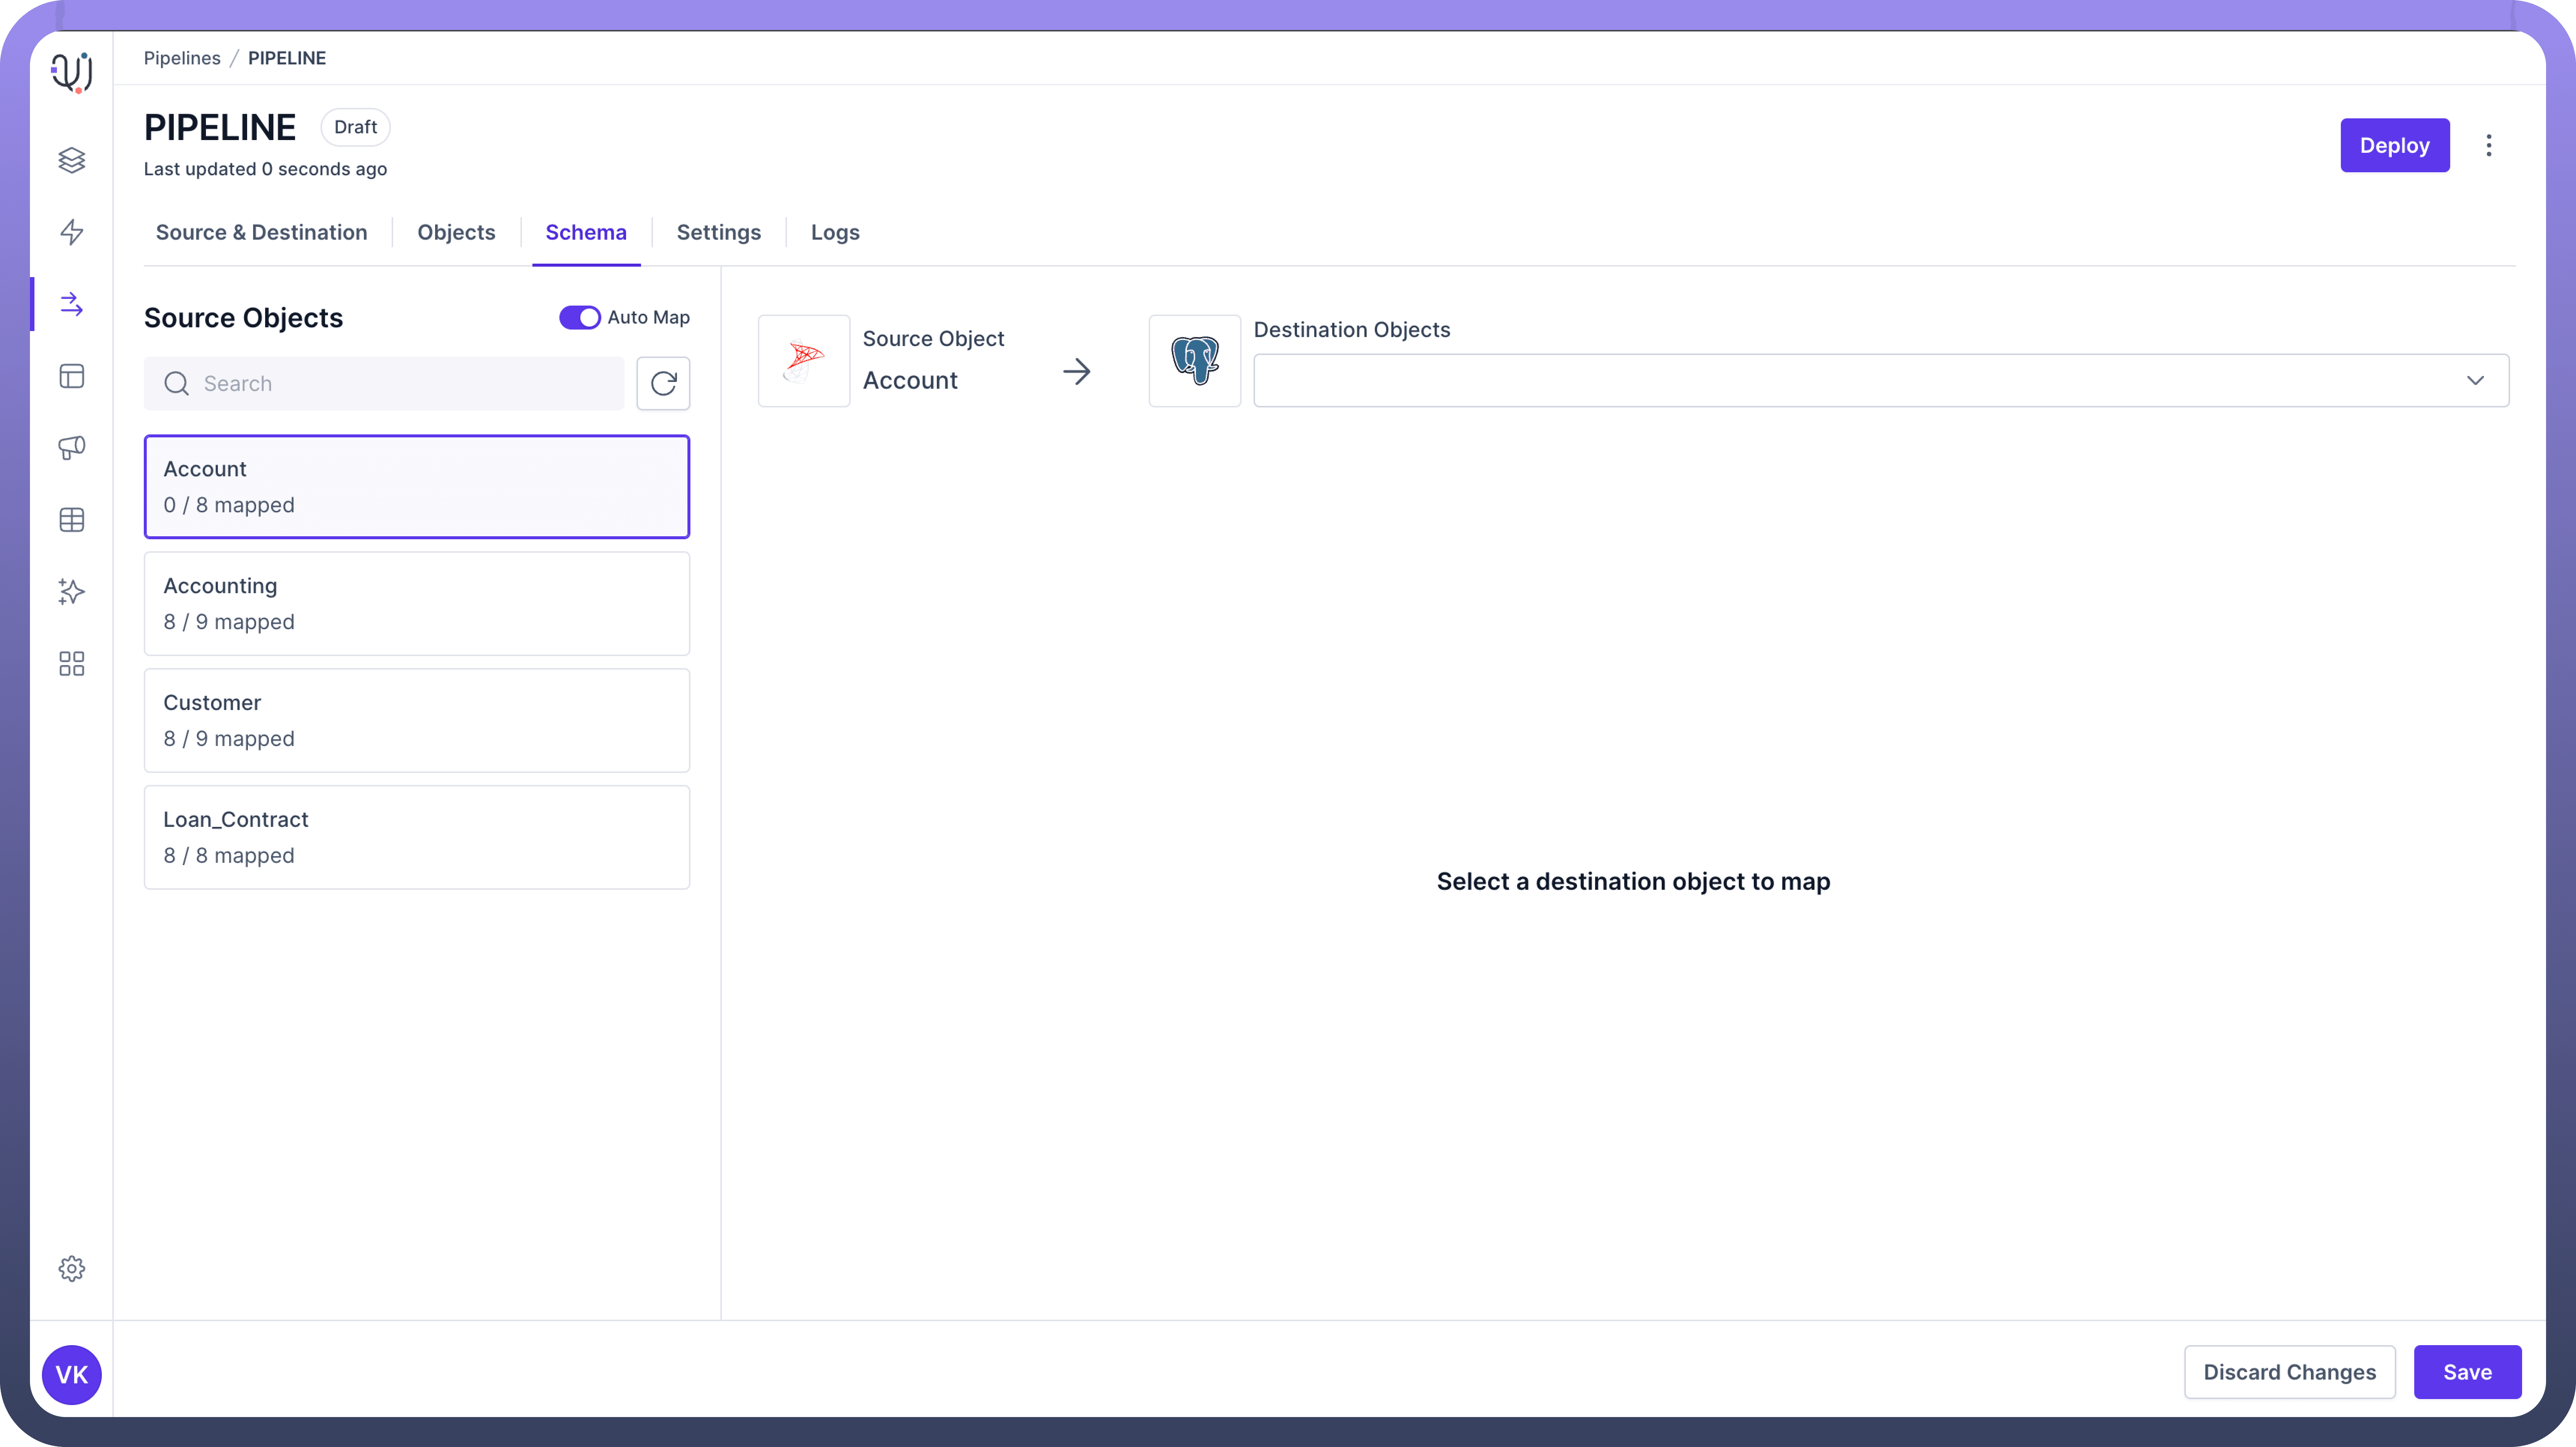
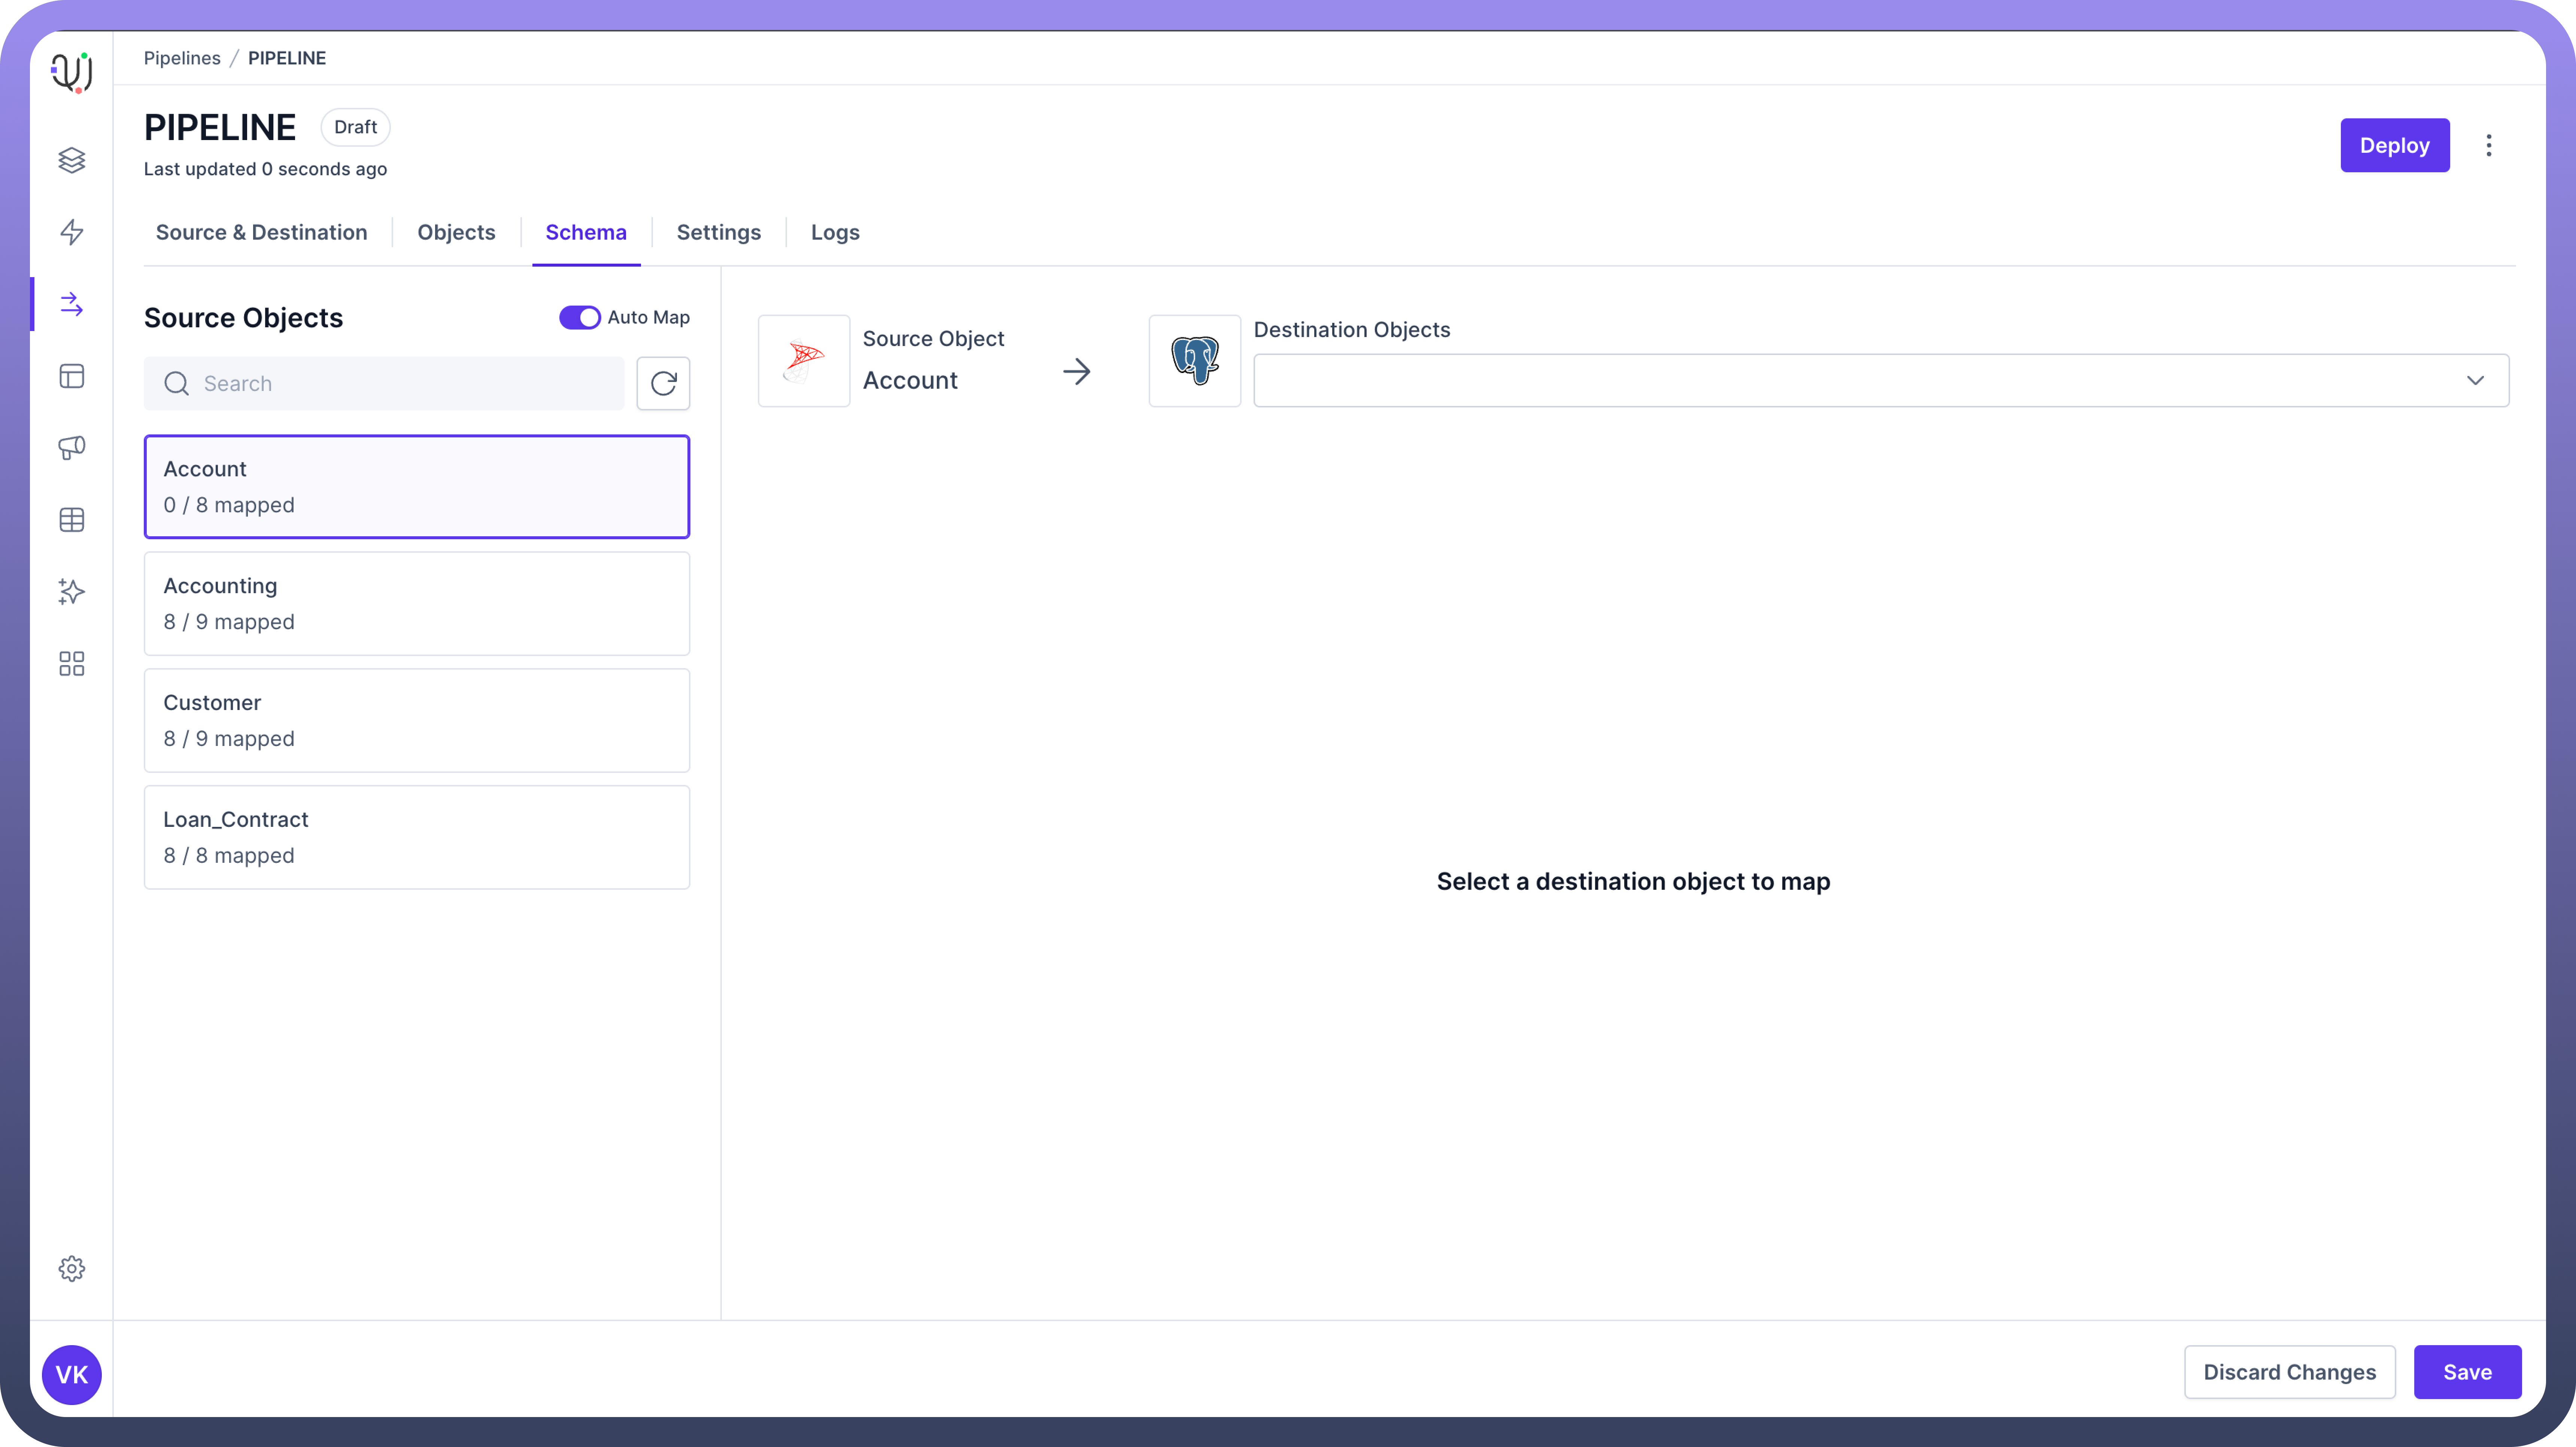
Choose Destination Object(s)
After selecting a source object, a dropdown or selection panel for destination objects will appear.
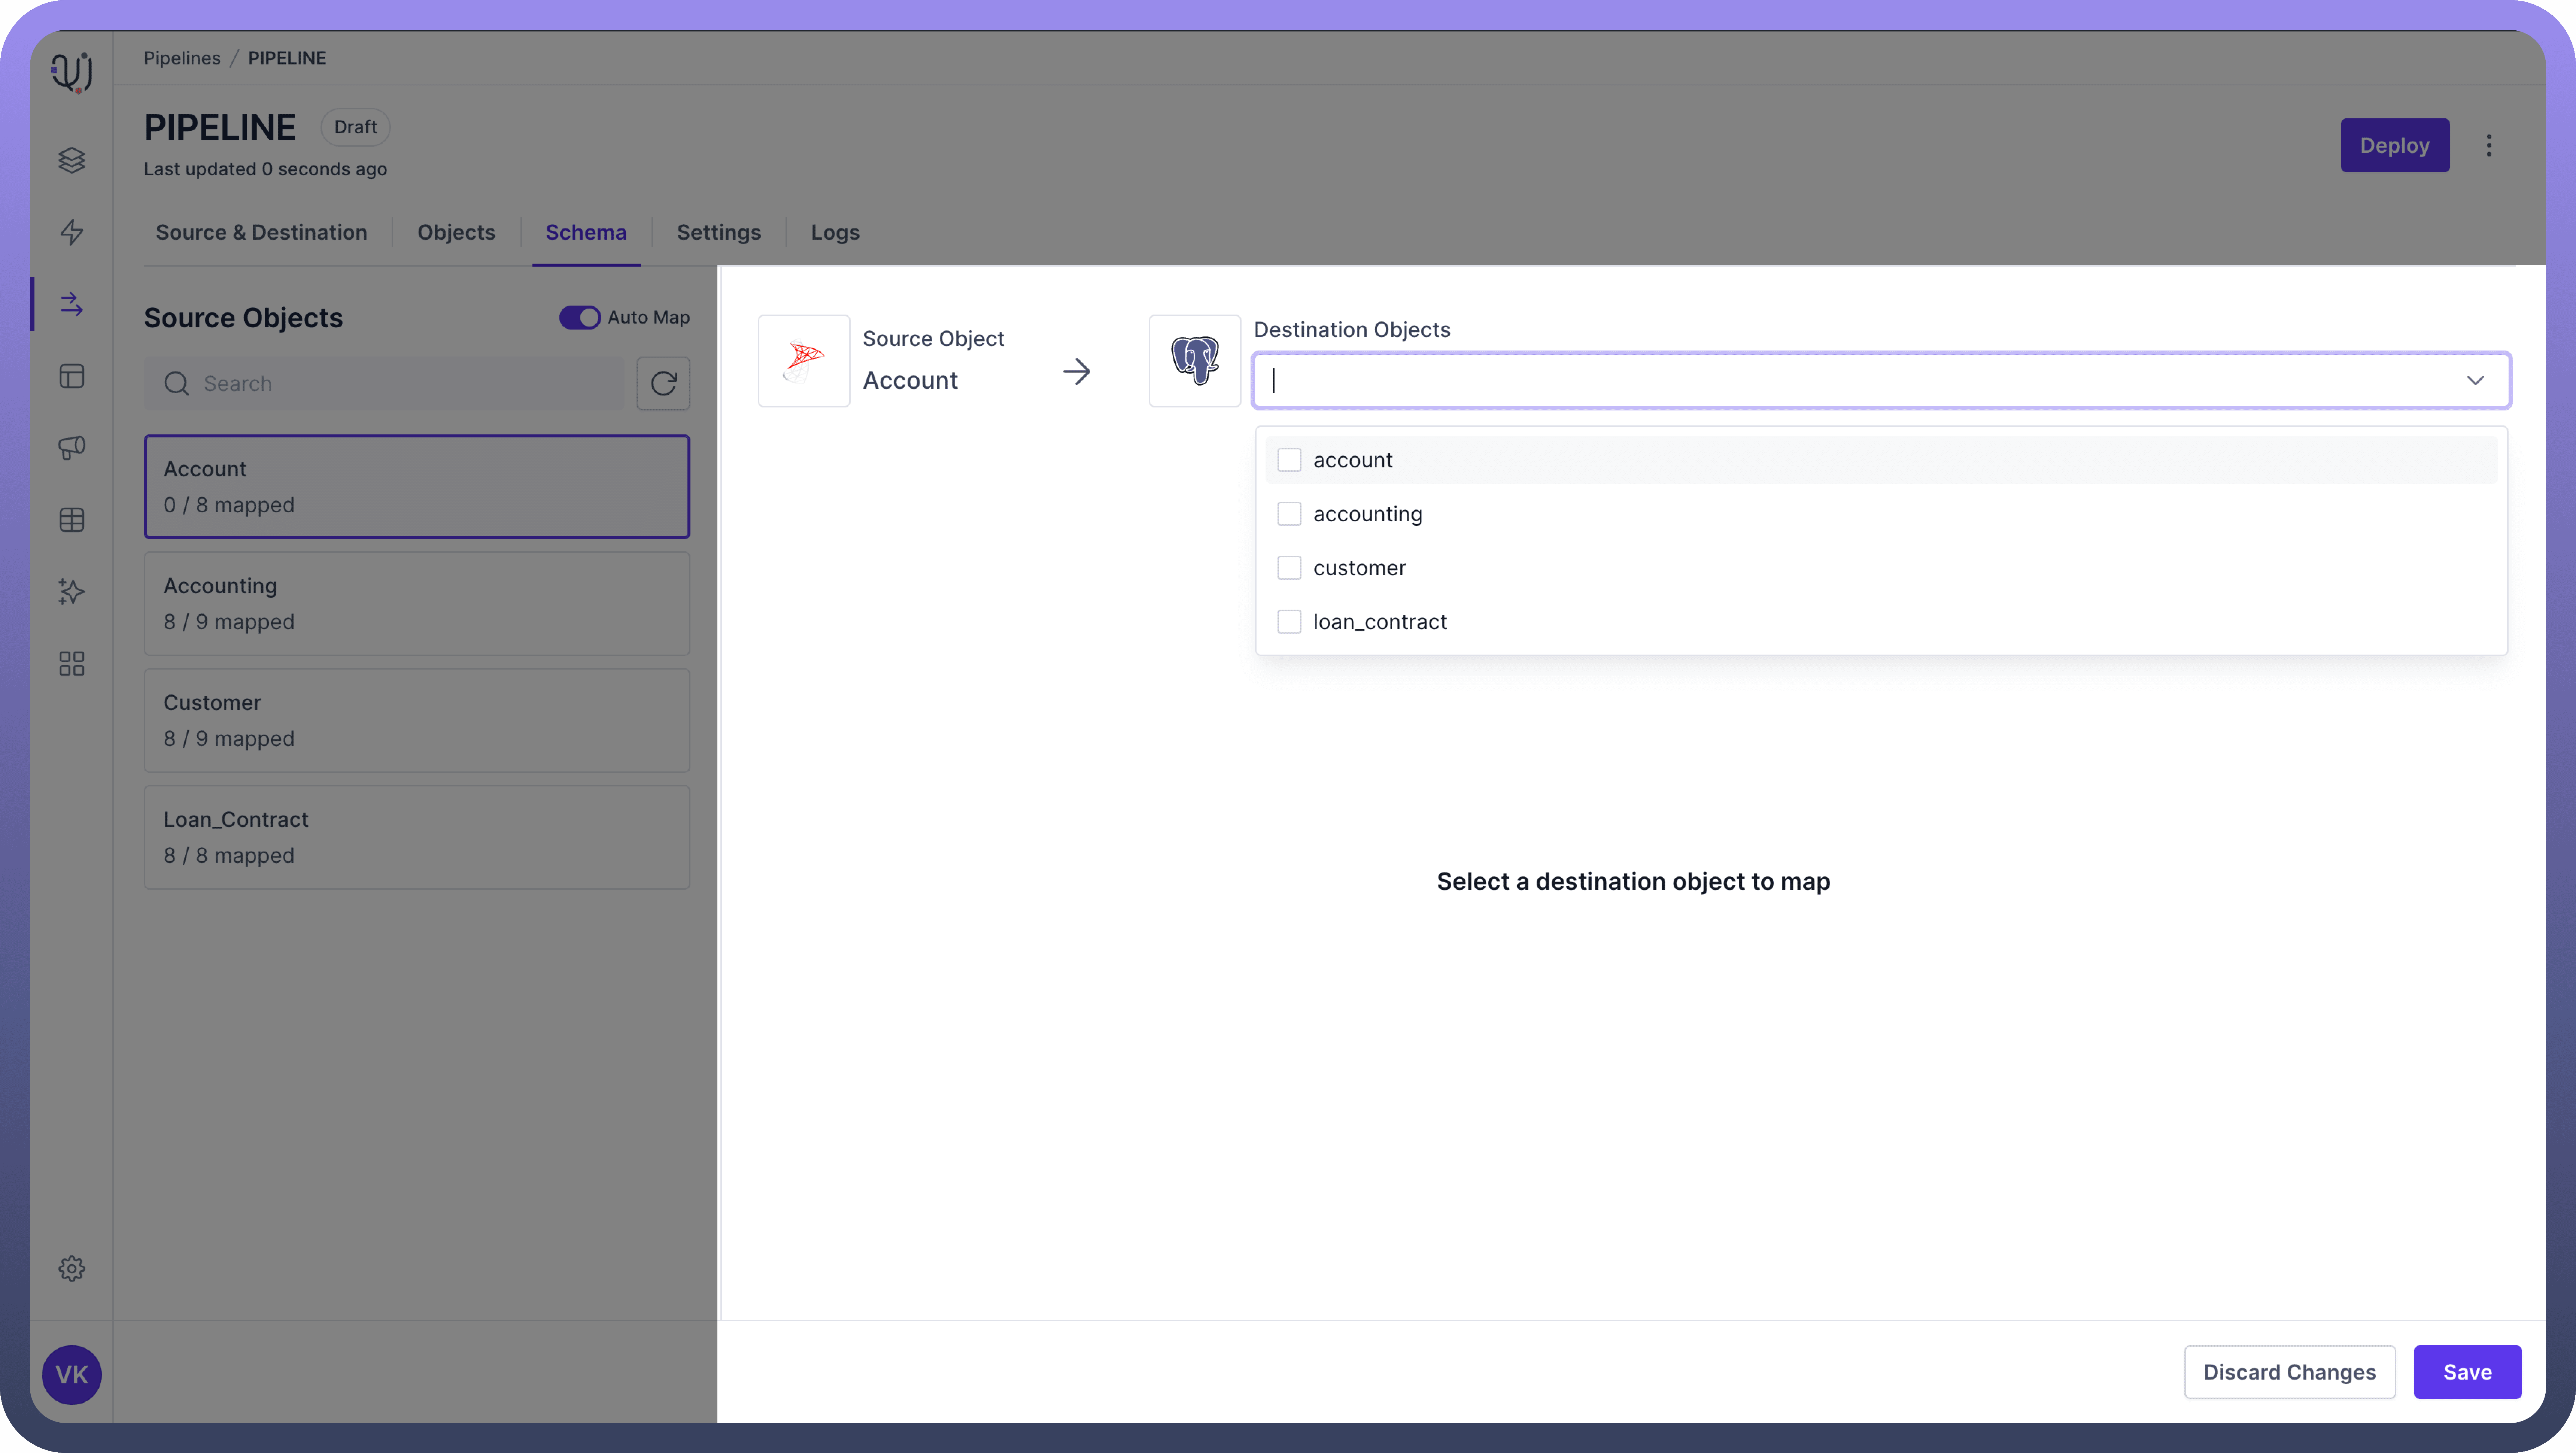
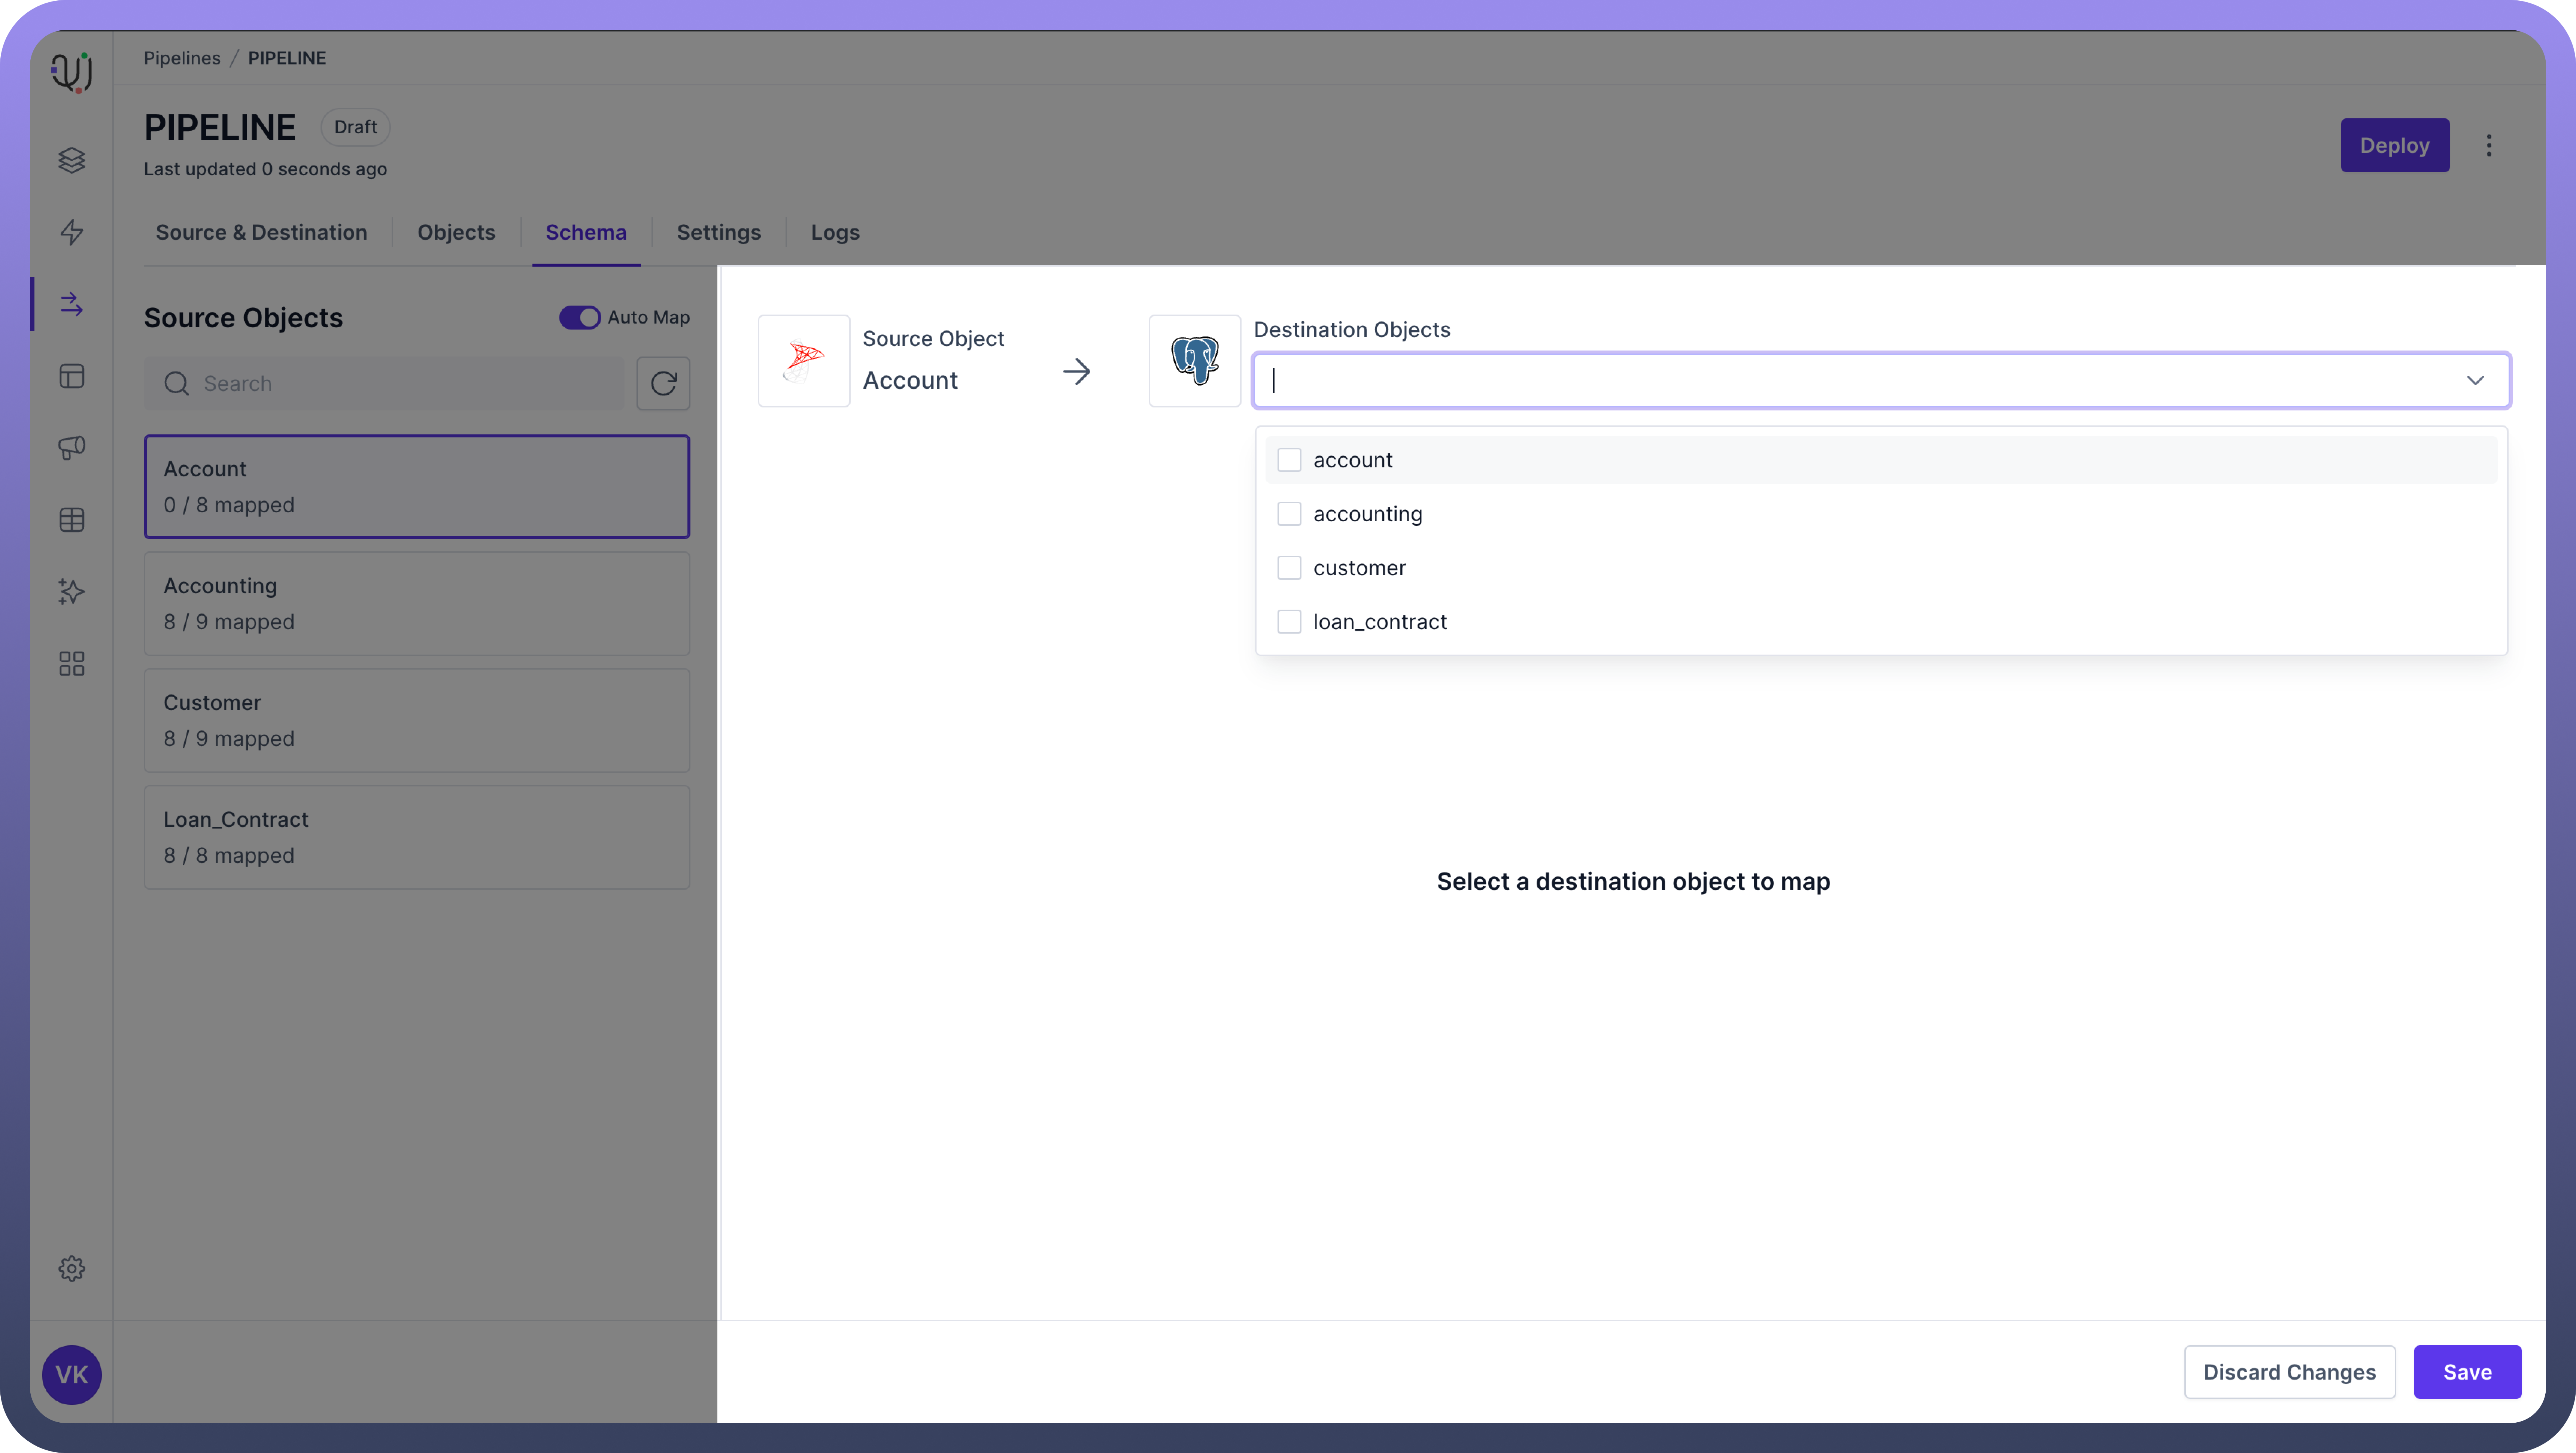
For One-to-One or Many-to-One mapping, select a single destination object
For One-to-Many mapping, you can select multiple destination objects
Map Fields
Once source and destination objects are selected, you'll see a table or interface showing source fields
For each source field, there will be a dropdown in the "
Destination Field" column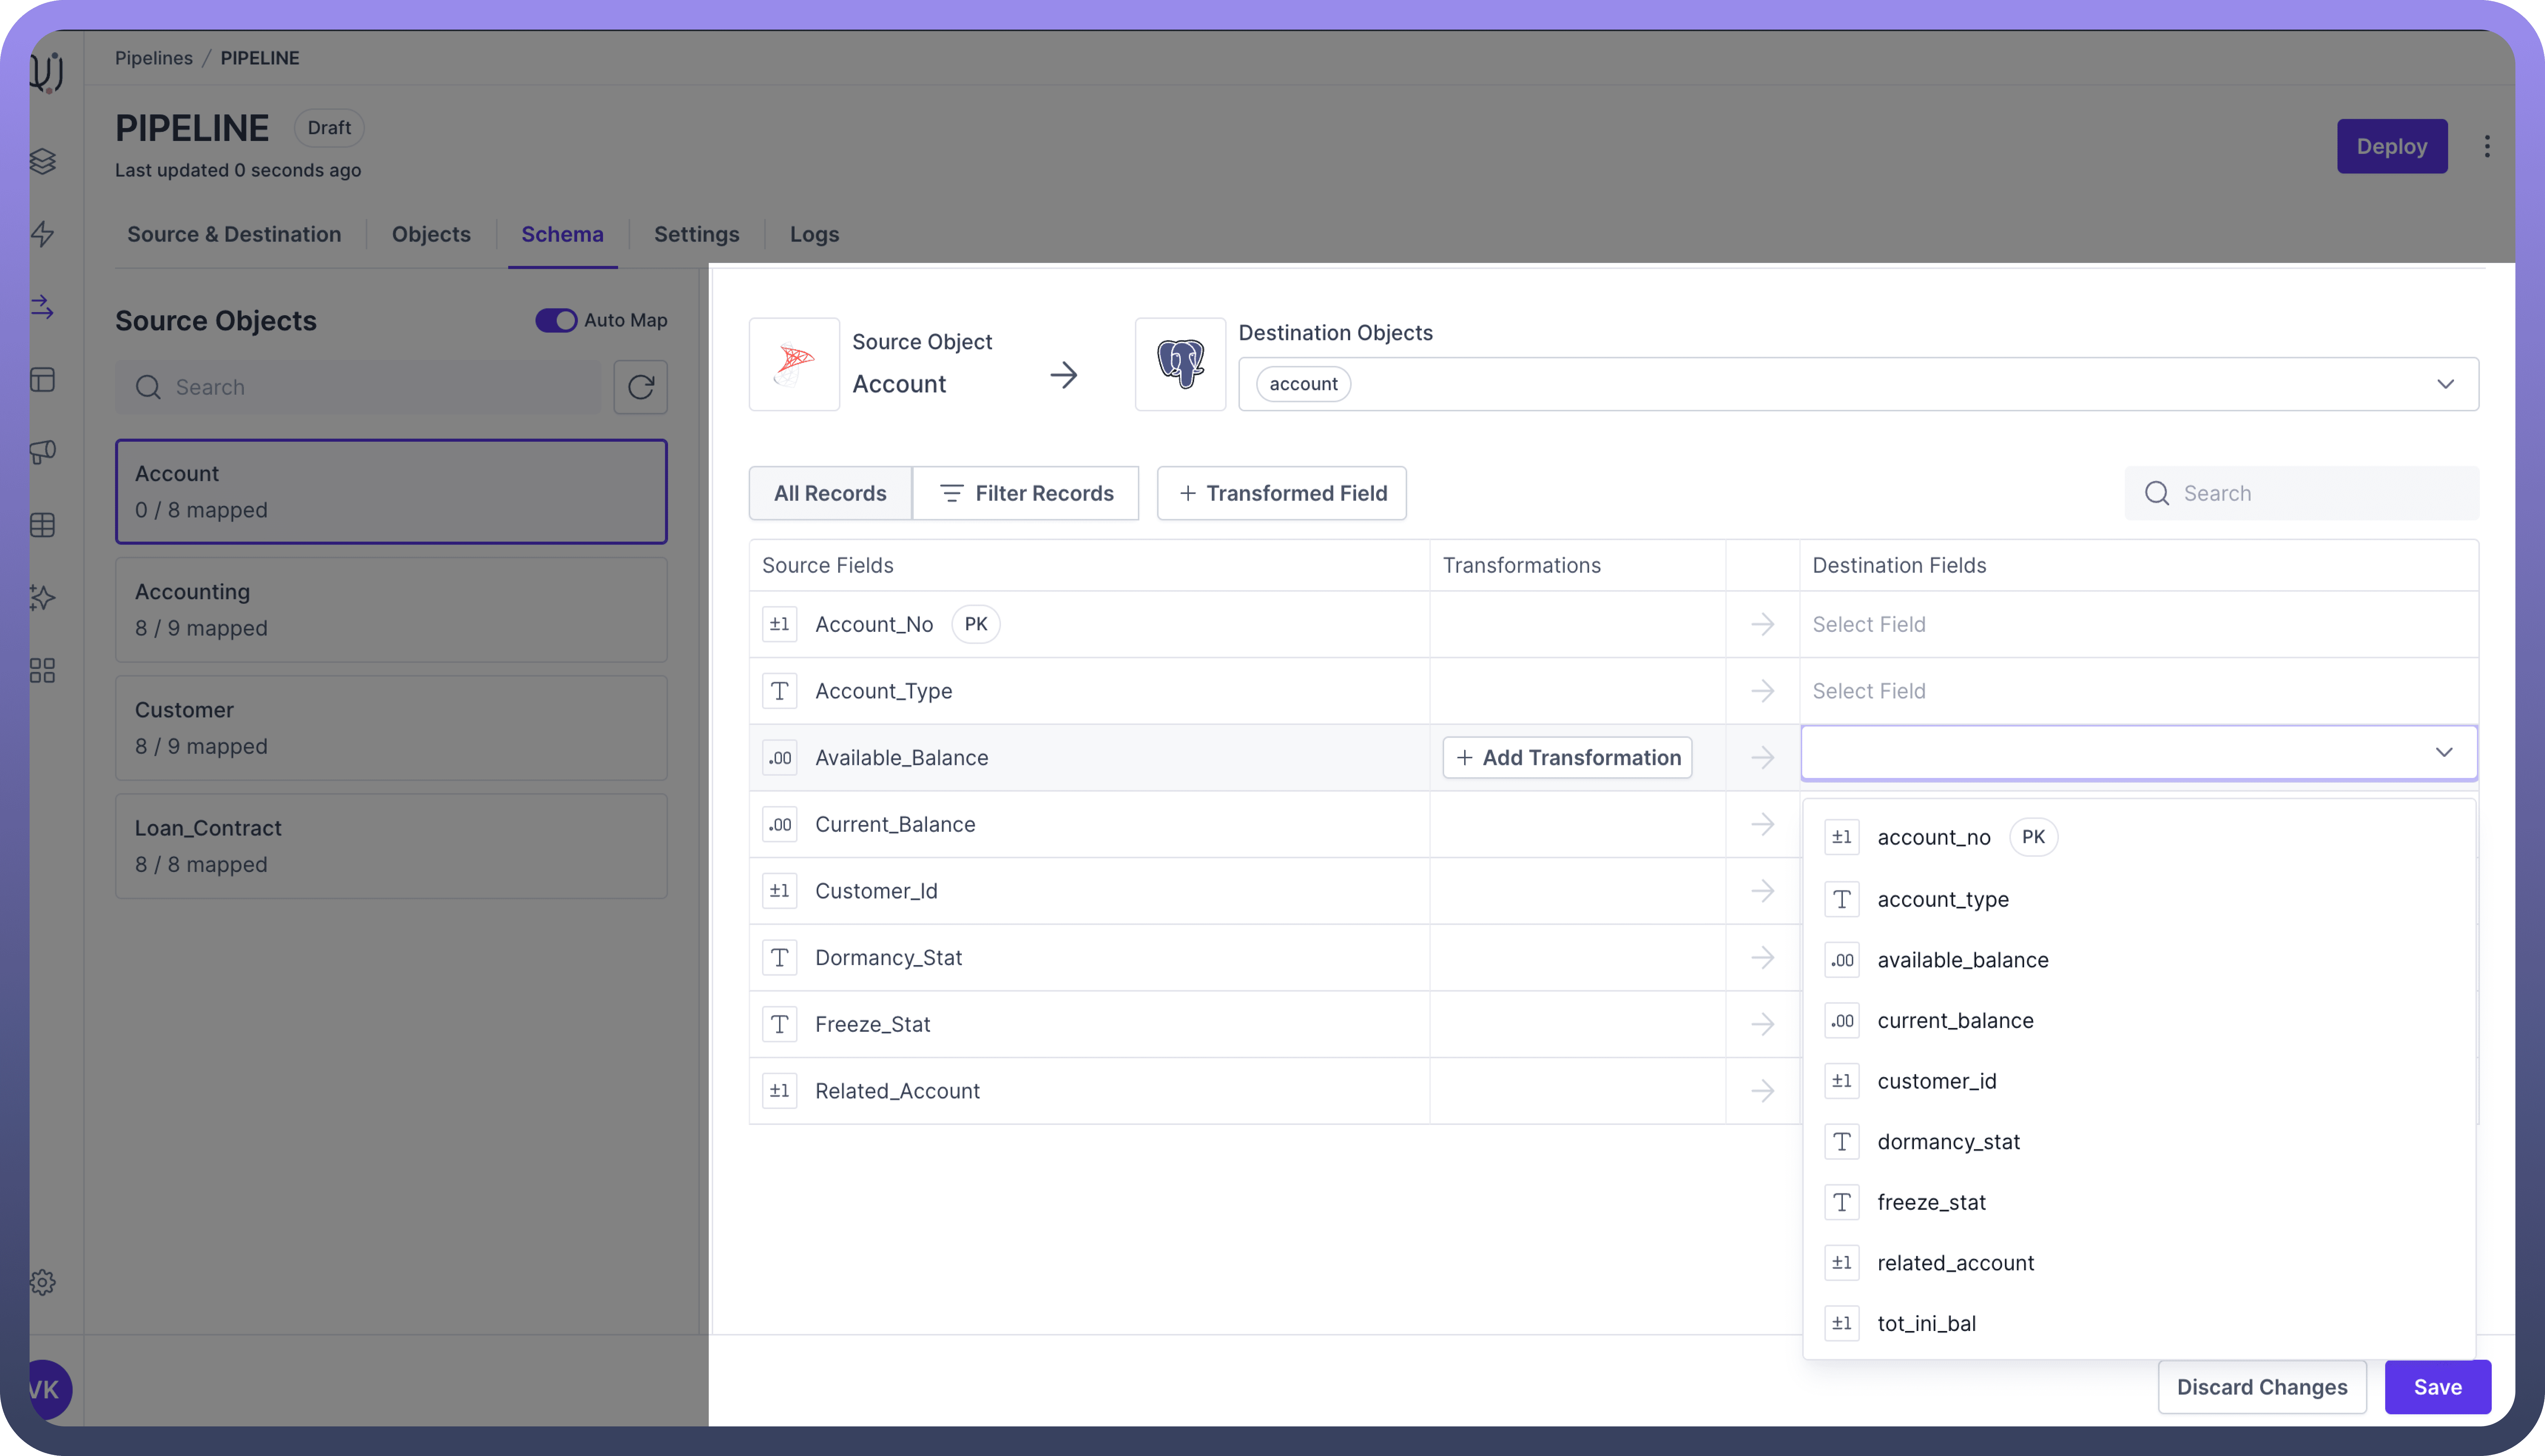
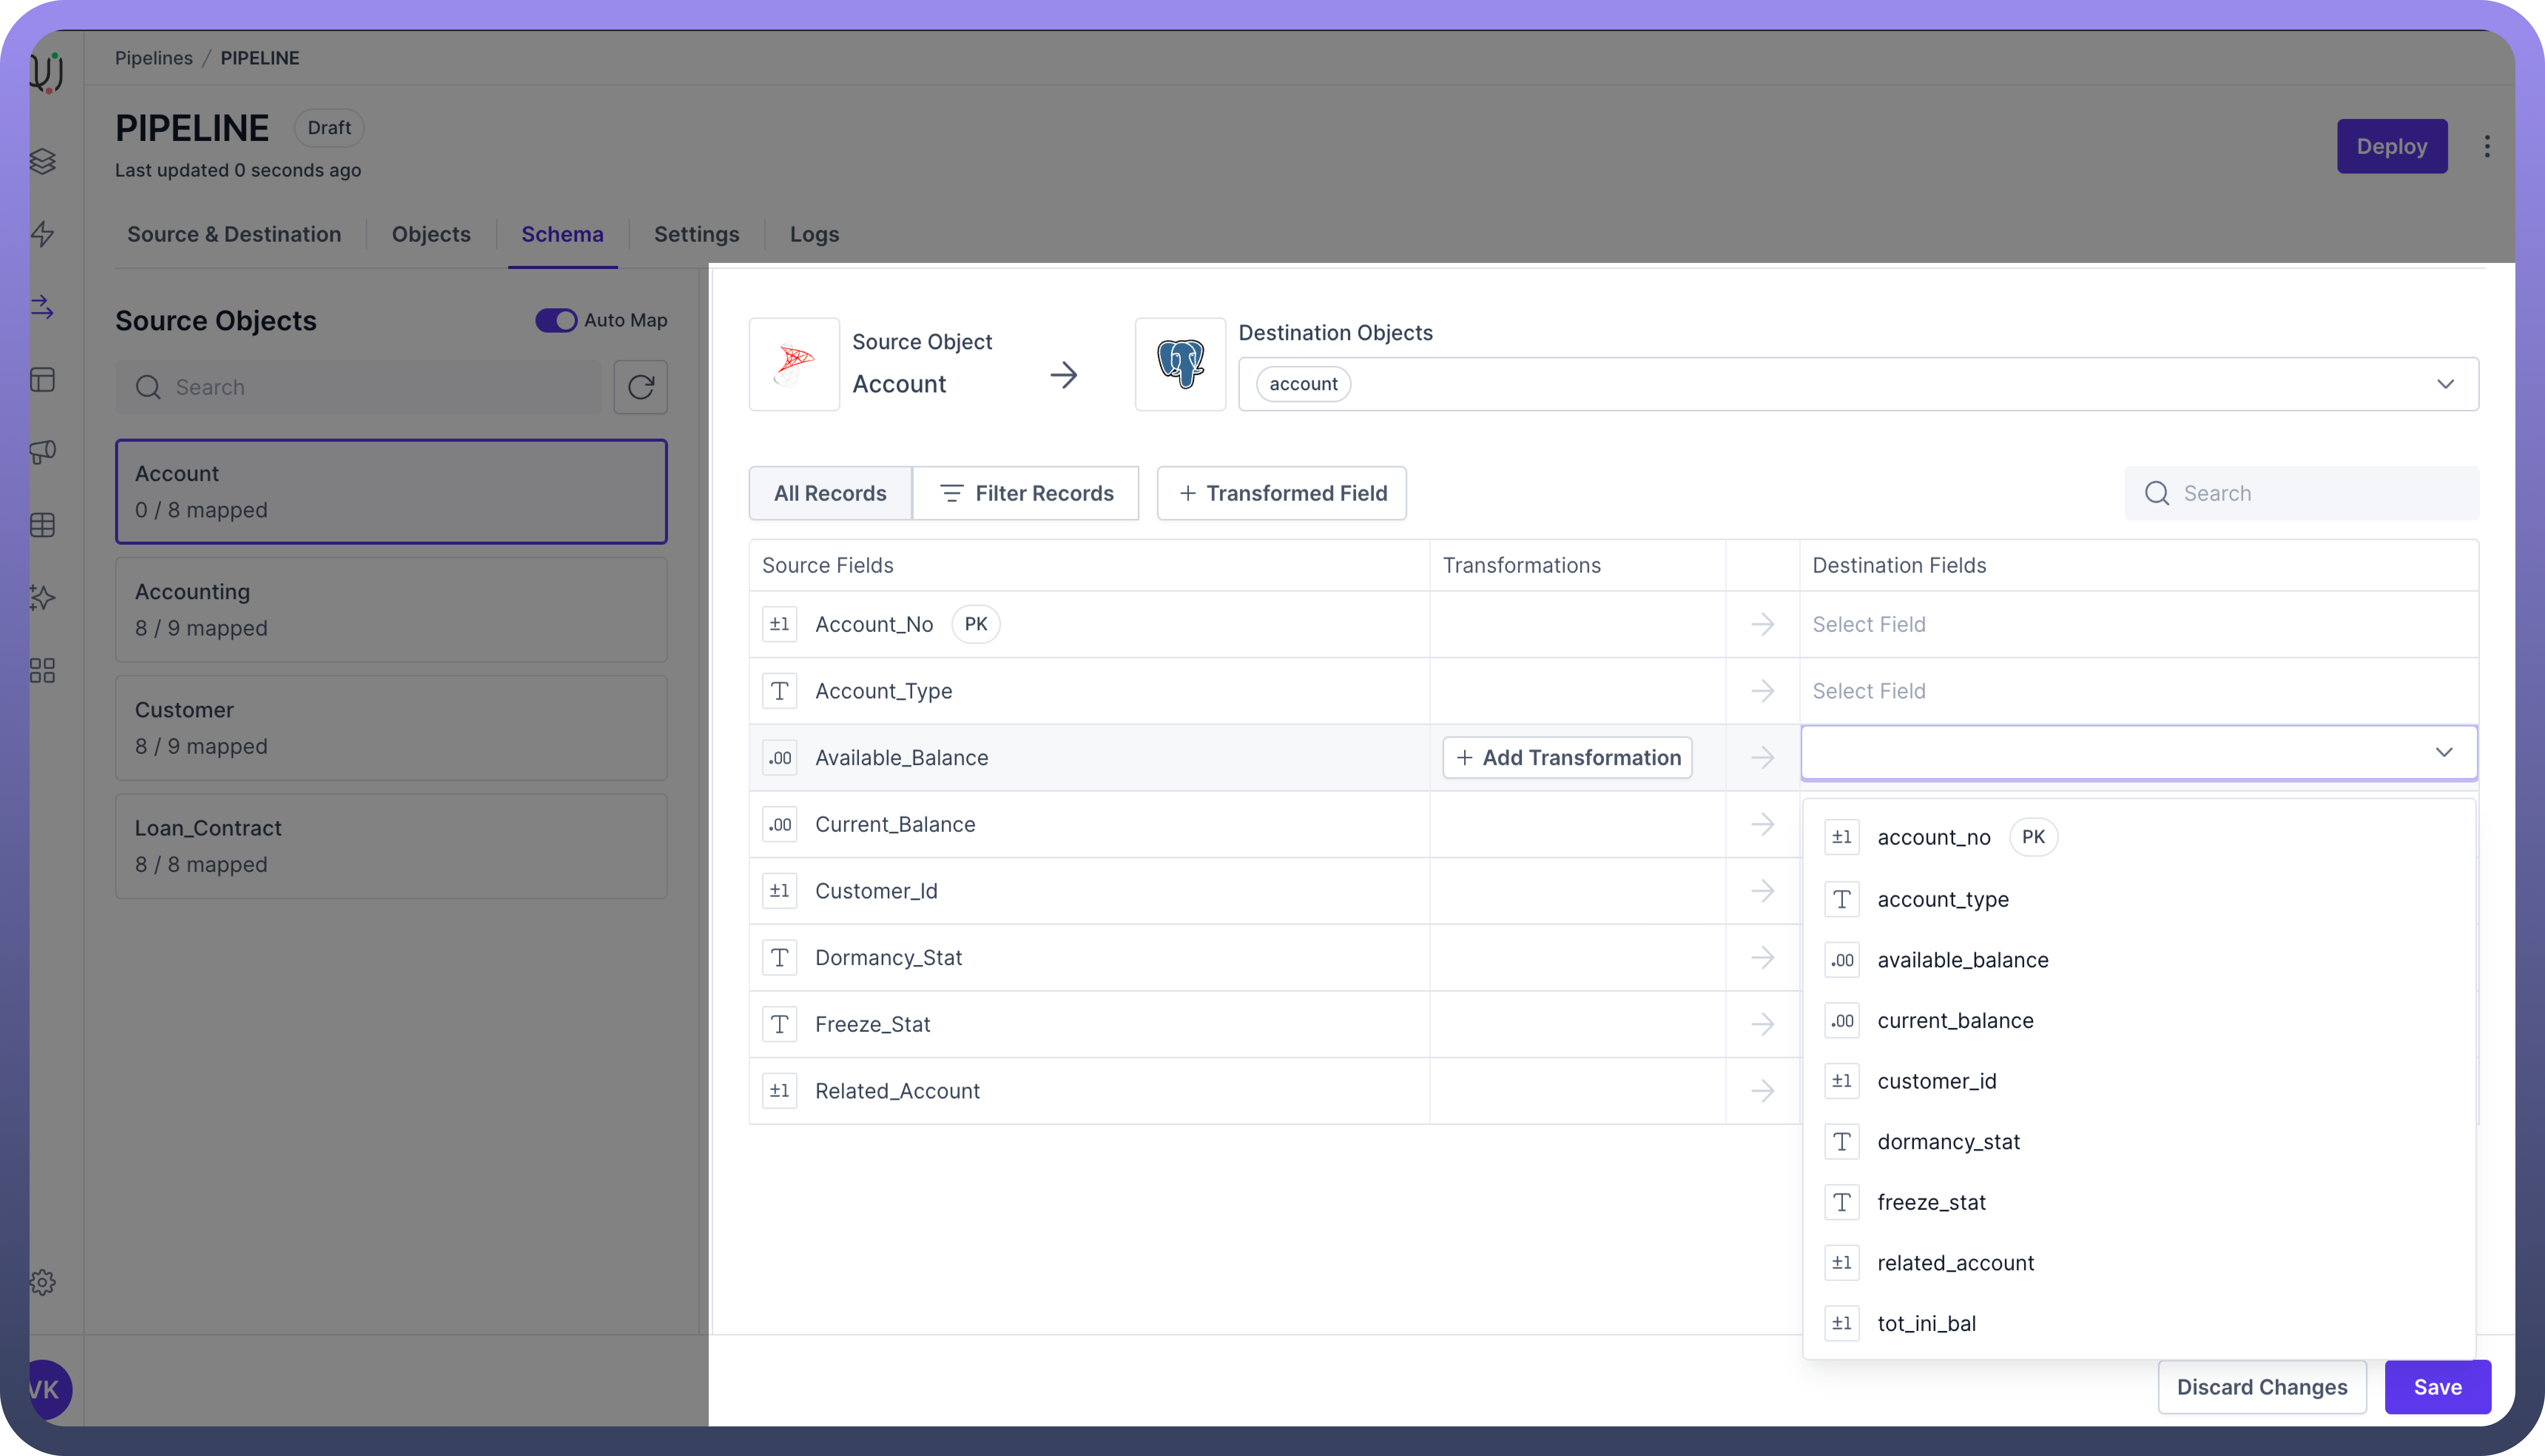
Click on this dropdown to see available destination fields
Select the appropriate destination field for each source field
Use the Search bar within each object view to quickly locate specific fields if dealing with many columns
Tip
Pay attention to data types when mapping fields. UnifyData will often highlight potential type mismatches.
Save or Discard Changes
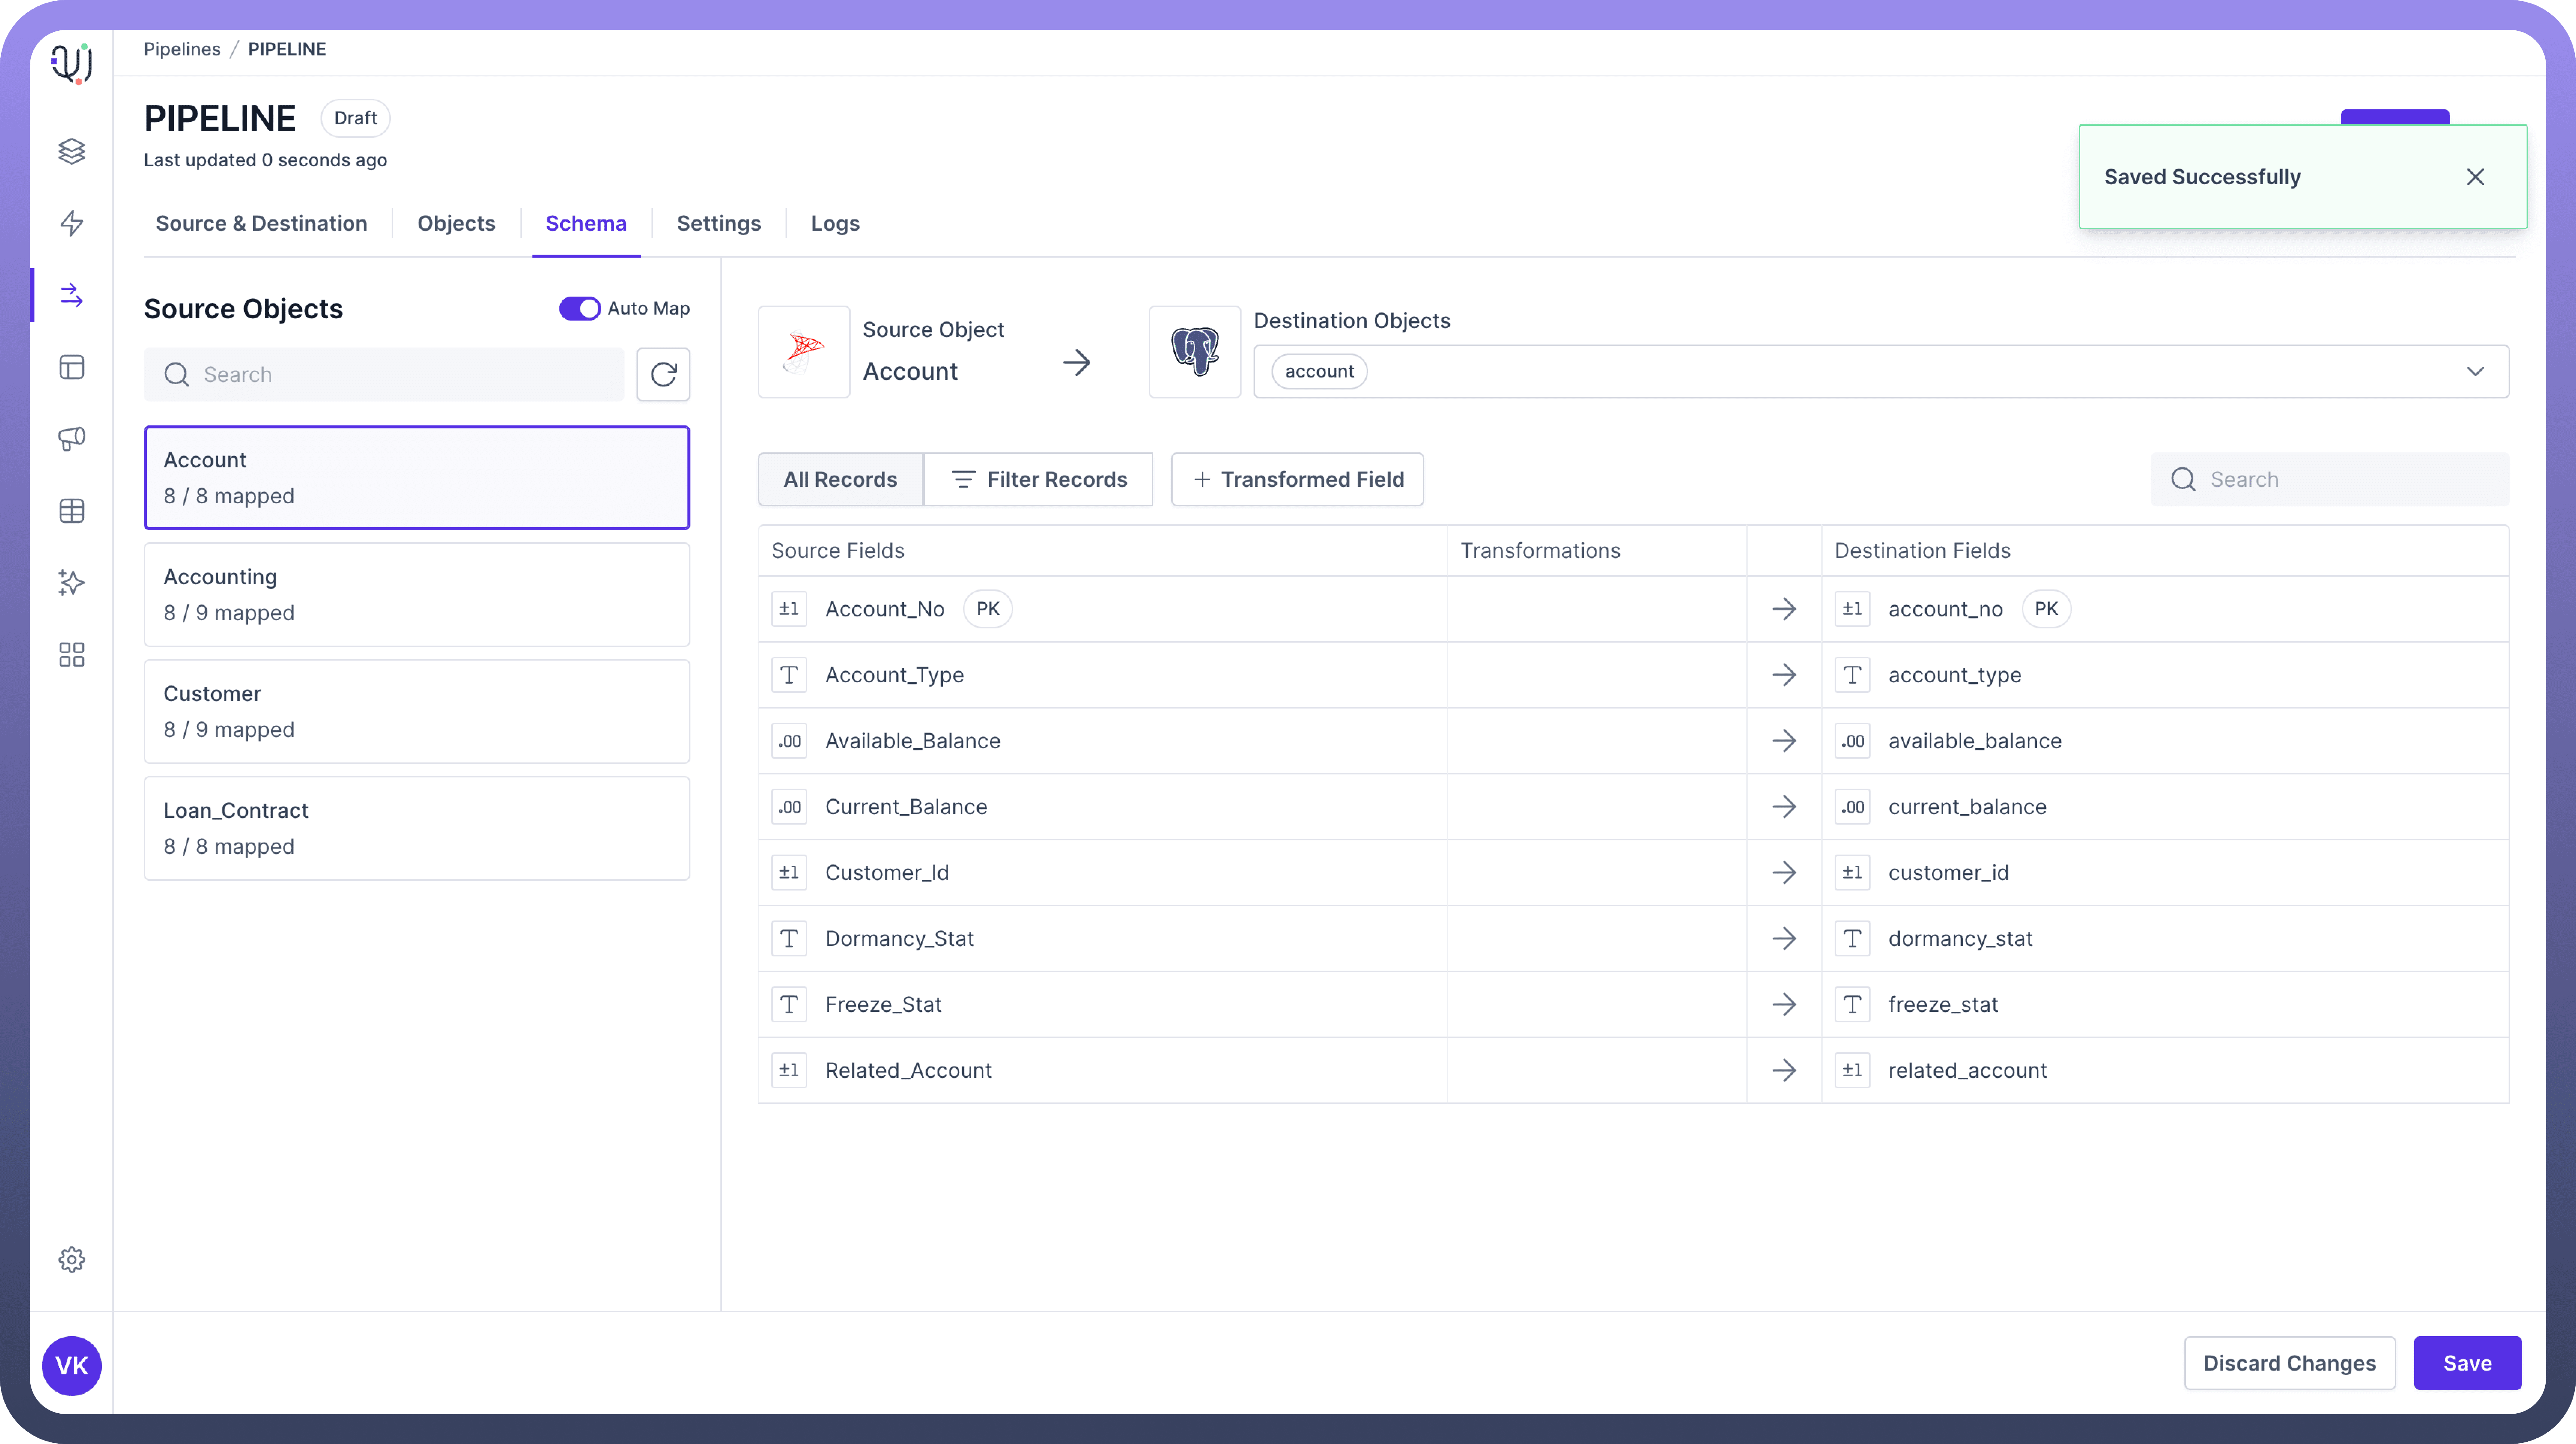
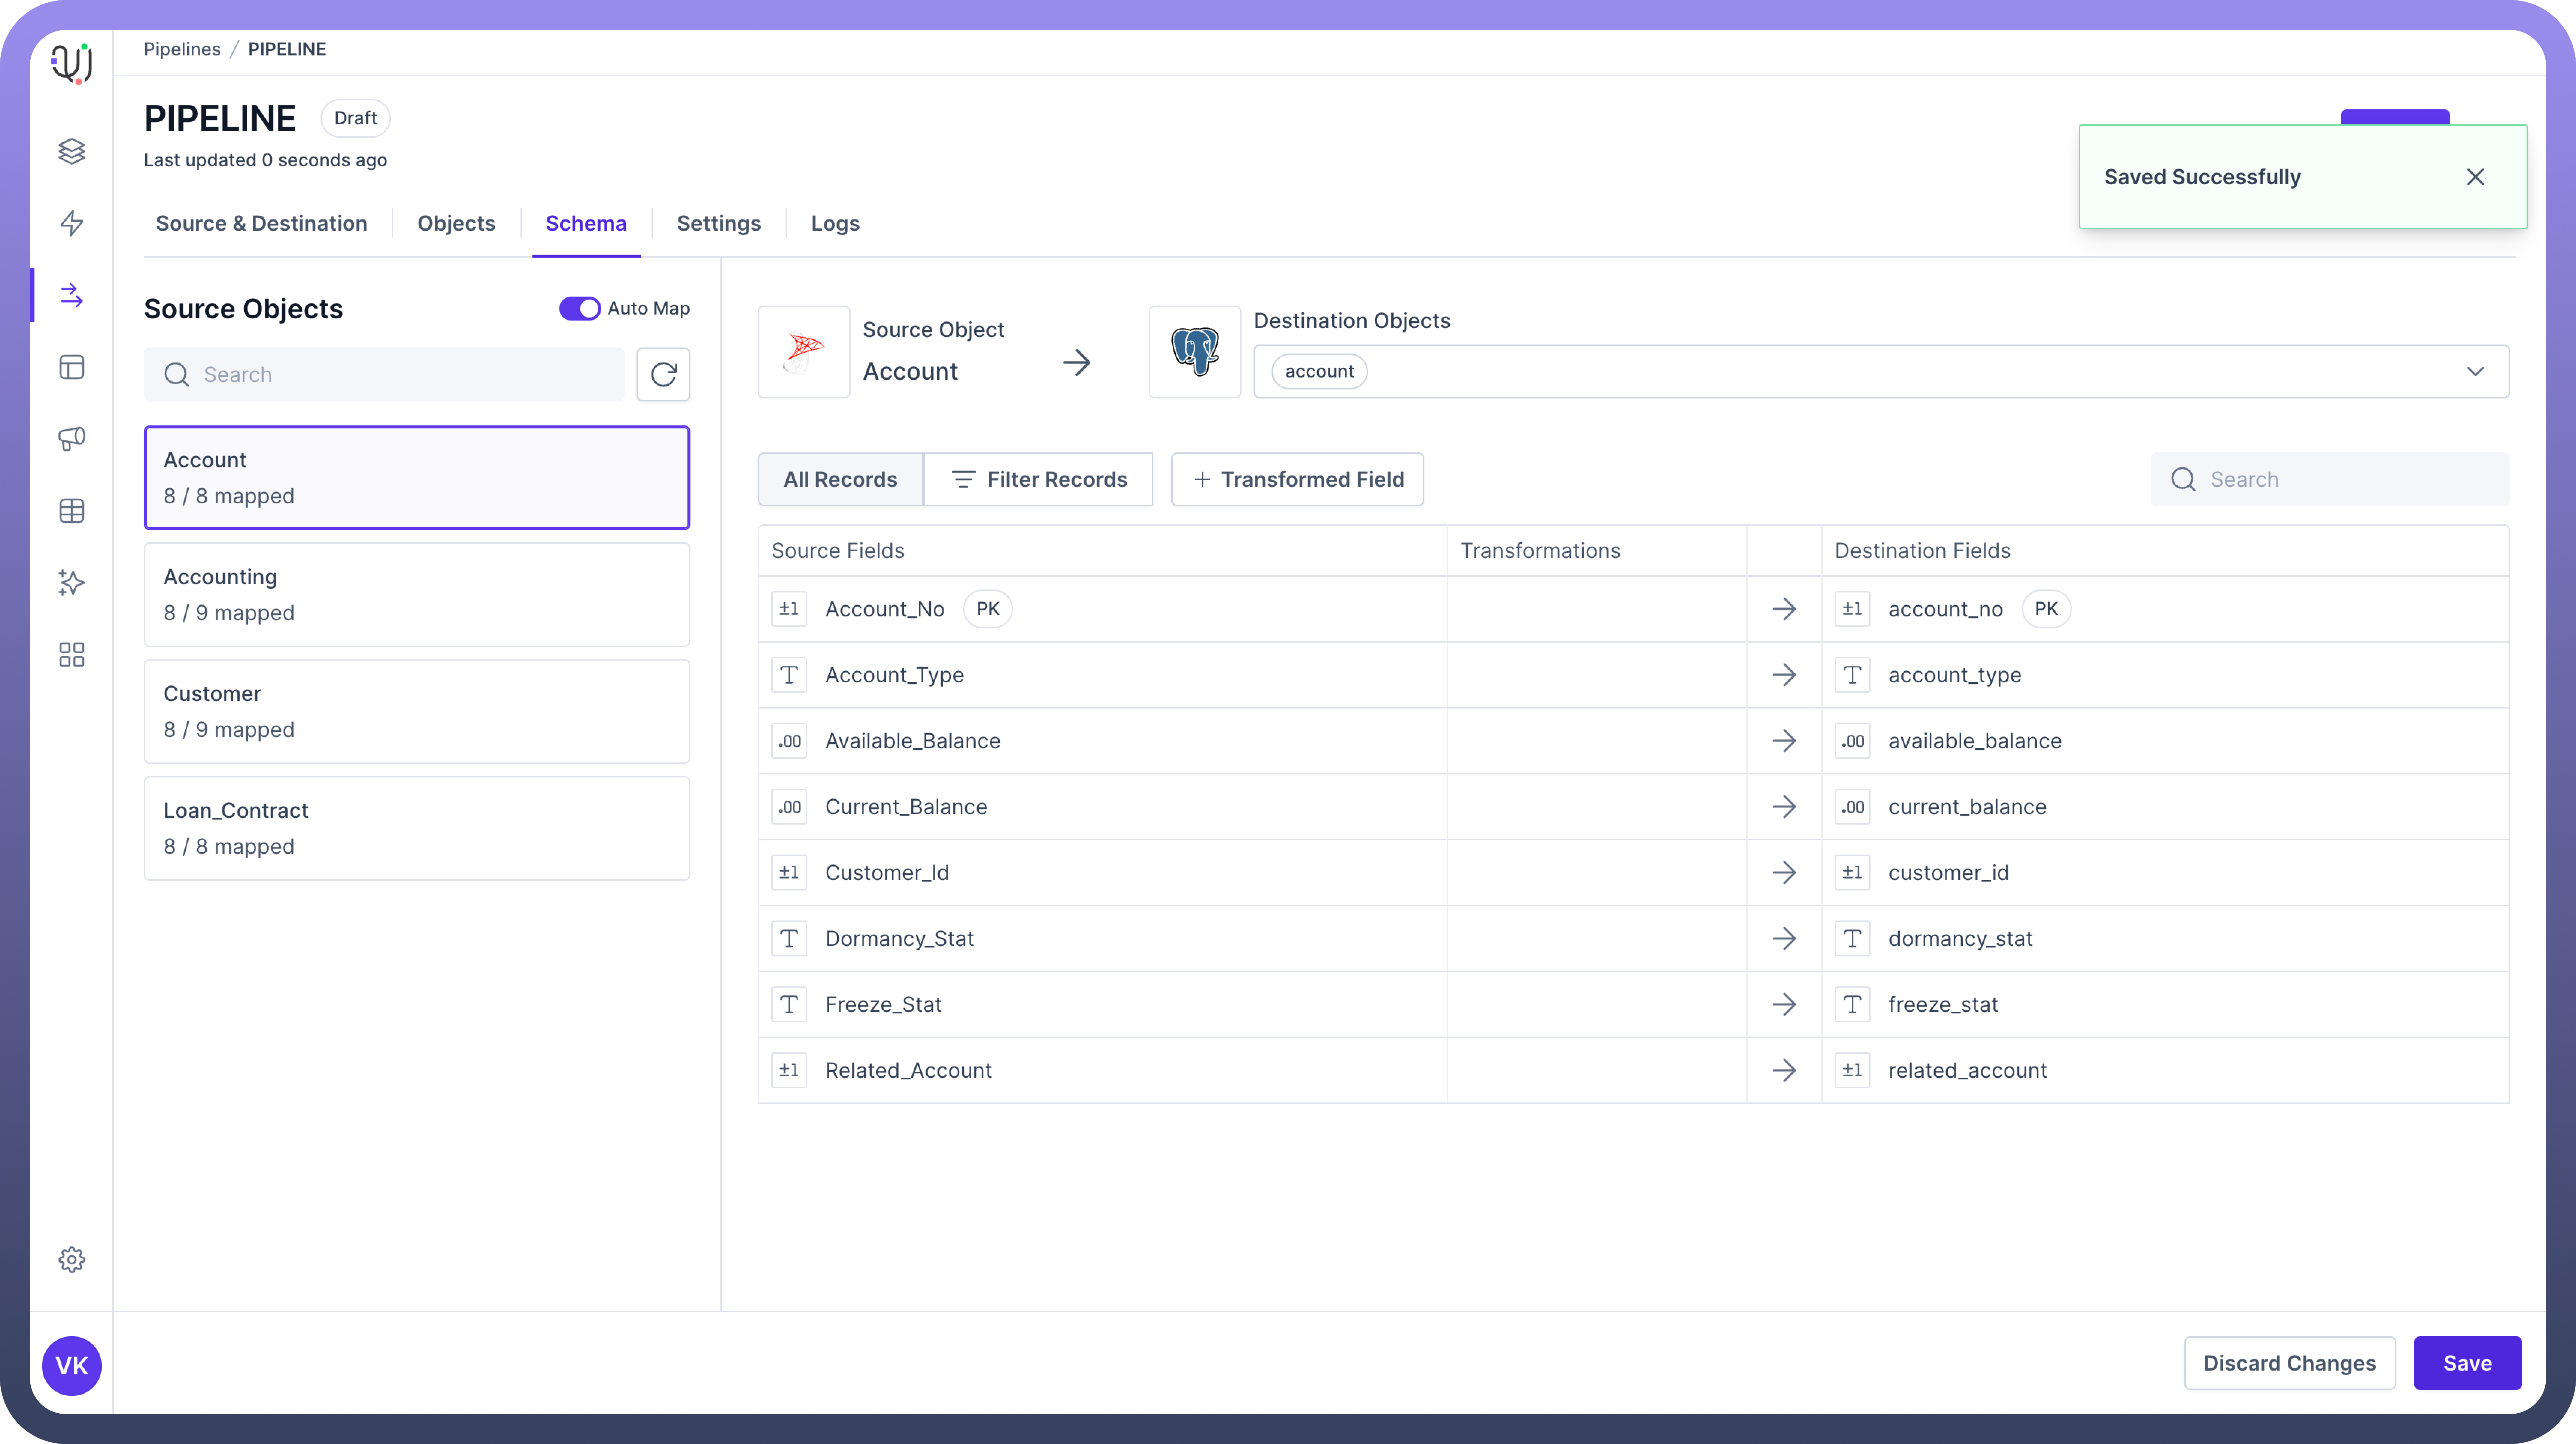
Once you're satisfied with your mapping, click "
Save" or "Apply" to confirm your mappingsIf you've made errors or want to start over, click "
Discard Changes" to remove all recent mapping changes
Filter Records in Schema Mapping
Unifydata allows you to apply filters during the schema mapping process to selectively migrate data. This feature is particularly useful when you only need a subset of your source data in the destination system.
Data filtering in schema mapping allows you to:
Migrate only the most relevant data
Reduce data transfer volume and processing time
Create targeted datasets for specific use cases
Setting Up Filters
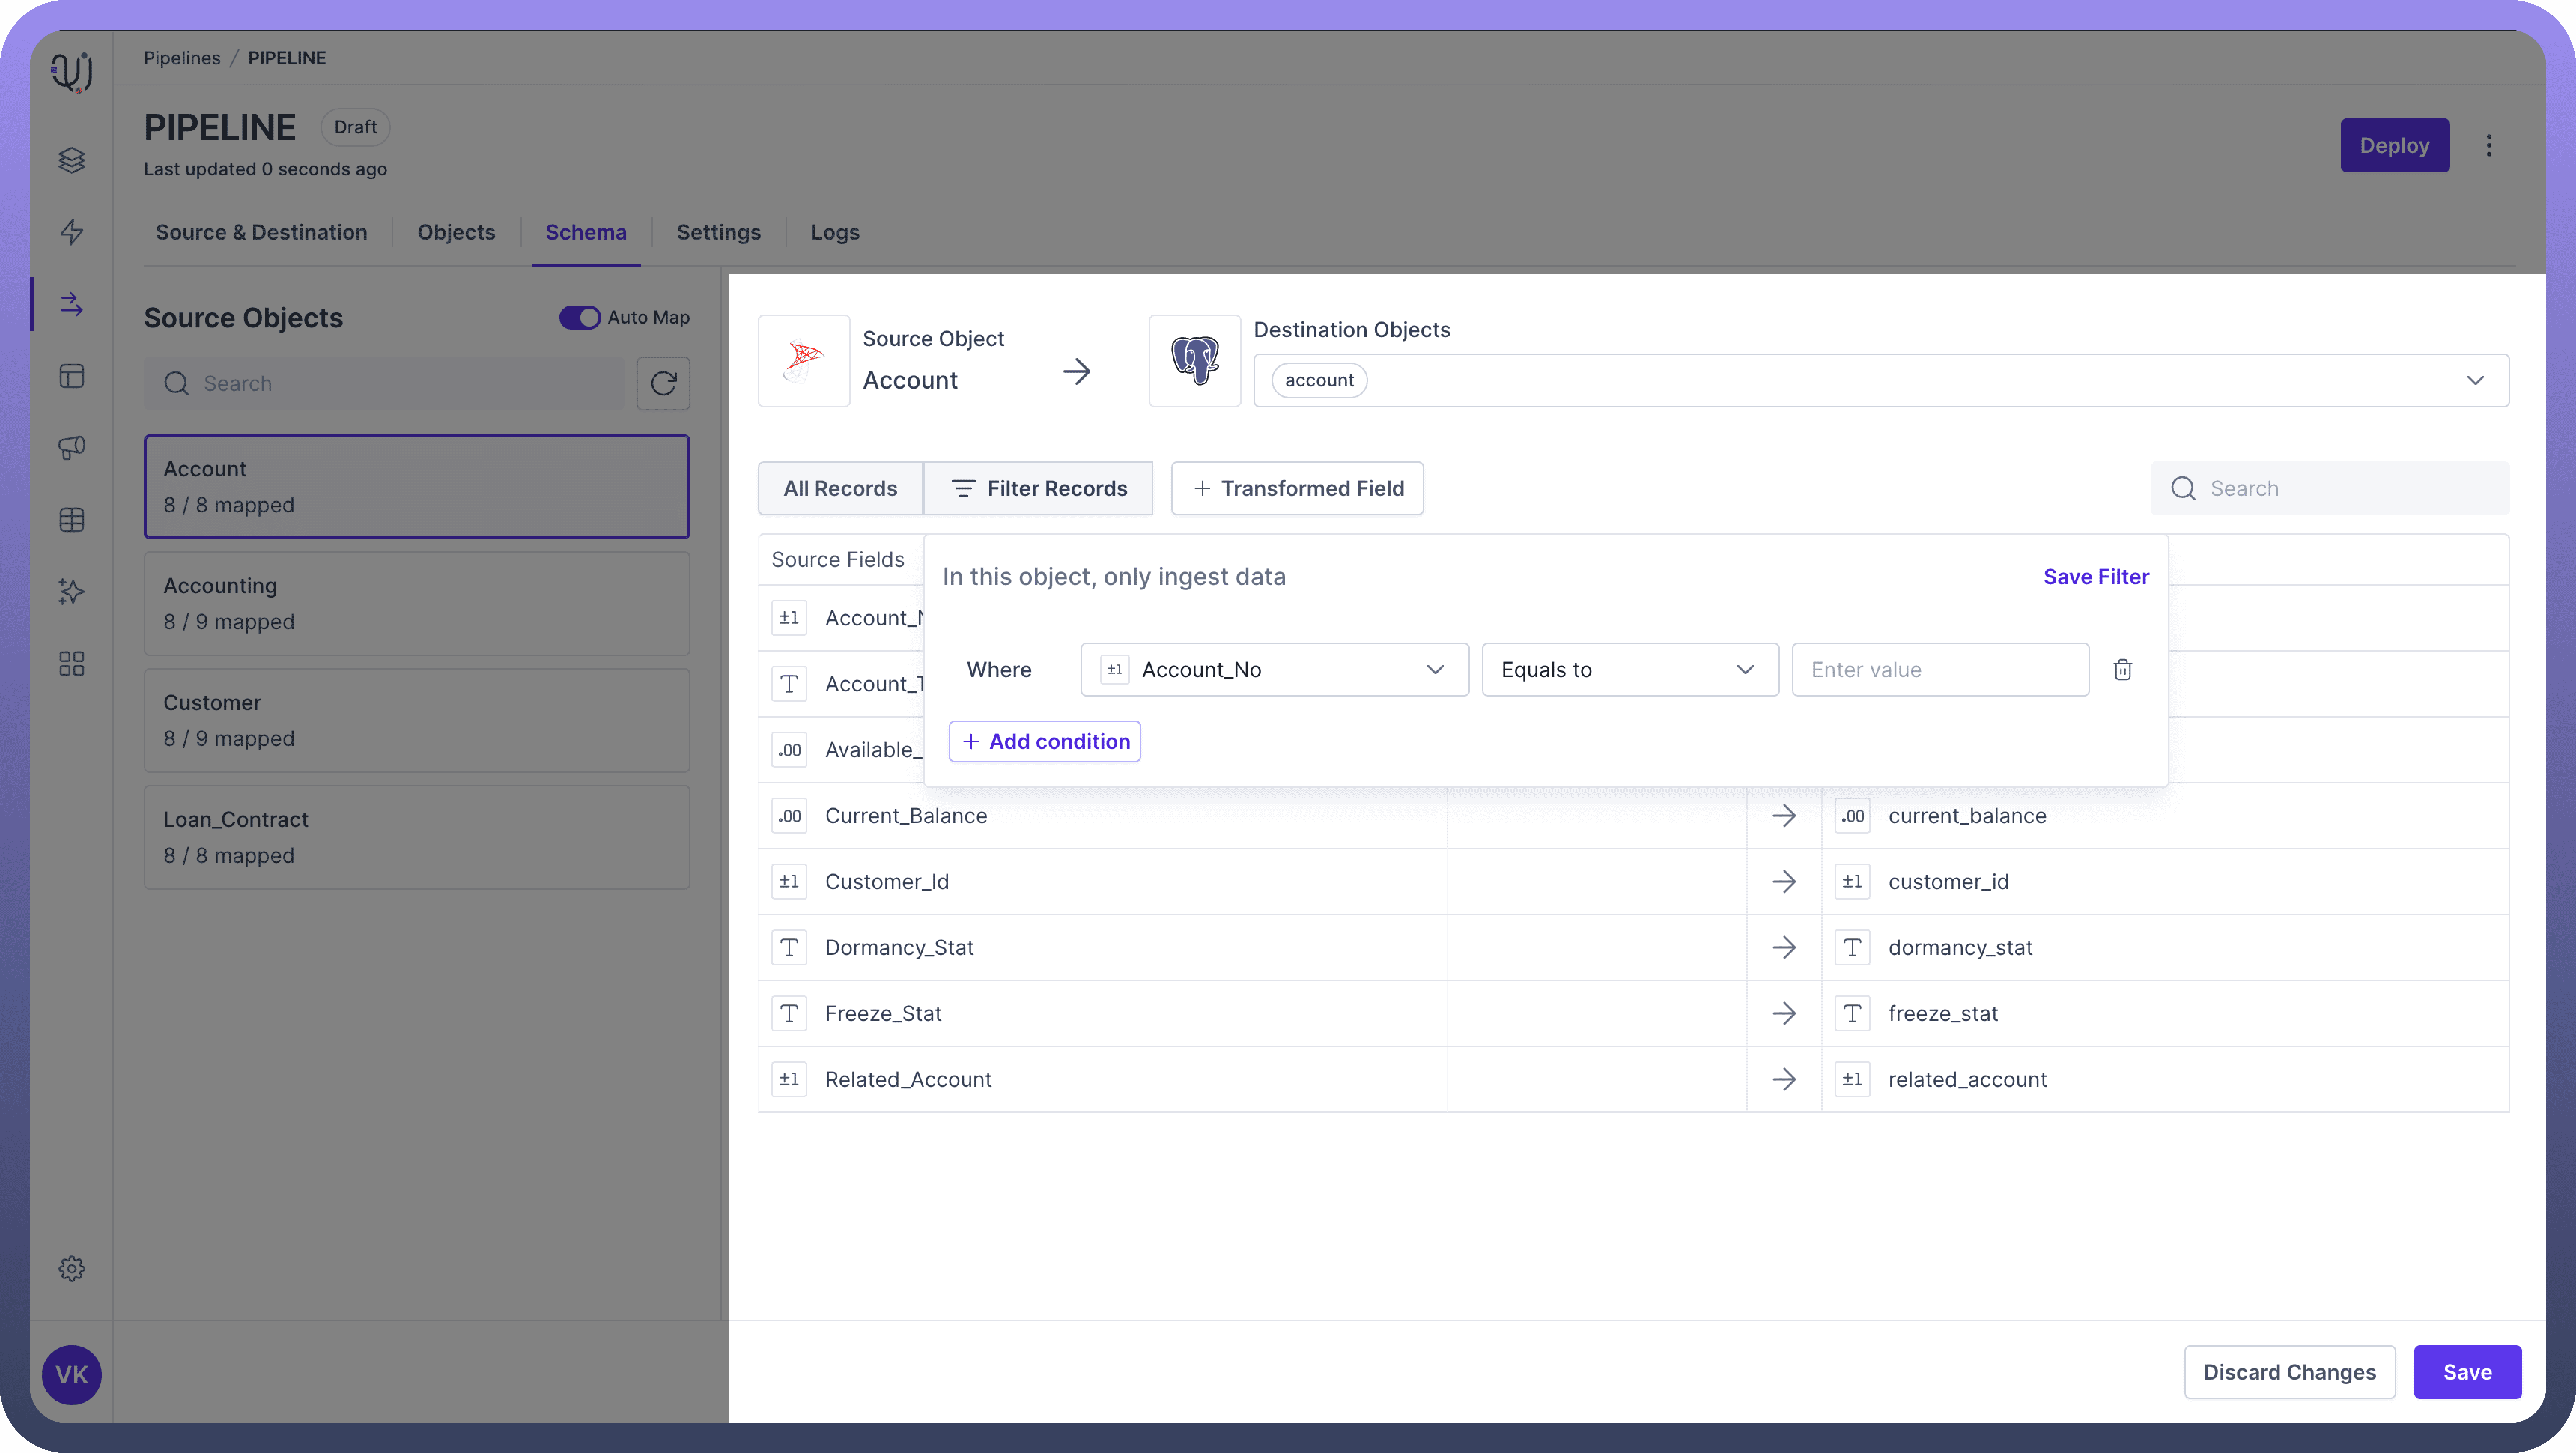
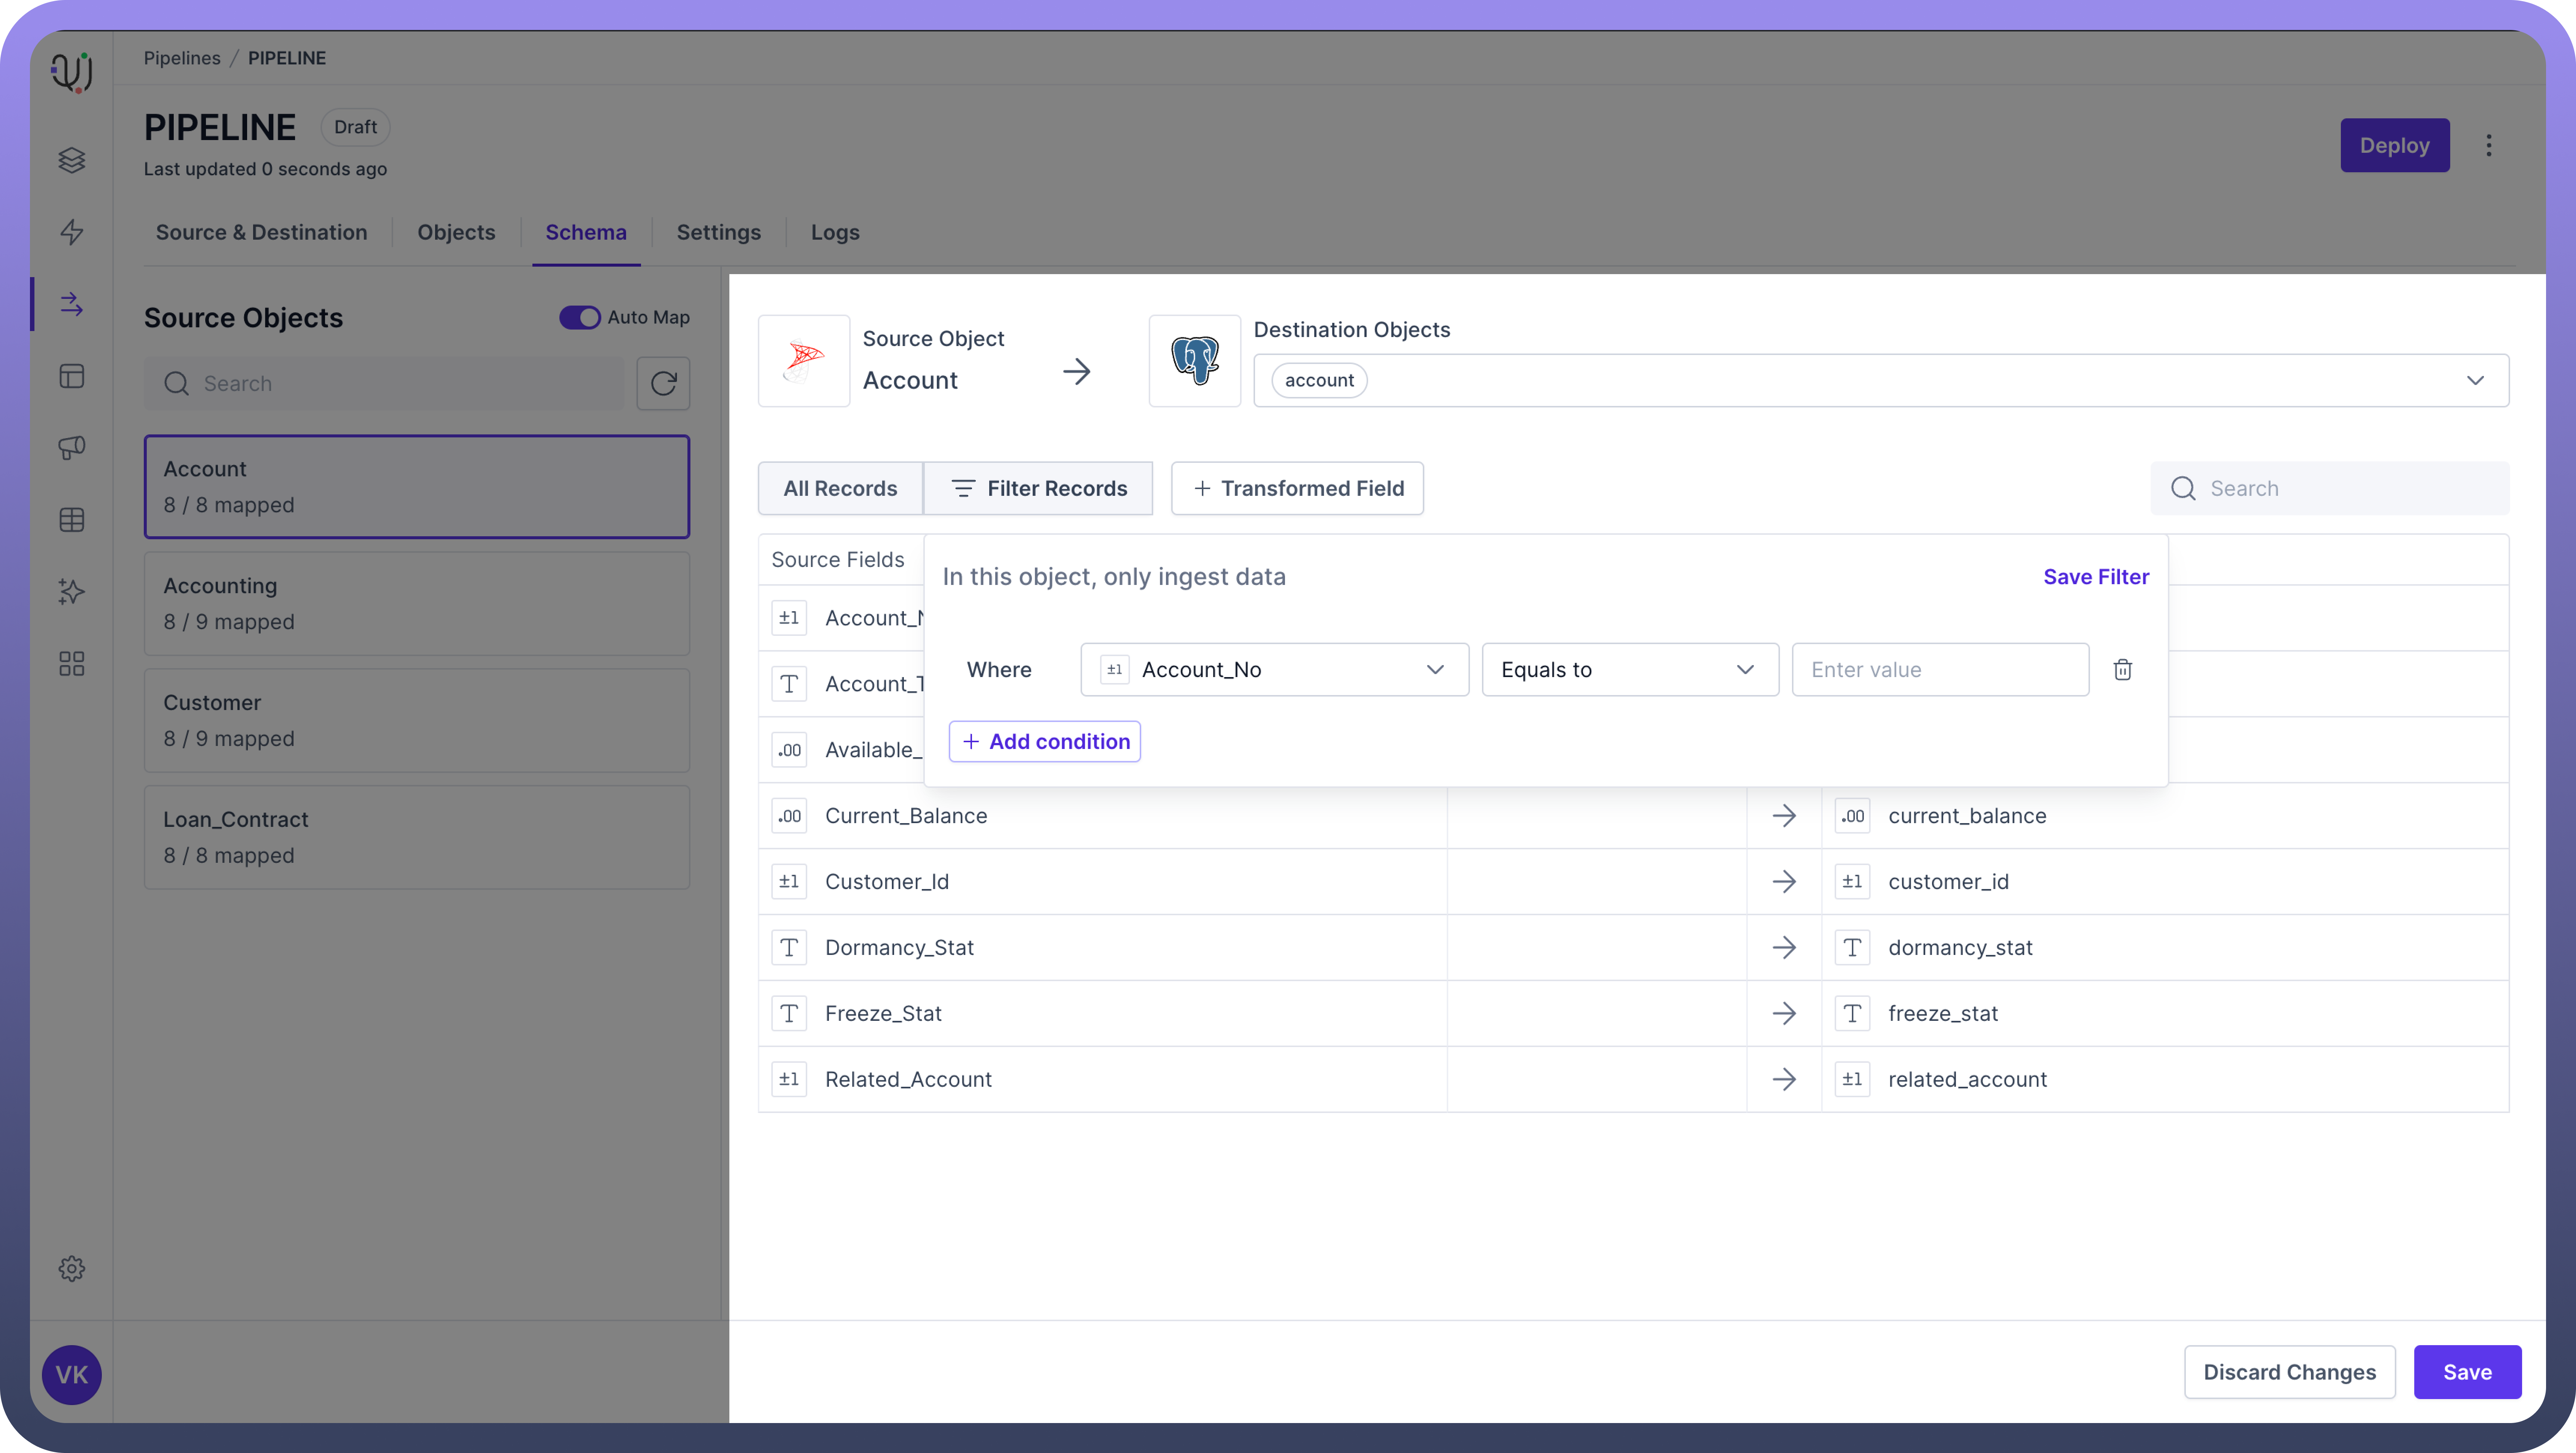
Follow these steps to set up filters in UnifyData's schema mapping interface:
Navigate to the schema mapping section of your pipeline configuration.
Look for a "
Filters" or "Conditions" option, typically near your field mappings.Click to add a new filter.
Define Filter Criteria
Select the source field you want to filter on
Choose a filtering operator (e.g., Equals, Contains, Greater Than)
Enter the filter value
Combine Multiple Filters
You can add multiple filtering criteria
Use AND/OR operators to combine these criteria:
AND: All criteria must be met for a record to be loaded
OR: At least one criterion must be satisfied for a record to be loaded
Filter Configuration
Let's walk through an example of setting up filters for a Customer object:
Scenario: You want to migrate only North American customers who have made a purchase in the last year.
Filter 1 | Filter 2 |
|---|---|
Field: Region | Field: LastPurchaseDate |
Combination: Filter 1 AND Filter 2
"This configuration will only migrate North American customers who have made a purchase within the last year."
Best Practices
Plan Your Data Schema
Before implementing schema mapping, define your data sources and destination schema
Create a data dictionary or schema documentation for both source and destination systems
Identify any potential data type conflicts or structural differences between source and destination
Use Consistent Naming Conventions
Establish and follow a consistent naming convention for mapped fields
Example: Convert all field names to camelCase or use prefixes to indicate data origins
Document Your Mappings
Keep detailed records of your schema mappings
Include explanations for any complex transformations or business rules applied during mapping.
